


25
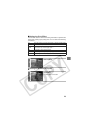
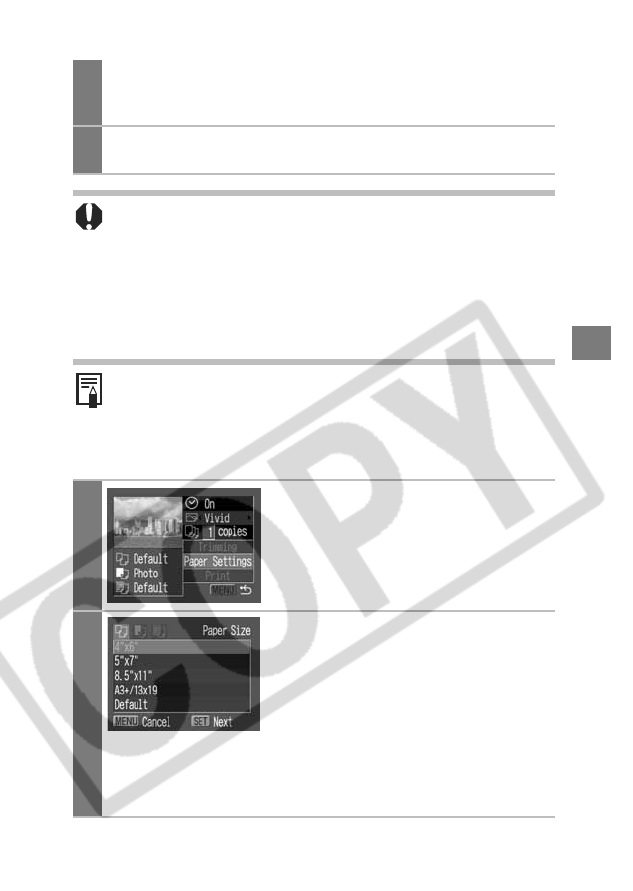
Selecting the Paper Settings
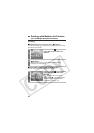
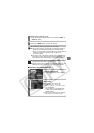
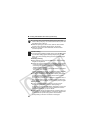
Rotating the Trimming Frame
zYou can rotate the trimming frame by pressing the DISP. (or
DISPLAY) button.
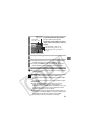
3
Press the SET button to close the setting menu.
Pressing the MENU button cancels the settings.
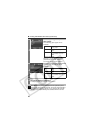
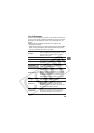
zThe trimming setting only applies to one image.
z
The trimming setting is canceled with the following operations.
• When you set the trimming settings for another image.
• When you close the Print mode (when you turn the camera
power off, change the camera mode, or detach the
connection cable).
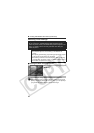
zThe date or part of the date in images shot in [Date Stamp]
mode with a camera that has the Postcard Print mode may
not be printed properly depending on the trimming setting.
zThe selected image, paper size and border settings
determine the shape of the trimming frame.
zPlease use the LCD monitor to set the trimming settings. The
trimming frame may not display correctly on a TV screen.
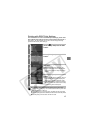
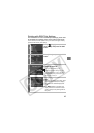
1
Select [Paper Settings] and
press the SET button.
The paper size setting screen appears.
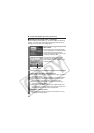
2
Select a paper size and press the
SET button.
The following paper sizes* are
available: A3, 13" × 19" or A3+,
8.5" × 11" or A4, 5" × 7" or 13 × 18 cm,
4" × 6" and Default.
• Some sizes are not available with
certain cameras and Bubble Jet
printer models.
The paper type setting screen appears.
* Paper sizes vary according to region.