


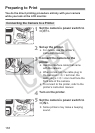
142
wPrinting
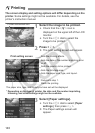
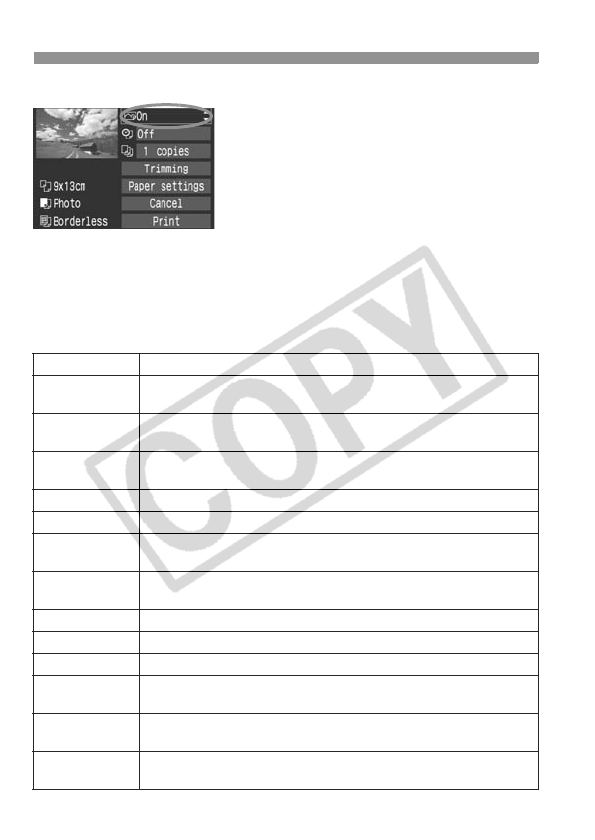
4
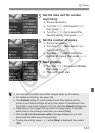
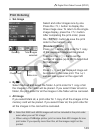
Set the printing effects.
Set as necessary. If you need not set
any printing effects, go to step 5.
The screen display may differ
depending on the printer.
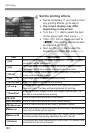
Turn the <5> dial to select the item
on the upper right, then press <0>.
If the <e> icon is displayed next to
<z>, the printing effects can also
be adjusted. (p.145)
Next, turn the <
5
> dial to select the
desired printing effect, then press <
0
>.
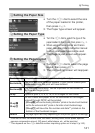
Item Description
EOff
Same as the printing characteristics turned “On”. No automatic
correction will be performed.
EOn
The image will be printed according to the printer’s standard colors.
The image’s Exif data is used to make automatic corrections.
EVivid
The image will be printed with higher saturation to produce
more vivid blues and greens.
ENR The image noise is reduced before printing.
EVivid+NR Vivid and NR are applied before printing.
EFacek
Effective in backlit conditions which can make the subject’s
face look dark. The face will be brightened for printing.
ERed-Eye1
Effective in flash images where the subject has red eye. The
red eye is corrected before printing.
0 B/W
Prints in black-and-white with true blacks.
0 Cool tone
Prints in black-and-white with cool, bluish blacks.
0
Warm tone
Prints in black-and-white with warm, yellowish blacks.
zNatural
Prints the image in the actual colors and contrast. No automatic
color adjustments will be applied.
zNatural M
The printing characteristics are the same as the “Natural” setting. However,
this setting enables finer printing adjustments than with “Natural.”
EDefault
The printing will differ depending on the printer. For details, see
the printer’s instruction manual.