81
You can set both the shutter speed and aperture as desired. With flash, the
flash exposure will be set automatically to match the aperture that was set.
The flash sync speed can be set within 1/200 sec. to 1/30 sec. or to bulb.
* <a> stands for Manual.
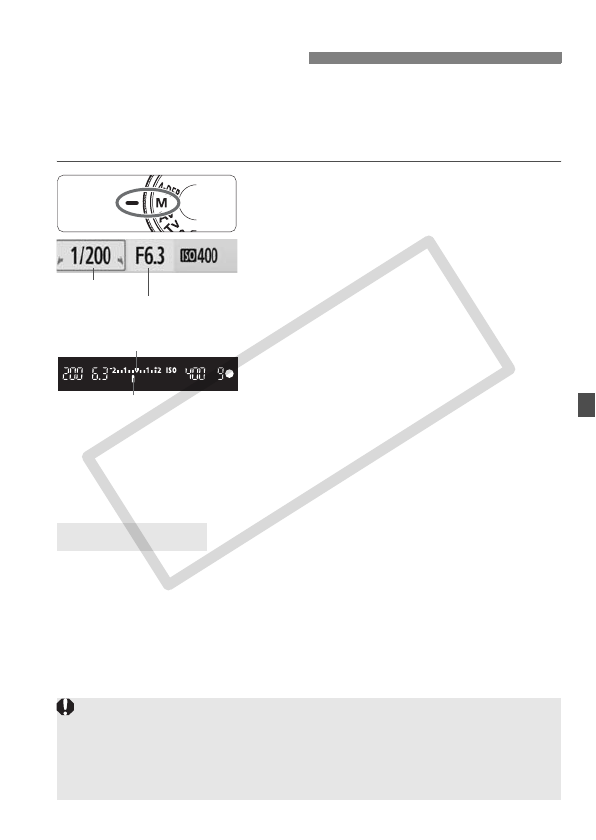
1
Set the Mode Dial to <a>.
2
Set the shutter speed and aperture.
To set the shutter speed, turn the
<6> dial.
To set the aperture, hold down the
<
O
> button and turn the <
6
> dial.
3
Set the exposure and take the
picture.
The exposure level indicator in the
viewfinder indicates the exposure level
up to ±2 stops from the standard
exposure index at the center. While you
change the shutter speed and aperture,
the exposure level mark will move. You
can decide which exposure level to set.
In step 2, turn the <6> dial to the left to set <BULB>. A bulb exposure
keeps the shutter open for as long as you hold down the shutter button.
It can be used to photograph fireworks, etc. The elapsed exposure time
will be displayed on the LCD monitor.
For bulb exposures, using a tripod and Remote Switch (p.194) is
recommended.
a
:
Manual Exposure
<6>
<O> + <6>
Exposure level mark
Standard exposure index
Bulb Exposures
Since bulb exposures produce more noise than usual, the image might
look rough or grainy. You can reduce this noise by setting the [7
Custom Functions (C.Fn)] menu’s [Long exp. noise reduction] to [1:
Auto] or [2: On] (p.185).
The Auto Lighting Optimizer (p.186) will not work.
C OPY


