


49
S T E P 3
Auto Tone Correction
When the selected scan mode is Color (Documents) or Color (Photos), you have three
options for adjusting the color: Standard, ColorSync or None. The default setting is
[Standard].
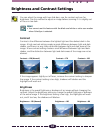
Standard
Use this option if scanned images are to be viewed primarily on the computer display
with photo album software. This method adjusts the computer display to reproduce
the color balance of the original as closely as possible.
ColorSync
Use this option if the scanned images are to be output to a printer. This method
automatically harmonizes the color adjustment functions of scanners, displays and
printers for consistent color matching. The printer must also have its ColorSync
setting set to On.
None
Use this option if you wish to adjust the color balance manually with Plug-in Module
CS-U or another image editing program. This method does not adjust the color
balance at all.
Caution
• This function is available only when the scan mode is set to one of the color
modes; not to the grayscale or black and white modes.
• The Tone Adjustment menu item, Tone Adjustment button and Auto Tone
Adjustment button are disabled when the ColorSync option is selected.
• The previous settings are in effect when Plug-in Module CS-U is started from an
application program that does not display the Plug-in Module CS-U control panel.
Hint
• ColorSync™ responds differently to each computer according to the unique
conditions affecting it (type of display used, etc.), which may cause
differences even between computers of the same make and system version.
The tone characteristics of an image scanned with ColorSync™ on one
computer, therefore, may change when processed on another computer.
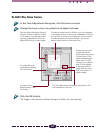
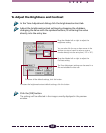
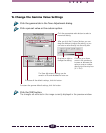
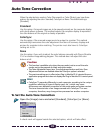
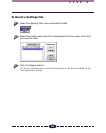
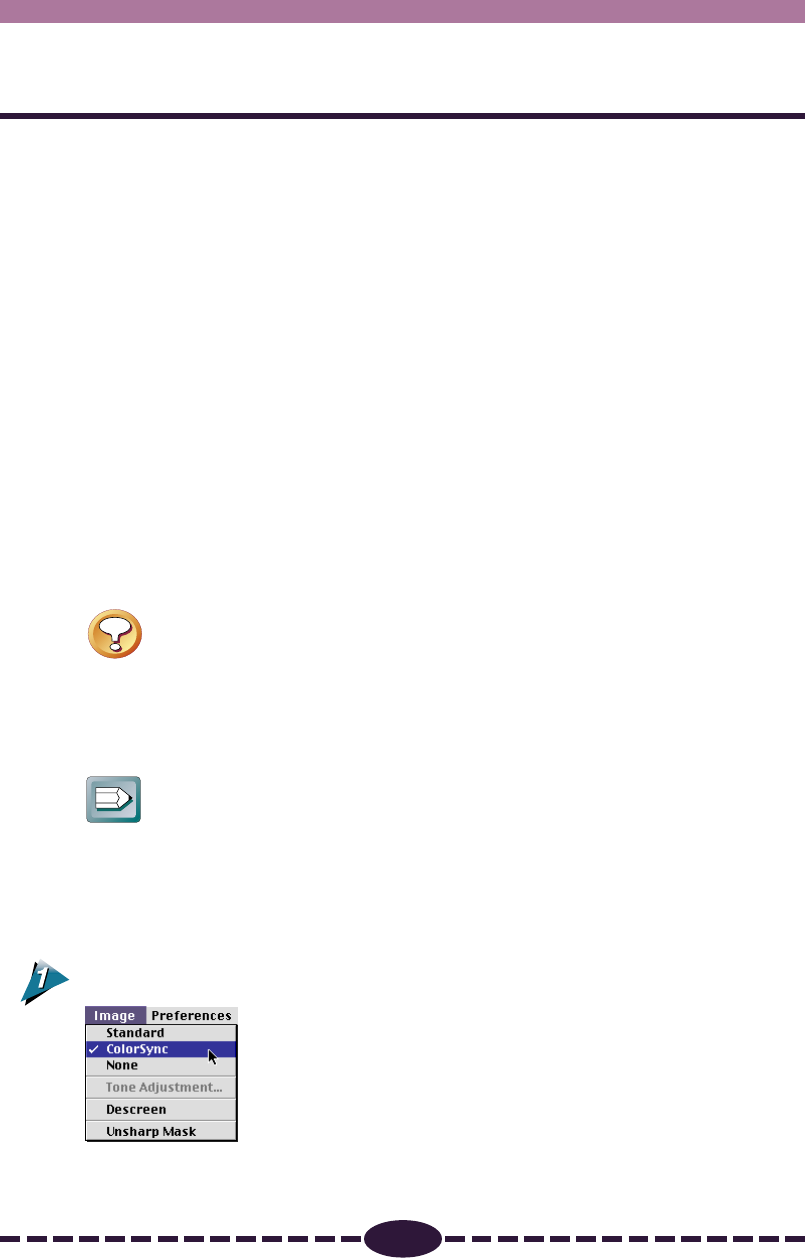
To Set the Auto Tone Correction
Open the [Image] menu and select [Standard], [ColorSync] or [None].
A check mark will appear beside the selected option, which will take effect.