[Event] Setting Video Record, Volume Detection, Audio Playback and Timer
65
5
Setting Page
(6) [E-mail Notification]
Select the e-mail notification operation to be
performed. If [Enable] is selected, e-mail notification
is performed when a timer event occurs. To use this
function, the [E-mail Notification] sub-menu must also
be set from the [Upload] menu (p. 59).
(7) [External Device Output]
Select whether external device output (1 or 2) is active
or inactive when a timer event occurs. Select [Disable]
to disable output to an external device.
(8) [Day/Night Mode Switching]
Select the Day/Night Mode switching behavior when a
timer event is triggered.
Select [Switch to Day Mode] to switch to Day Mode at
the start time, and Night Mode at the end time.
Select [Switch to Night Mode] to switch to Night Mode
at the start time, and Day Mode at the end time.
Select [Disable] to disable Day/Night Mode switching.
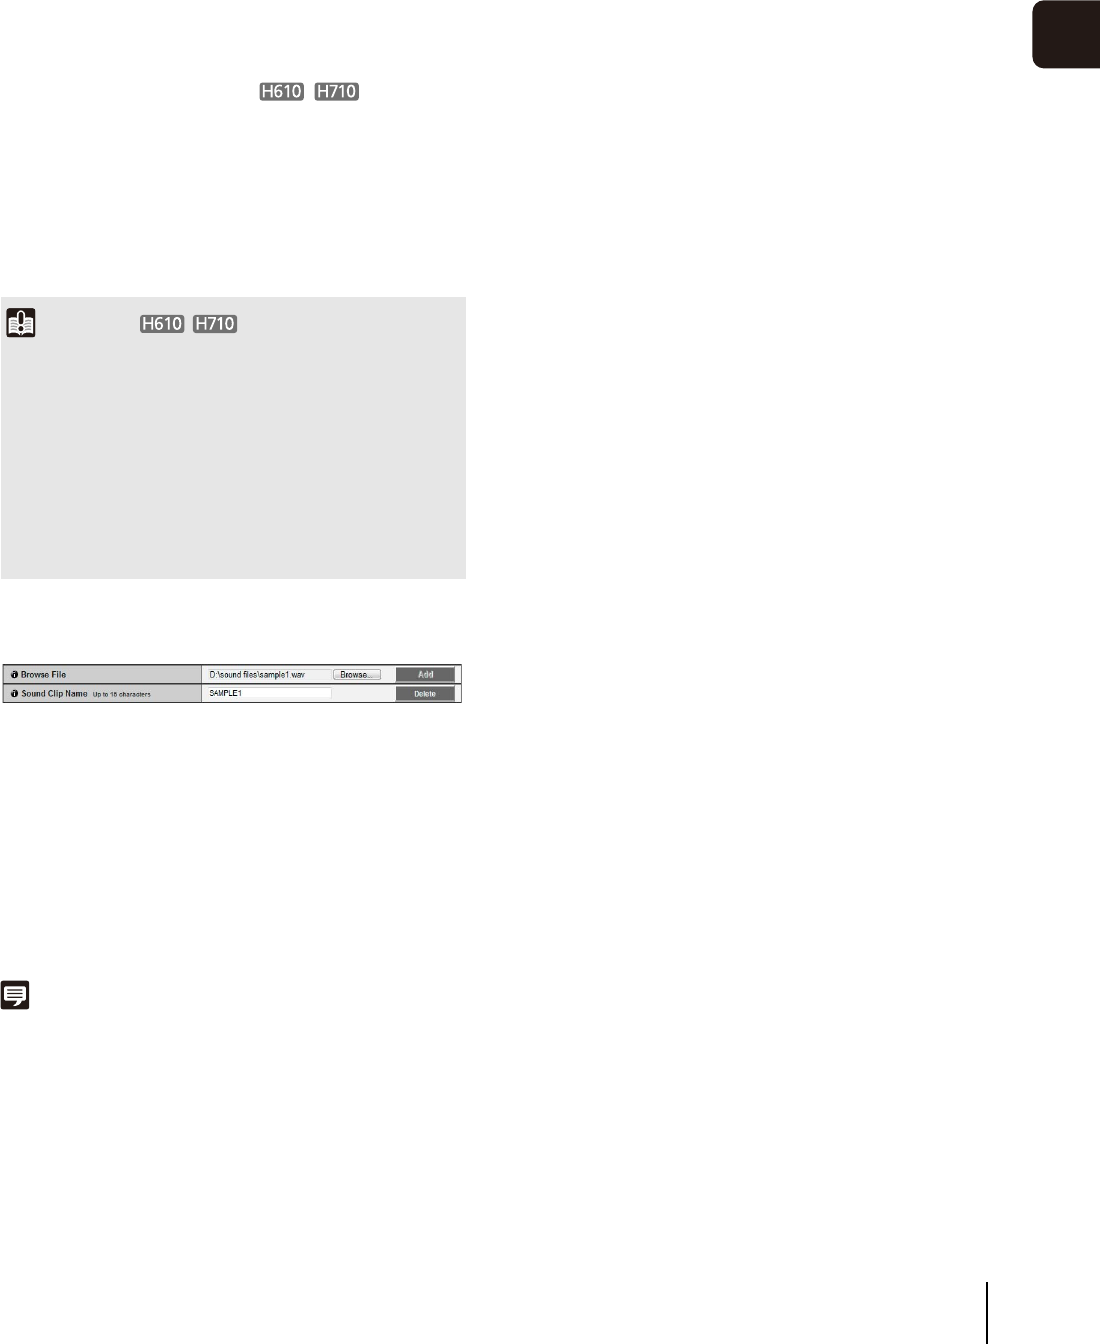
Sound Clip Upload
(1) [Browse File]
Specify the audio file you want to register as the
sound clip, and then
click
[Add].
(2) [Sound Clip Name]
Set a name for the audio file to be registered as sound
playback (up to 15 alphanumeric characters). If a
blank field is applied, the sound clip will be deleted.
To delete a registered audio file, click [Delete] next to
the sound clip name you want to delete.
Note
Audio files must be 20 seconds or shorter and must be “.wav”
files (µ-law PCM 8 bits sampling frequency 8000 Hz, monaural).
Audio file samples are provided in the SOUND folder on the
Setup CD-ROM.
Important
• [Day/Night Mode Switching] can only be set in [Timer 1].
• [Day/Night Mode Switching] does not support [Repeat
Interval].
• When [Day/Night] in the Admin Viewer is set to [Auto], Day/
Night Mode switching will not happen when a timer event is
triggered (p. 139).
• If the [Day/Night Mode Switching] settings switch Day/Night
Mode while the VB-H41/610/710 Viewer is assigned camera
control, control will be released.
