45
Playing Back Images
Hiding Protected Memory Pages
This function makes it possible for you to hide protected memory
pages so their images do not appear on the monitor during playback.
To hide protected memory pages
While holding down the [+] button, turn on the camera.
Important!
• You cannot protect or unprotect pages (pages 41~44) while pro-
tected pages are hidden.
• You cannot display multiple images (page 34) while protected
pages are hidden.
• The message “ALL DATA IS PROTECTED!” appears on the moni-
tor when you hide protected memory pages and all pages currently
in memory are protected. It also appears if you delete all unpro-
tected memory pages while protected memory pages are hidden.
To unhide protected memory pages
While holding down the [–] button, turn on the camera.
46
Operation
Deleting Memory Pages
Use the procedures described in this section to delete memory
pages. You can delete individual pages, or all the pages currently
stored in memory.
Warning!
The delete operation cannot be undone!
Before performing any of the procedures described in this section,
make sure that you really do not need the images recorded on the
memory pages you are deleting. Be especially careful when you are
using the all delete operation.
Deleting Images From Memory
• Note that you cannot delete images if they are protected. See page
43 for details on how to unprotect images.
• You cannot delete images from a multi-page display, a display of an
enlarged image, or while Auto Playback is operating.
To delete a single image
1. Select the Playback Mode and turn on power.
• Slide the function switch to the PLAY position.
• Slide the POWER switch in the direction indicated by the
arrow.
2. Display the DELETE Menu.
• Press the DEL button to display
the DELETE Menu.
47
Deleting Memory Pages
3. Select “PAGE”.
• Use [+] and [–] to select “PAGE”.
• To clear the selection screen and quit this procedure, select
the EXIT icon.
4. Press the shutter button.
5. Use [+] and [–] to display the image you want to delete.
• Any images that are protected
(page 41) do not appear on the
screen during this operation.
6. Double check to make sure that you really want to delete
the image that is on the screen.
• To abort the delete operation without deleting anything,
press any button other than [+], [–], or the shutter button.
7. Press the shutter button to delete the page.
• After you delete an image, the image on the next page ap-
pears on the screen.
8. To delete more images, repeat steps 5 through 7.
• After you finish deleting all the images you want, press any
button other than [+], [–], or the shutter button to clear the
image delete screen.
48
Operation
Note
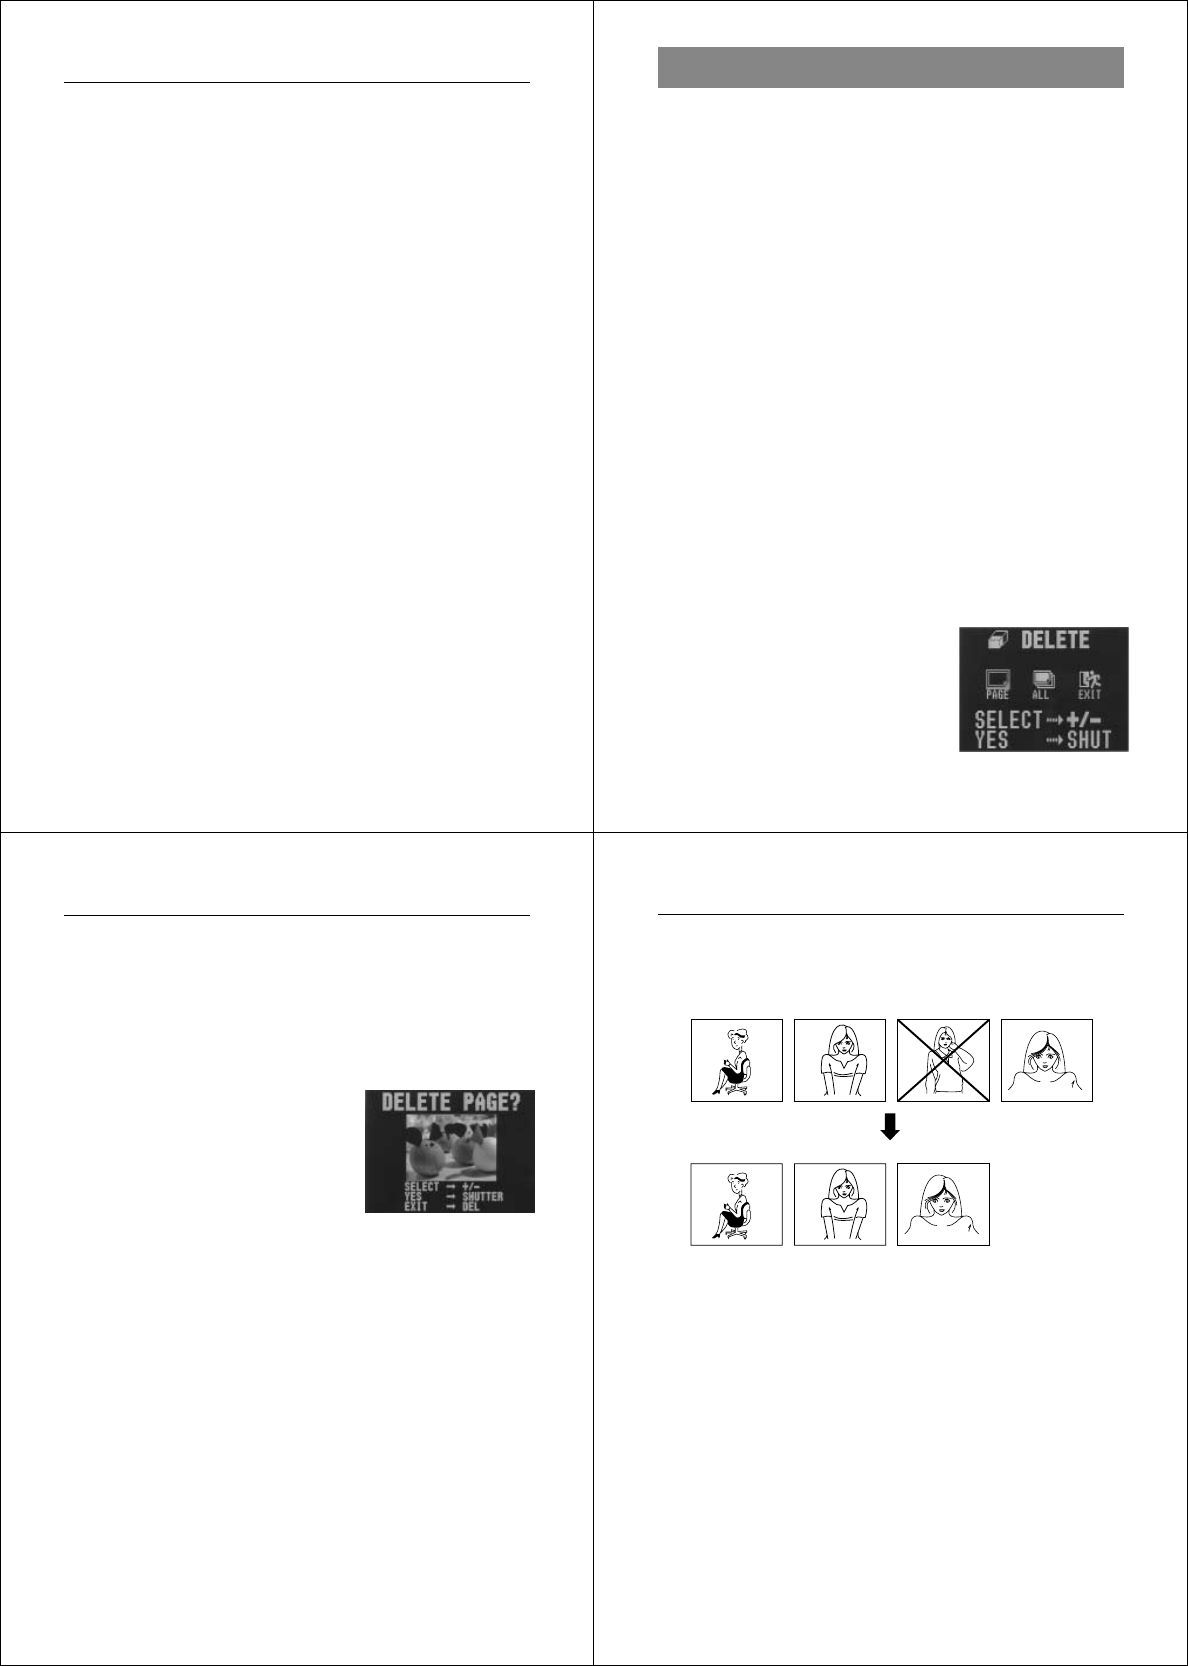
• Deleting a page causes the remaining pages to be renumbered.
Blank pages are not left inserted between non-blank pages.


