49
Deleting Memory Pages
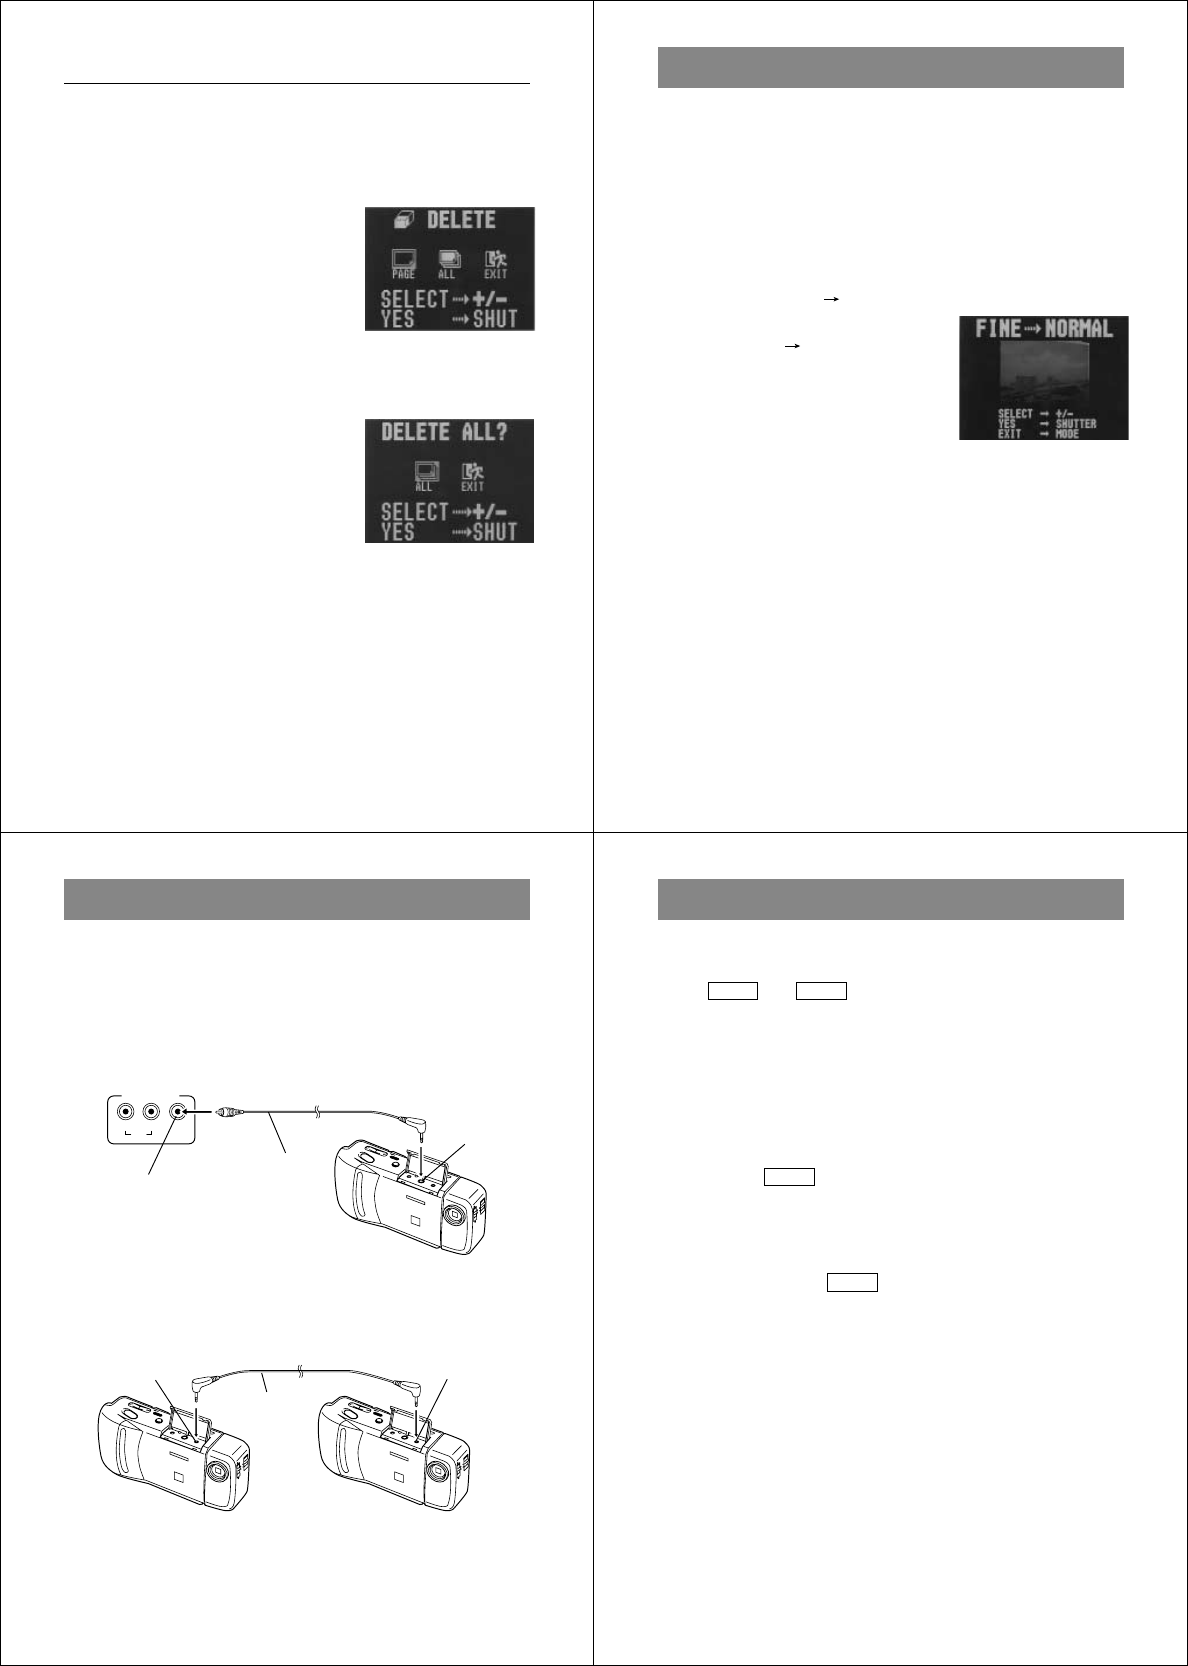
To delete all images in memory
1. Enter the Playback Mode.
• Slide the function switch to the PLAY position.
2. Display the DELETE Menu.
• Press the DEL button to display
the DELETE Menu.
3. Select “ALL”.
• Use [+] and [–] to select “ALL” and press the shutter button.
4. Select “ALL”.
• Use [+] and [–] to select “ALL”.
• To clear the selection screen and
quit this procedure, select the
EXIT icon.
5. Press the shutter button to delete all images from memory.
• After all images are deleted, the message “MEMORY
EMPTY” appears on the screen.
• If you perform the above operation while protected images
are hidden, the message “ALL DATA IS PROTECTED!” ap-
pears on the screen.
50
Operation
Use the following procedure to convert an image converted in the
FINE Mode to a NORMAL Mode image.
• After you convert a FINE image to a NORMAL image, the FINE
image is automatically deleted.
1. Select the Playback Mode and turn on power.
• Slide the function switch to the PLAY position.
• Slide the POWER switch in the direction indicated by the
arrow.
2. Display the FINE NORMAL Menu.
• Press the MODE button to display
the FINE NORMAL Menu.
3. Display the image you want to convert.
• Use [+] and [–] to scroll through the images.
• Any images that are protected (page 41) do not appear on
the screen during this operation.
4. Press the shutter button to start the conversion.
5. After the conversion is complete, you can repeat steps 3
and 4 to convert more images.
• After you are finished converting images, press any button
besides [+], [–], or the shutter button to clear the conversion
screen.
Resolution Conversion
51
D
E
L
O
N
/O
F
F
P
O
W
E
R
N
O
M
A
L
M
A
C
R
O
VIDEOLR
INPUT
AUDIO
D
E
L
O
N
/O
F
F
P
O
W
E
R
N
O
M
A
L
M
A
C
R
O
D
E
L
O
N
/O
F
F
P
O
W
E
R
N
O
M
A
L
M
A
C
R
O
The camera terminals
The following describes which the camera terminal you should use
for each type of connection.
VIDEO OUT – Use this terminal when connecting to the VIDEO IN
terminal of a TV, video tape deck, video printer, or
other similar devices. Use the special video cable
that comes with the camera for such connections.
Connecting to Other Devices
* The type of connecting cable you should use depends on the type
and shape of the terminals equipped on the digital camera you are
connecting to. See pages 52 through 58 for details.
DIGITAL terminal*
VIDEO OUT
terminal
DIGITAL – Use this terminal to connect to a personal computer (re-
quires optional QV-Link Software), another CASIO Dig-
ital Camera, or a QV Color Printer. The illustration below
shows how to connect to another digital camera.
DIGITAL terminal
VIDEO IN
terminal of other
device
Special video
cable that
comes with
camera
Connecting
cable*
Using the Camera with a Connected Device
52
Using the Camera with a Connected Device
The following section provides specific information on how you can
use the camera after connecting to various types of devices. In each
case, the camera terminal you should connect to is indicated in the
title as
VIDEO
and
DIGITAL
.
Important!
• Make sure that the power of all devices is turned off before connect-
ing them.
• You should also check the owner’s manuals of the device you are
connecting to the camera for precautions and other information.
Television
VIDEO
• See page 32 of this manual for details about connecting to a televi-
sion and displaying images from camera memory on a TV screen.
Video Tape Deck
VIDEO
You can use the video tape deck to record images from the camera.
To record camera images on video tape
1. Use the special video cable that comes with the camera to connect
to the VIDEO IN terminal of the video tape deck.
2. Set up the video tape deck to record images input through its
VIDEO IN terminal.
• Consult the owner’s guide that comes with the tape deck for details
about how to set up for recording.
3. Enter the camera Playback Mode and start the video deck record
operation.
• It is probably best to use auto play when recording camera images
to video tape, because it changes pages automatically at a preset
speed.


