


17
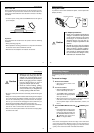
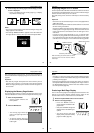
Auto Power Off
Power automatically turns off whenever you do not perform any cam-
era operation for a period of time. Power turns off after about one
minute in the Record Mode or after about three minutes in the Play-
back Mode.
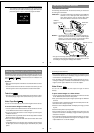
• To restore power, simply slide the POWER switch to the right as
you normally do.
Important!
The Auto Power Off function does not operate under the following
conditions.
• During Auto Play (page 42)
• When operations are being performed on a computer connected to
the camera via the camera’s DIGITAL terminal.
• Whenever the AC adaptor is connected to the camera.
Power Supply
POWER
ON/OFF
–
Getting Acquainted
18
P
O
W
E
R
/P
R
O
T
E
C
T
Z
O
O
M
D
I
S
P
D
E
L
M
O
D
E
O
N
/
O
F
F
+
–
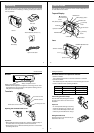
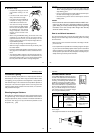
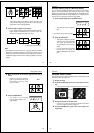
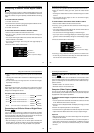
Using AC Power
To power the camera from standard AC power, use the optional AC
adaptor (AD-C67).
AC Adaptor precautions
• Never use an electrical outlet whose
voltage is outside the rating marked
on the camera. Doing so can create
the danger of fire,malfunction,or
electrical shock. Use only the op-
tional AC adaptor specified for this
camera.
• Should the cord of the AC adaptor
become damaged (exposed internal
wiring or shorts), request a replace-
ment from an authorized CASIO ser-
vice provider. A damaged AC adap-
tor cord creates the danger of fire,
malfunction,or electrical shock.
Caution
AC outlet
AC power terminal
AC adaptor
19
• Always be sure to use the AD-C67
AC adaptor only. Using any other AC
adaptor can cause damage to the
camera not covered by the warranty.
• When unplugging the AC adaptor
from the wall socket, be sure to
grasp the adaptor (not the cord).
• Avoid an undue bending, pulling,
and twisting of the AC adaptor's
cord, and never try to lengthen the
cord by splicing it with other wire.
• Be sure to switch power off before connecting or disconnecting the
adaptor.
• Always turn camera power off before disconnecting the AC adaptor,
even if the camera has batteries installed. If you don't, the camera
will turn off automatically when you disconnect the AC adaptor.
Even so, you run the risk of damaging the camera whenever you
disconnect the AC adaptor without first turning power off.
• The AC adaptor may become warm to the touch after extended pe-
riods of use. This is normal and is not cause for alarm.
• After use turn off the power switch of the camera and unplug adap-
tor from the AC outlet.
Caution
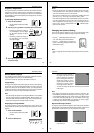
Power Supply Operation
20
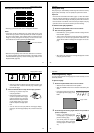
PLAY
REC
Recording Images
The following procedure provides the basic steps for recording an
image.
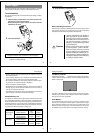
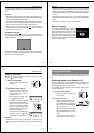
To record an image
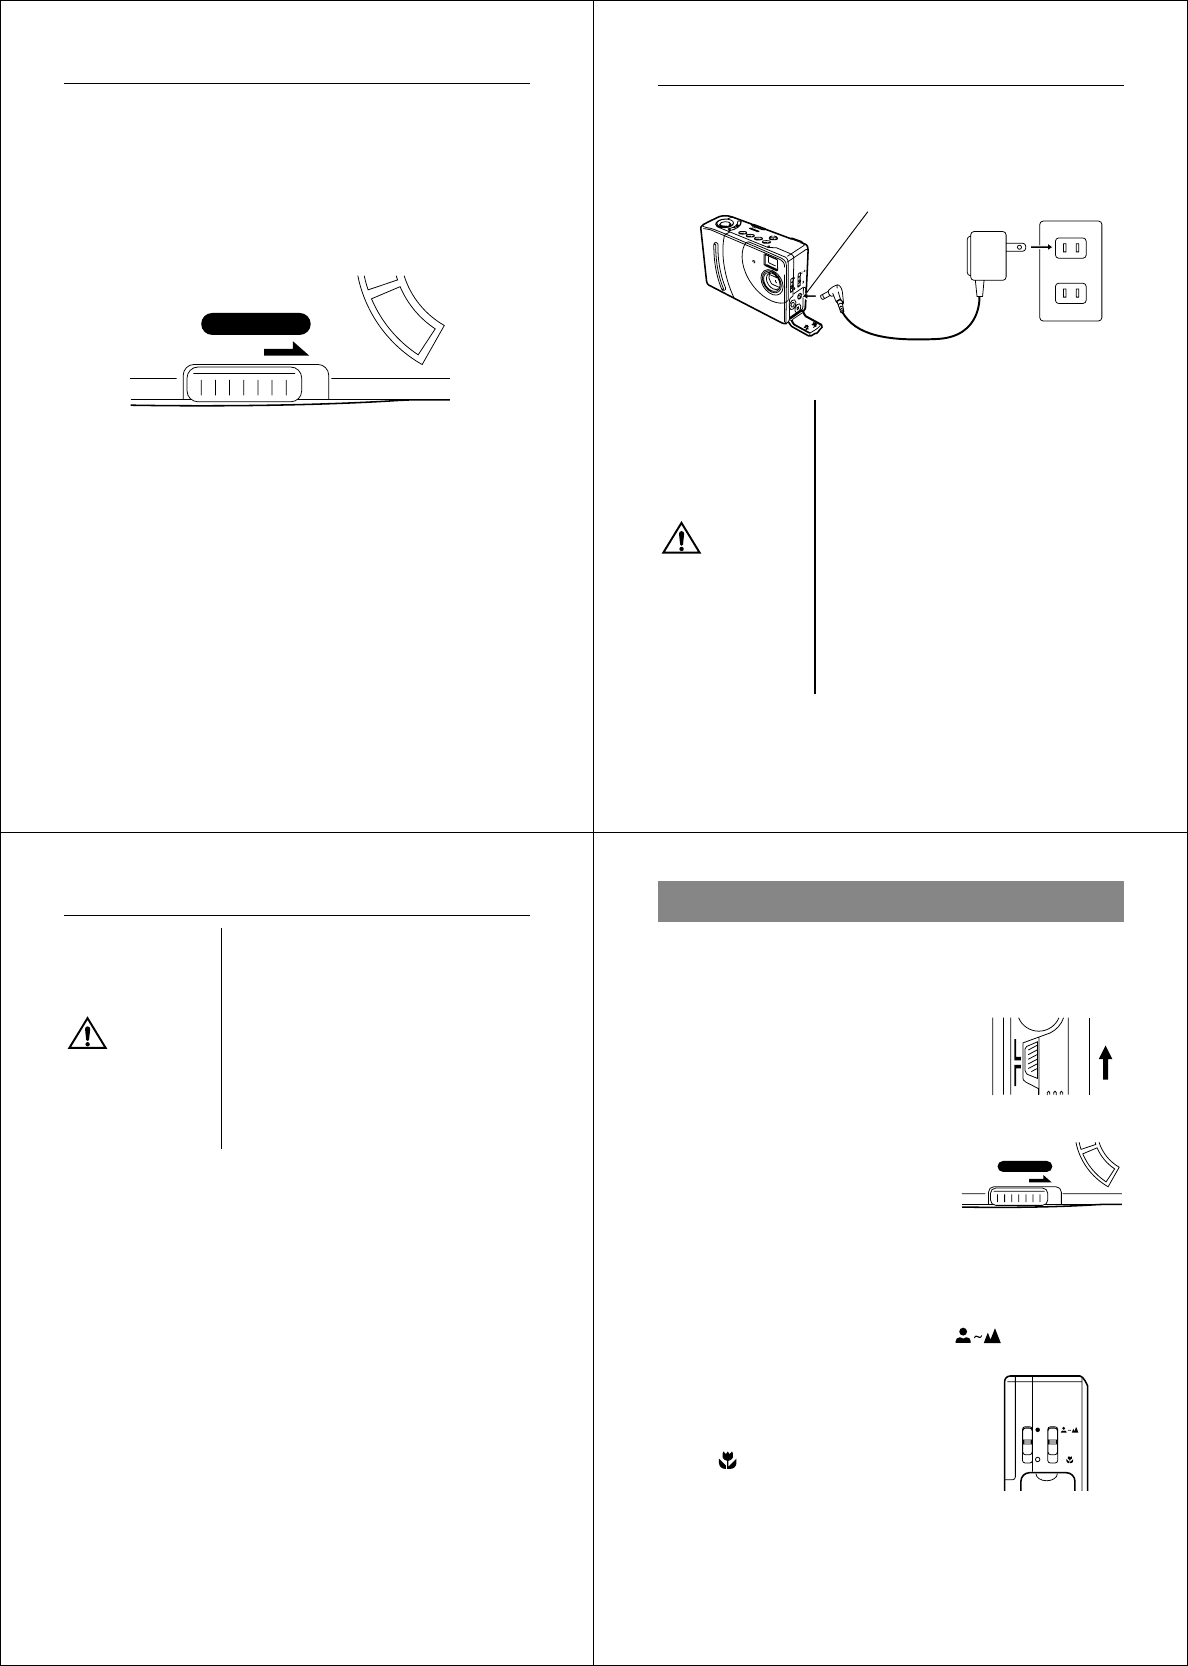
1. Enter the Record Mode.
• Slide the function switch to the
REC position.
2. Turn on the camera.
• Slide the POWER switch in the di-
rection indicated by the arrow.
• The POWER switch automatically
slides back to its original position
when you release it.
• When power comes on, the image of the object that is in
front of the camera’s lens appears on the LCD.
• You can perform steps 1 and 2 in either order (1 then 2, or 2
then 1).
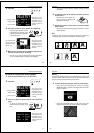
3. Set the NORMAL/MACRO switch to (NORMAL) posi-
tion.
• If the object whose image you are
recording is about 15 centimeters
from the lens (about 6 inches), set
the NORMAL/MACRO switch to
(MACRO). See page 24 for
details on using this switch.
Note
• The camera is designed to refresh the image on the LCD about
seven times per second. Because of this, you may experience a
feeling of jerkiness in the changing image if you move the camera
quickly. This is normal and does not indicate malfunction.
POWER
ON/OFF
–