


ESPAÑOL
ENGLISH
FRANÇAIS
DEUTSCH
PORTUGUÊS
DS8118 Manual-6 Lang. (086-002937-017)
PORTUGUÊS
ENGLISH
FRANÇAIS
DEUTSCH
ITALIANO
ITALIANO
ESPAÑOL
10 11
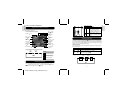
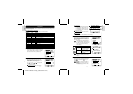
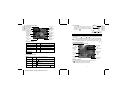
Flash Mode Options Table
Icon Function Description
Auto The flash may discharge automatically, depending on the
light conditions. The Flash Lamp lights red when this is
selected.
Flash Off The flash will not discharge. The Flash Lamp lights red
when this is selected.
Flash On The flash discharge regardless of lighting condition. The
flash lamp lights green when this is selected.
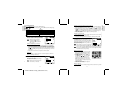
Your digital camera comes with a x2 zooming function. By default, the zooming is
not enabled. In Camera, or Movie mode, increase zooming by pressing
( p.4).
The Digital Zoom Icon on the OSD,
, indicates the current zoom level. To
decrease the zooming, press
( p.4).
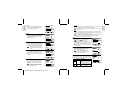
Camera Mode Zooming Options
Default Zoom Larger
x1.0 / x1.1 / x1.2 / x1.3 / x1.4 / x1.5 / x1.6 / x1.7 / x1.8 / x1.9 / x2.0
Movie Mode Zooming Options
Default Zoom Larger
x1.0 / x1.2 / x1.4 / x1.6 / x1.8 / x2.0
In movie mode, once the shutter button is pressed and recording starts,
zooming cannot be further adjusted for the duration of the recording.
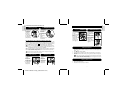
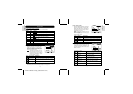
The Self-Timer function counts down before the camera automatically takes a picture
by itself. This is useful when you want to be in the picture, and there is no one else
to press the Shutter Release Button.
1. Turn the Mode Dial to Camera Mode.
2. Press
on the 4-Way Controller. The Self-Timer will engage.
3. Press & hold the Shutter Release Button. Audible beeps can be heard, and the
red Self-Timer Lamp will start blinking. The number displayed next to the OSD
a Self-Timer icon will appear and start counting down.
To hasten the countdown to 3 seconds, press the Shutter Release Button once again.
4. Once the picture has been taken, the Self-Timer will be disabled.
The Self-Timer cannot be used while the Continuous Shooting function
(
p.19) is enabled.
Zooming
Using the Self-Timer
You can display the last still picture taken by pressing . When viewing the last
image, you may choose to delete it by pressing
and confirm. Press again to
return to shooting.
INTRODUCTION TO CAMERA MODES
GUIDE TO MENUS
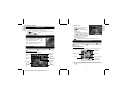
Press MENU to access the menu screens, where settings can be specified. To switch
between Primary and Secondary Menus, highlight the top menu fields.
Mode Primary Menu Secondary Menu Description
Camera Menu Setup Menu Photography mode with adjustable
settings.
Playback Menu Setup Menu Lets you play back all images &
movies recorded onto the camera’s
internal or external memory card.
Movie Menu Setup Menu Allows you to shoot movies with
the camera.
Use to navigate the menu screen . Press OK to confirm setting changes.
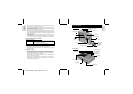
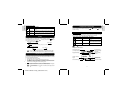
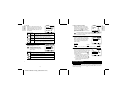
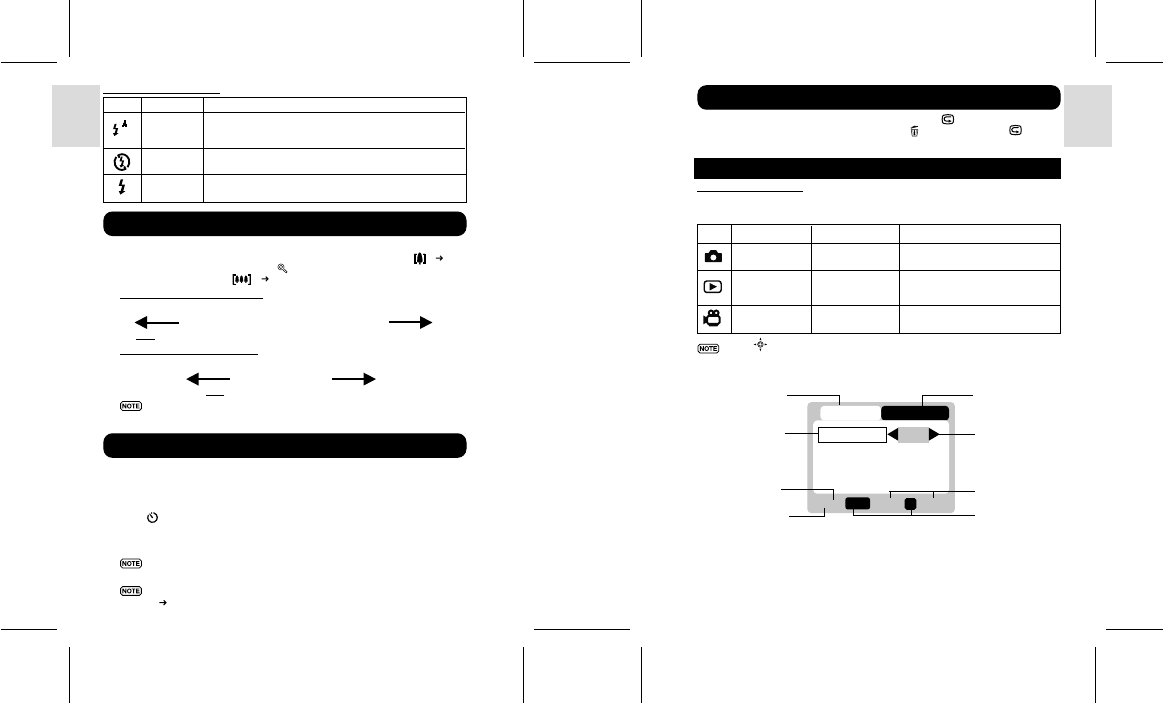
Example of a Menu Screen
Playing Back Last Picture Taken
1/3
Exit
OK
Menu
CAMERA SETUP
Size
Quality
White Bal
1280
H.Q.
WB
AUTO
OK
Primary Menu Field
(currently accessed)
Highlighted Setting
Total No. of Menu
Pages
Current Menu Page
Secondary Menu
Field (not currently
accessed)
Option Currently
Chosen
Descriptions of
Button Functions
Button On Camera