


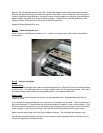
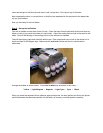
Insert the tubing into the tube clip and close it until it snaps shut. Don’t pinch any of the tubes.
Next, separate the tubes, or un-web them, so that they are separated all the way back to the beige tube
clip you just installed.
Now you are ready for the ink bottles.
Step 8
– Set up the Ink Bottles
Find the ink bottles and the black Velcro Circles. Clean the back of each bottle with alcohol and wipe dry.
Attach a Velcro Loop circle to the back of each bottle. Attach the mating Velcro circle to the piece on the
bottle. Peal off the backing on the mating Velcro so the adhesive is exposed.
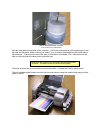
Take off the shipping caps and install the drilled caps. Each cap should have a hole in the center and a
small vent hole in the Nalgene logo. Make sure the vent hole is there and that it is not blocked or
obstructed.
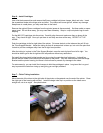
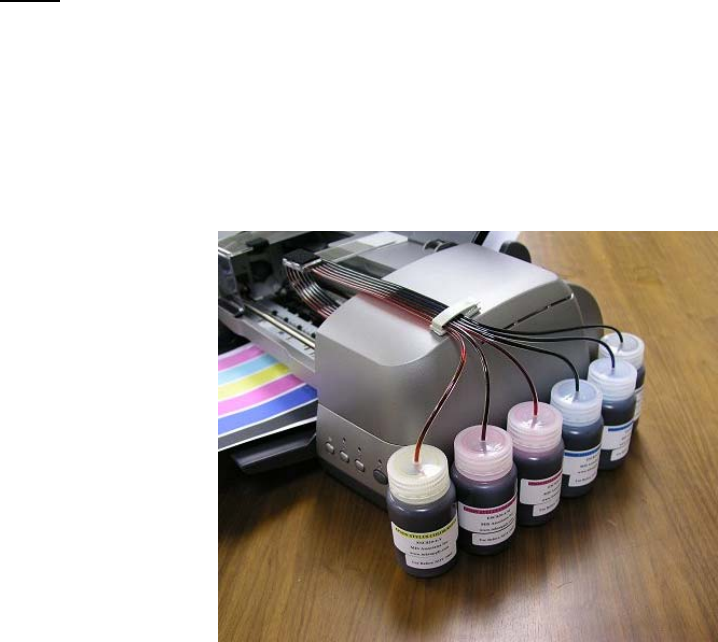
Arrange the bottles as shown above. From front to back they should be in this order…..
Yellow – Light Magenta – Magenta – Light Cyan – Cyan – Black
When you press the exposed Velcro adhesive against the printer, the hook portion will stick to the printer
and this becomes the permanent position for the bottle, so choose your bottle positions carefully.