Epson Stylus Photo R220
6/05 Epson Stylus Photo R220 - 3
Paper
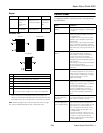
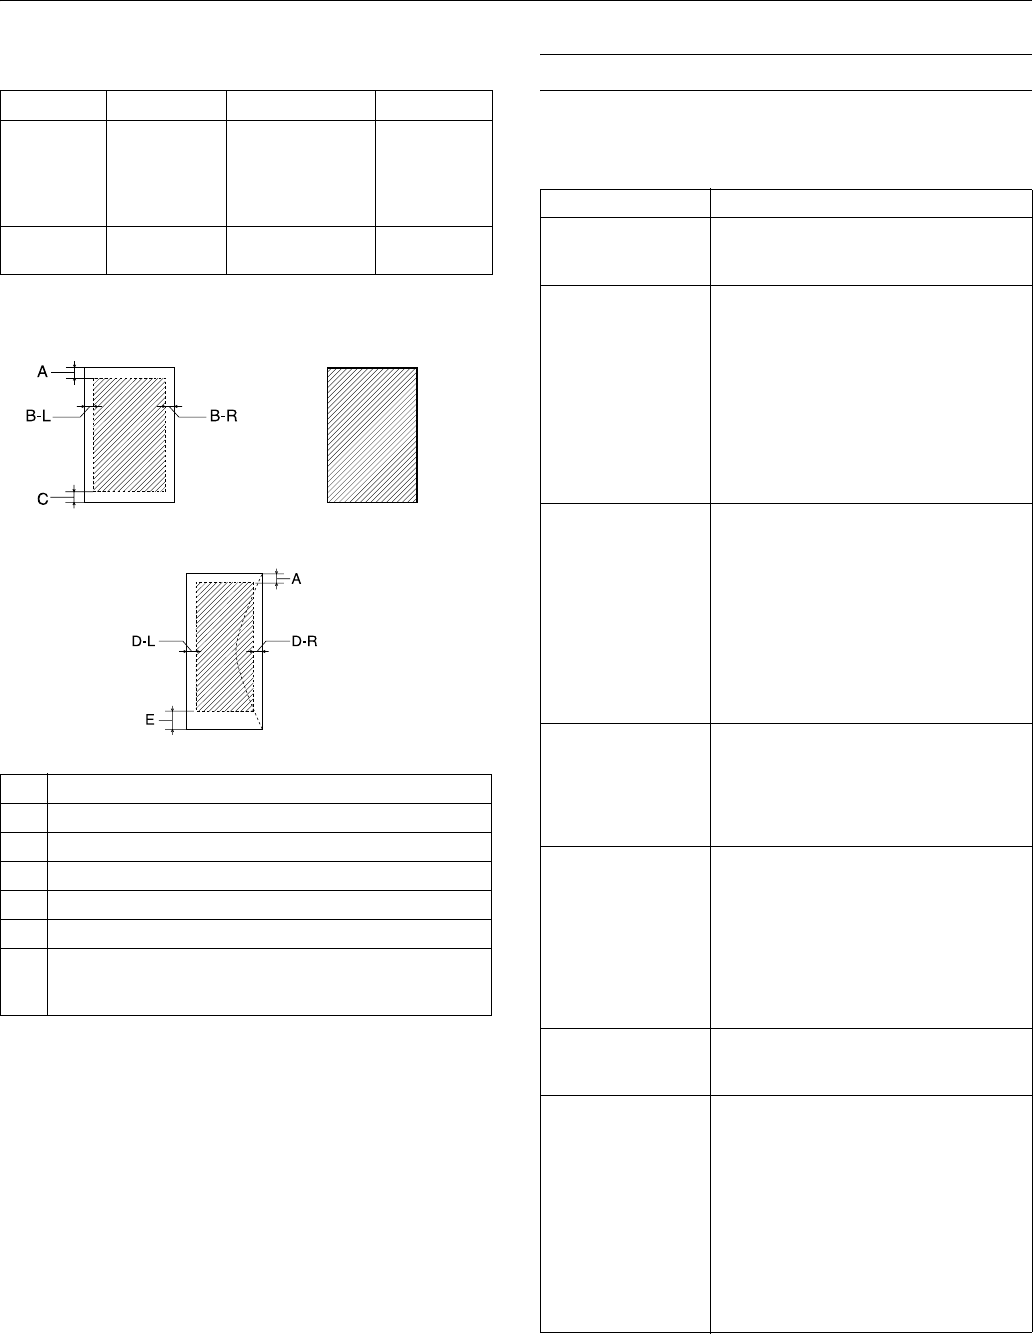
Printable area
* When printing with the borderless feature, print quality may
decline in the expanded area. Before printing large jobs using the
borderless setting, print a single sheet to confirm printout quality.
Note: Always load paper into the sheet feeder with the short edge
first. Load envelopes flap edge left with the flap side down.
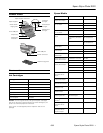
Control Panel
To diagnose problems, check the printer’s control panel, as
described below.
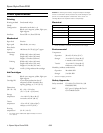
Paper Type Thickness Weight
Single sheets Plain, bond, and
special ink jet
papers
distributed by
Epson
0.003 to 0.004 inch
(0.08 to 0.11 mm)
for plain bond paper
17 to 24 lb
(64 to 90 g/m
2
)
for plain bond
paper
Envelopes Plain, bond, or
air mail paper
0.006 to 0.02 inch
(0.16 to 0.52 mm)
12 to 20 lb
(45 to 75 g/m
2
)
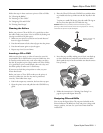
A The minimum top margin is 0.12” (3.0 mm).
B-L The minimum left margin is 0.12” (3.0 mm).
B-R The minimum right margin is 0.12” (3.0 mm).
C The minimum bottom margin is 0.12” (3.0 mm).
D-L The minimum left margin is 0.12” (3.0 mm).
D-R The minimum right margin is 0.12” (3.0 mm).
E The minimum bottom margin is 0.78” (20.0 mm) for Windows.
The minimum bottom margin is 0.12” (3.0 mm) for Macintosh.
Normal Borderless*
Envelopes
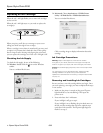
Lights Explanation
Green P power light
flashes
The printer is receiving a print job, replacing
an ink cartridge, charging ink, or cleaning the
print head.
Red ) paper light is
on
If the CD/DVD tray guide is open, close the
CD/DVD tray guide, load paper, then press
the ) paper button.
Your paper ran out or more than one sheet
loaded at a time. Load paper and press the
) paper button.
When printing on CDs or DVDs, the CD/DVD
tray is not inserted in the printer. Insert the
CD/DVD tray into the printer and press the )
paper button (see “Inserting a CD or DVD” on
page 7).
Red ) paper light
flashes
Paper is jammed in the printer.
Press the ) paper button to eject the
jammed paper. If the light is still flashing,
open the cover and remove all paper,
including any jammed or torn pieces. Then
reload paper and press the ) paper button to
continue printing.
When printing on CDs or DVDs, the CD/DVD
tray is jammed in the printer.
Pull out the CD/DVD tray and press the )
paper button.
Red H ink light flashes One or more cartridges are low on ink. Check
the message that appears on your screen to
determine which cartridge is low, or follow
the instructions in “Checking the Ink Supply”
on page 4. Make sure you have a
replacement cartridge.
Red H ink light is on One or more cartridges are out of ink or not
installed. Make sure you have a replacement
cartridge, then follow the steps in “Replacing
an Ink Cartridge” on page 4.
If you have just installed a new cartridge, it
may be incompatible with the printer or
incorrectly installed. Reinstall it or replace it
with the correct cartridge as described on
page 4.
Red H ink and red
) paper lights flash
alternately
The CD/DVD tray guide was left open when
you turned on the printer or when printing on
paper. Close the CD/DVD tray guide.
Green P power light is
off; red ) paper and
red H ink lights flashing
Paper may be blocking movement of the print
head. Turn off the printer, then open the
cover and remove any jammed paper or other
foreign objects. Turn the printer back on
again. If the lights are still flashing, contact
your dealer or Epson as described in your
Printer Basics book.
The printer may have an internal error. Turn
off the printer, wait a few seconds, then turn
it on again. If the lights are still flashing,
contact your dealer or Epson as described in
your Printer Basics book.


