


Epson Stylus Photo R220
6/05 Epson Stylus Photo R220 - 9
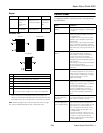
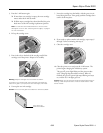
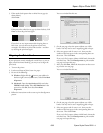
5. If the nozzle check pattern has no white lines or gaps (as
shown below),
click
Finish.
If the pattern has white lines or gaps (as shown below), click
Clean to clean the print head again.
If you don’t see any improvement after cleaning three or
four times, you can also turn the printer off and wait
overnight—this allows any dried ink to soften—and then
try cleaning the print head again.
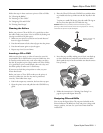
Aligning the Print Head
If your printouts contain misaligned vertical lines, or you see
light or dark horizontal banding, you may need to align the
print head.
1. Turn on the printer.
2. Load several sheets of plain, letter-size paper.
3. Do one of the following:
❏ Windows: Right-click the icon on your taskbar (in
the lower right corner of your screen). Select
Print Head
Alignment
.
❏ Macintosh: Open the
Applications folder and select
EPSON Printer Utility. Select SP R200 Series in the
printer list, click
OK, then select Print Head
Alignment
.
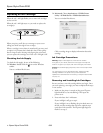
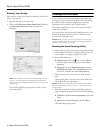
4. Follow the instructions on the screen to print the alignment
pattern.
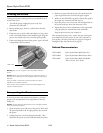
You see a window like this one:
5. On the test page, select the square without any visible
bands. You may need to use a magnifying glass or loupe.
6. Select one square each for rows 1 to 4, then enter the
number of the best square in the corresponding boxes on
the screen. Then click
Next.
If you can’t find a square without visible bands, choose the
one that’s best. Then click
Realignment to print another
test page and repeat this step.
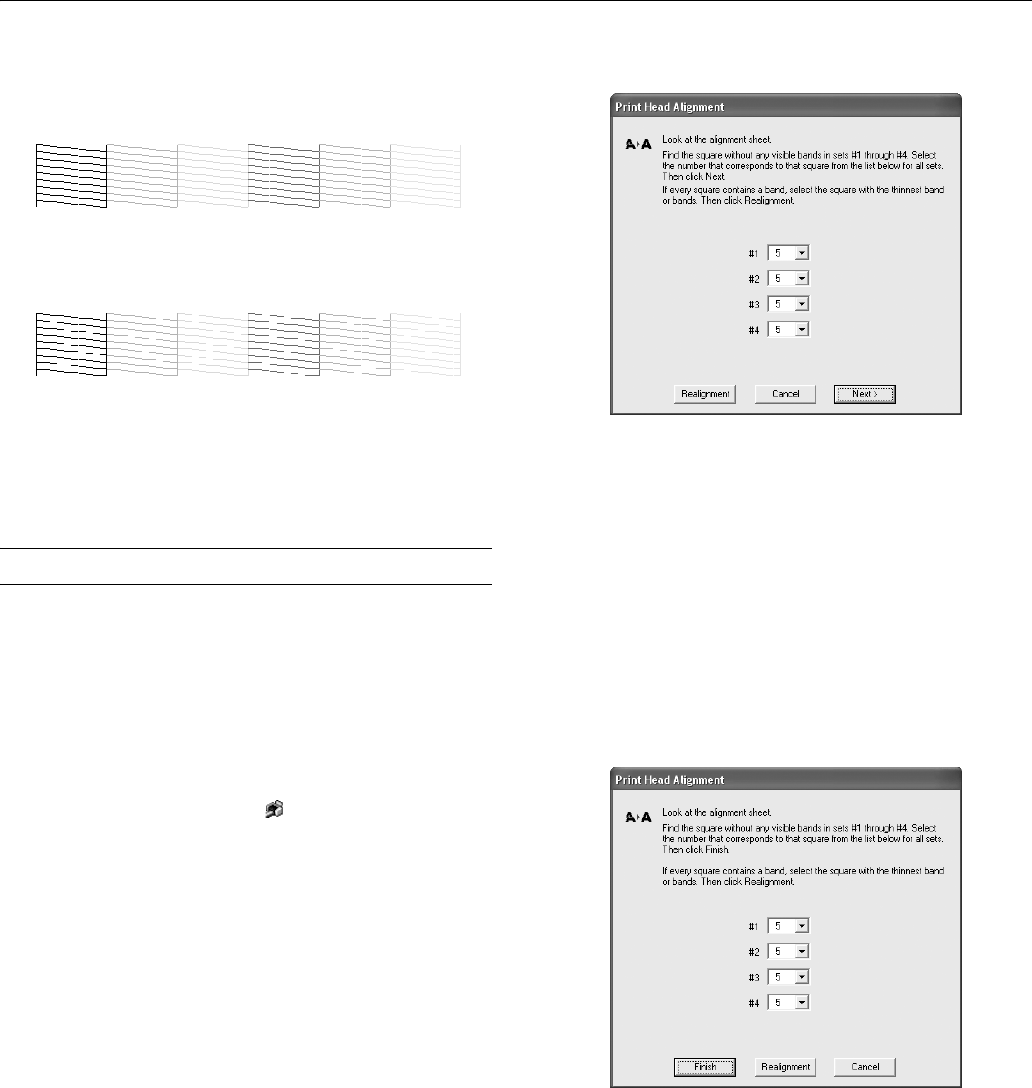
7. After you click
Next, follow the instructions on the screen
to print the next test page.
You see a window like this one:
8. On the test page, select the square without any visible
bands. You may need to use a magnifying glass or loupe.
9. Select one square each for rows 1 to 4, then enter the
number of the best square in the corresponding boxes on
the screen. Then click
Finish.
If you can’t find a square without visible bands, choose the
one that’s best. Then click
Realignment to print another
test page and repeat this step.