EVS200A/AW
12
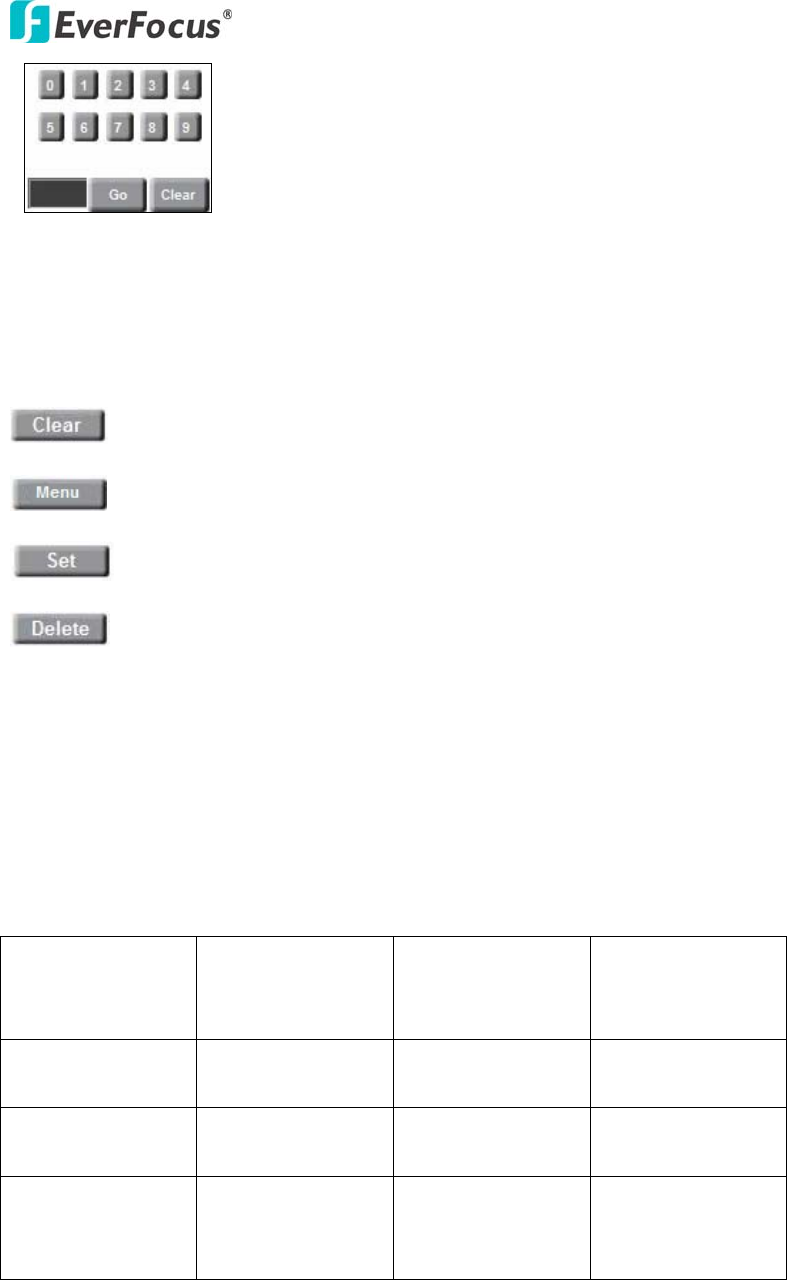
Number button, Go button and Clear button:
- Click desire number button and it will show in the gray text area at lower-left
corner.
- Click “Clear” button to clear the text area.
- Click “Go” button to run a selected function.
Clear button: Click this button to clear the digit selection indicator.
Menu button: Click this button to enter to OSD menu.
Set button: Click this button to set preset point.
Delete button: Click this button to delete preset point.
○
2
On Screen Control:
The whole screen is divided into 16 areas. Every area corresponds to a PTZ function,
click on an area to execute the specific function of PTZ. Please see the table of the
PTZ function with its mapping area number below. (Please refer to the above
screenshot for the area number).
1. PTZ pan and tilt
to left and up
directions
2. PTZ tilt up
3. PTZ tilt up 4. PTZ pan and tilt
to right and up
directions
5. PTZ pan left 6. Focus Closer 7. Zoom In
8. PTZ pan right
9. PTZ pan left 10. Focus Further 11. Zoom Out
12. PTZ pan right
13. PTZ pan and
tilt to left and
down directions
14. PTZ tilt down
15. PTZ tilt down
16. PTZ pan and
tilt to right and
down directions
