


39
Advanced Features
3
38
i
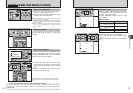
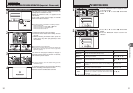
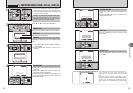
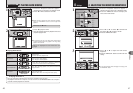
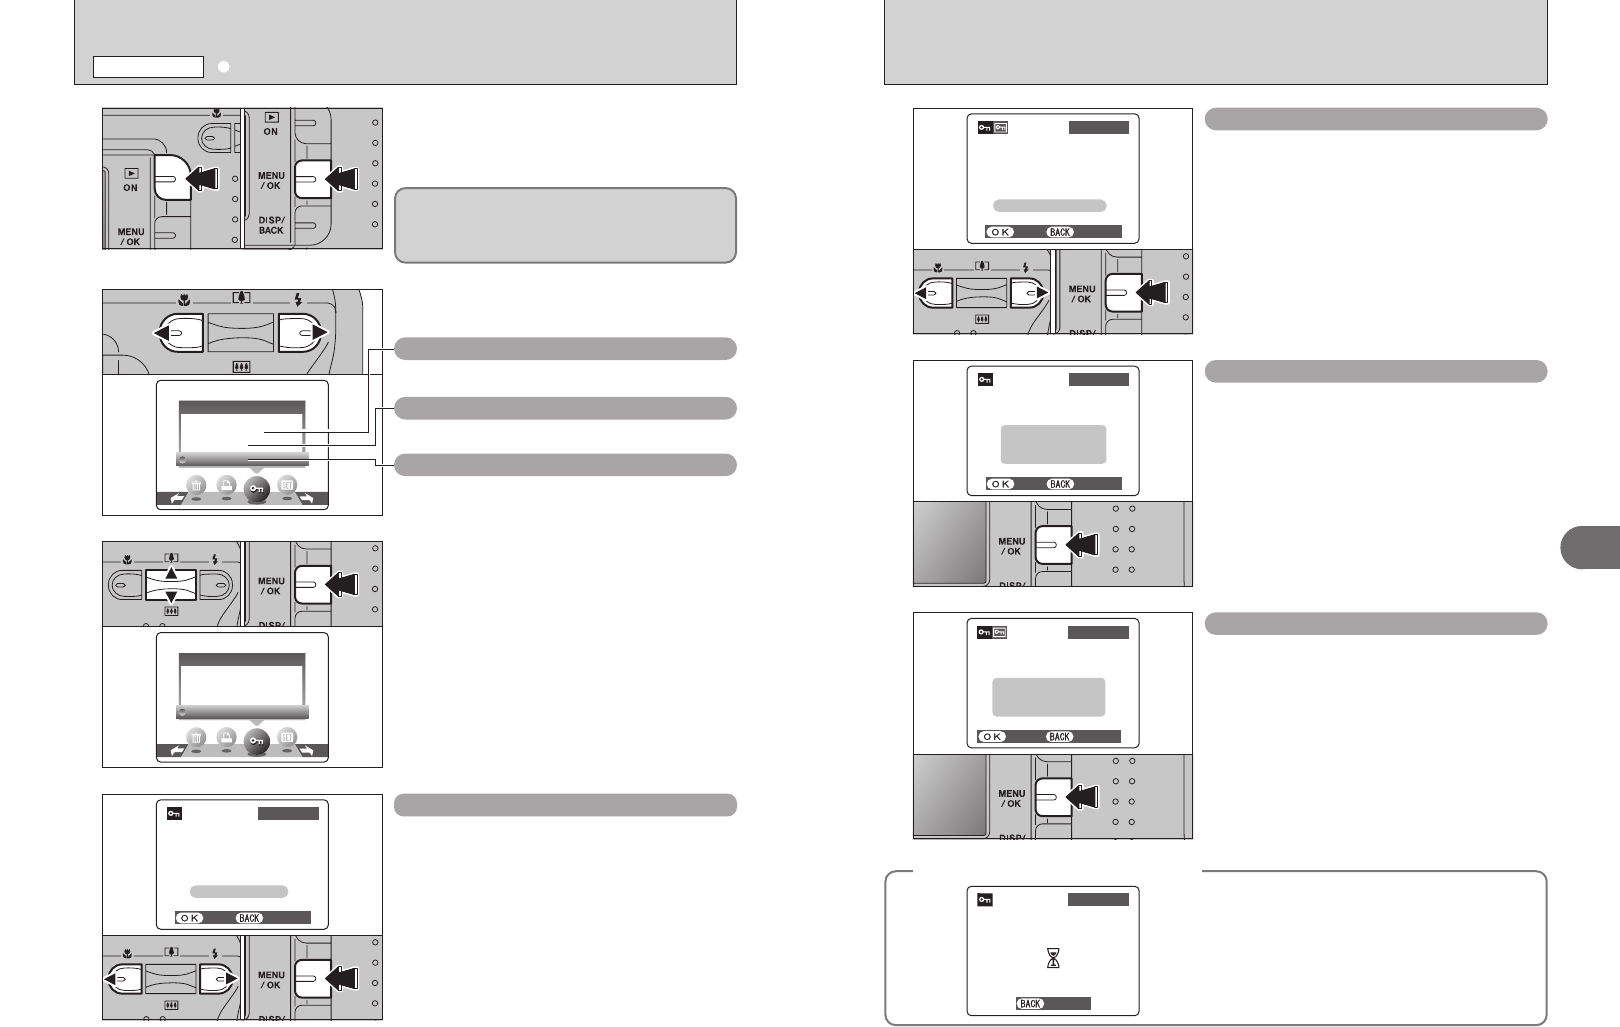
PROTECTING IMAGES: FRAME / SET ALL / RESET ALL
PLAYBACK MENU
1
2
3
4
1Press the “Playback” button for approx. 1
second to turn the camera on in Playback mode.
2Press the “MENU/OK” button to display the
menu on the LCD monitor.
Press “d” or “c” to select “i” PROTECT.
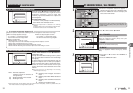
1Press “a” or “b” to select “FRAME”, “SET ALL”
or “RESET ALL”.
2Press “MENU/OK” button to confirm your
selection.
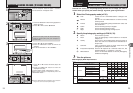
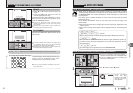
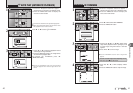
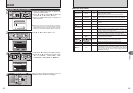
1Press “d” or “c” to select the frame (file) to be
protected.
2Press the “MENU/OK” button to protect the
frame (file) currently displayed.
To protect another frame (file), repeat steps 1 and
2. To finish protecting frames (files), press the
“DISP/BACK” button.
FRAME SET
Protection is a setting that prevents frames (files)
from being accidentally erased. However, the
“FORMAT” function erases all the frames (files),
including protected frames (files) (➡P.50).
01 02
01 02
01 02
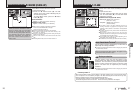
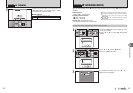
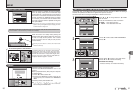
RESET ALL
Removes the protection from all the frames (files).
SET ALL
Protects all the frames (files).
FRAME
Protects or unprotects only the selected frame
(file).
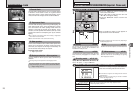
01 02
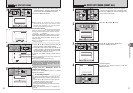
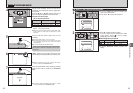
1Press “d” or “c” to select the protected frame
(file).
2Press the “MENU/OK” button to unprotect the
displayed frame (file).
FRAME RESET
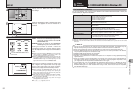
Press the “MENU/OK” button to protect all the
frames (files).
SET ALL
Press the “MENU/OK” button to unprotect all the
frames (files).
RESET ALL
◆
To stop the procedure mid-way
◆
If the images are very large, protecting or
unprotecting all the frames (files) may take some
time.
If you want to take a picture or recording a movie
during the procedure, press the “DISP/BACK” button.
To then return to protecting or unprotecting all the
frames (files), start the procedure on P.38 from step
1.