


49
Settings
4
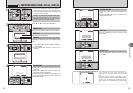
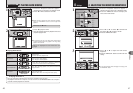
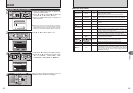
■ SET-UP menu options
IMAGE DISP.
1
2
3
4
ON/OFF ON
Specifies whether an image checking screen (photography result)
appears after taking a picture.
The image appears for a few moments and then recorded.
POWER SAVE
2 MIN/5 MIN 2 MIN
Reduces the camera’s power consumption and to subsequently
turn the camera off when not being used. See P.50 for details.
FORMAT OK – Erases all files. See P.50 for details.
§ BEEP
LOW/HIGH/OFF LOW
Sets the volume of the tone emitted when the camera controls
are used.
DATE/TIME SET – Corrects the date or time. See P.13 for details.
TIME
DIFFERENCE
SET – Specifies the time difference settings. See P.51 for details.
qLCD
ON/OFF ON
Specifies whether the LCD monitor is ON or OFF when the
camera is turned on in Photography mode.
FRAME NO. CONT./RENEW CONT.
Specifies whether frame numbers are assigned consecutively
from previous numbers or begin again. See P.52 for details.
USB MODE
¶/qWEB/
¢
¶
Selects the function when the camera is connected to a computer
or a printer. See P.61 for details.
ENGLISH
Specifies the language used for LCD monitor display.
VIDEO SYSTEM
NTSC/PAL – Specifies whether video output is set to NTSC or PAL.
qRESET
OK –
Resets all the camera settings (other than the DATE/TIME, TIME
DIFFERENCE LANG. and VIDEO SYSTEM) to the factory
default values set at shipment. A confirmation message appears
when you press “c”. To reset the camera settings, press the
“MENU/OK” button again.
DISCHARGE OK – Discharges rechargeable batteries. See P.76 for details.
Settings Display
Factory default
Explanation
48
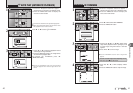
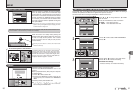
SET-UP
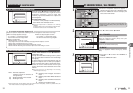
F USING THE SET-UP SCREEN
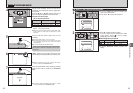
●
!
Always turn the camera off when replacing the batteries.
Opening the battery cover or disconnecting the AC power
adapter without turning the camera off may cause the camera
settings to revert to the factory default values set at shipment.
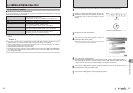
1Press the “MENU/OK” button to display the
menu on the LCD monitor.
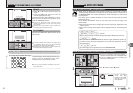
2Press “d” or “c” to select “F” OPTION and
then press “a” or “b” to select “SET-UP”.
3Press the “MENU/OK” button to display the
SET-UP screen.
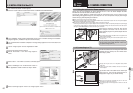
Press “d” or “c” to move to option 1 to 4.
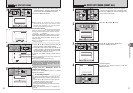
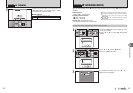
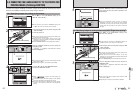
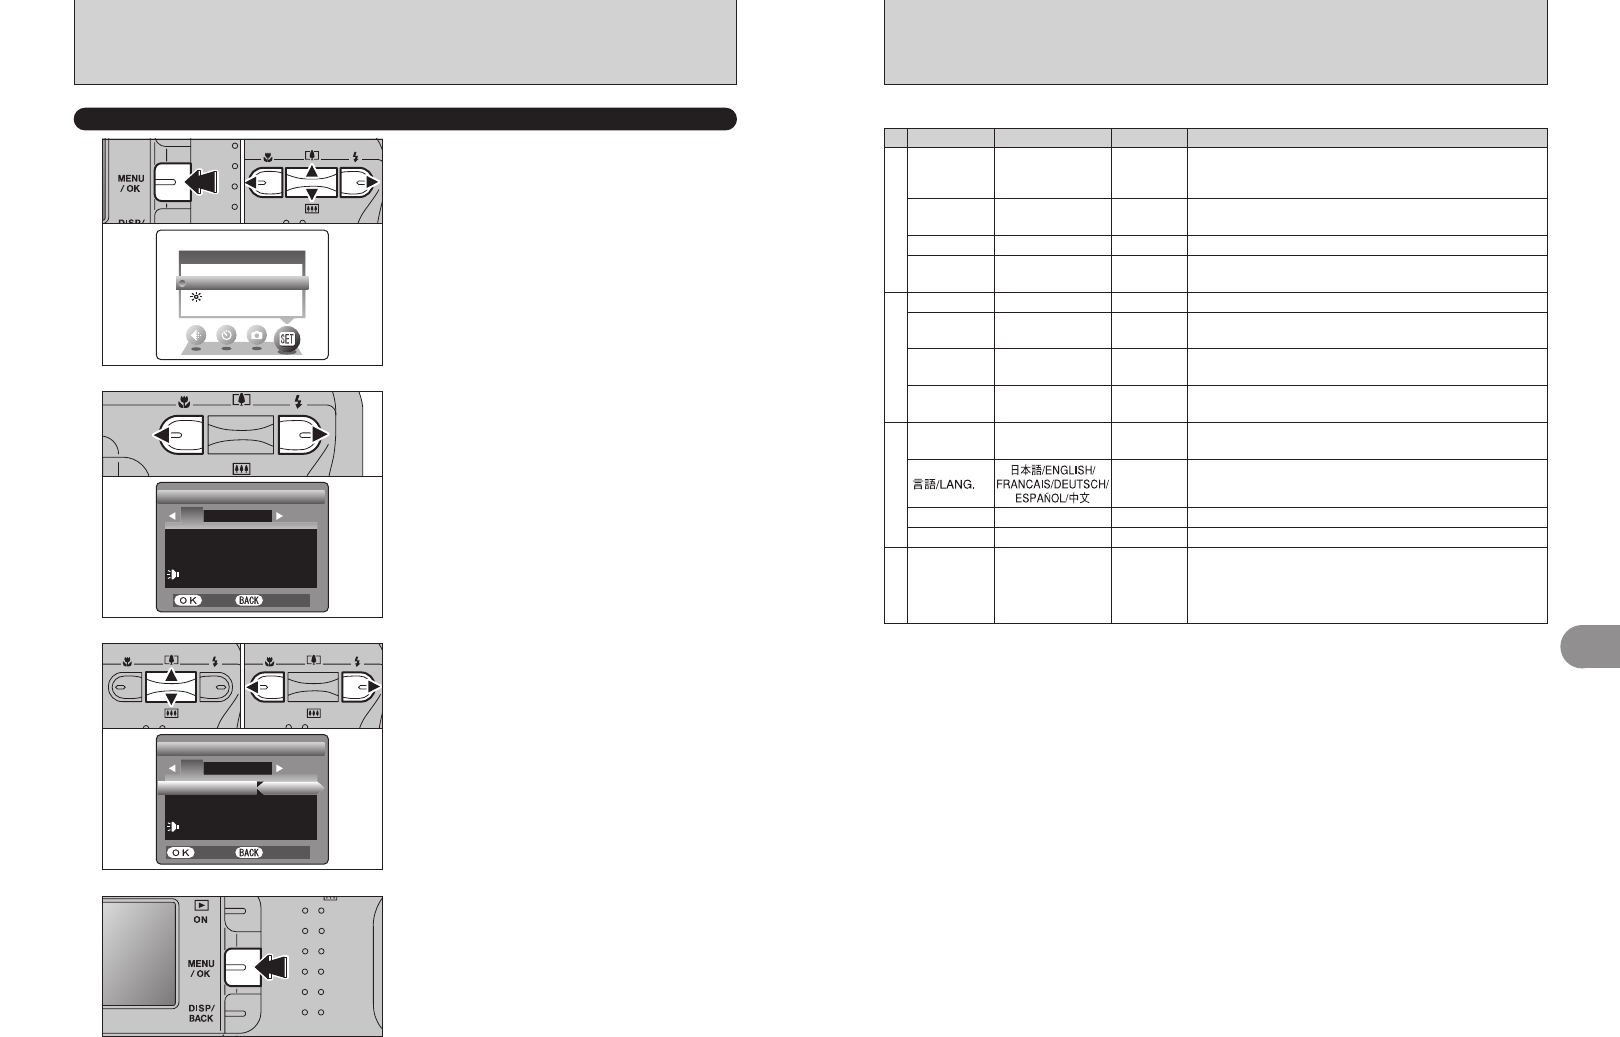
After you have changed the settings, press the
“MENU/OK” button to confirm the changes.
1Press “a” or “b” to select a menu option and then
2Press “d” or “c” to change the setting. Press
“c” for “FORMAT”, “DATE/TIME”, “TIME
DIFFERENCE”, “DISCHARGE” or “qRESET”.
3
4
01
02
01
0203
1
2