


221
7.5 Test Mode Details
7
SETUP MODE
Press (Enter button) and confirm the setting.Then the display goes back to
<Screen50-2>.
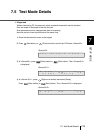
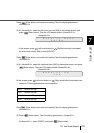
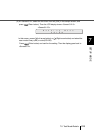
(3) At <Screen50-2>, select the third item from left, [BW] in the sample screen, and
press (Enter button). Then the LCD display shows <Screen50-2.3>.
<Screen50-2.3>
In this screen, press (Left arrow button) or (Right arrow button) and select
the scan mode: binary (BW) or color(COLOR).
Press (Enter button) and confirm the setting.Then the display goes back to
<Screen50-2>.
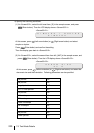
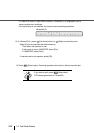
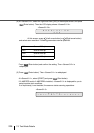
(4) At <Screen50-2>, select the right most item, [200] in the sample screen, and press
(Enter button). Then the LCD display shows <Screen50-2.4>.
<Screen50-2.4>
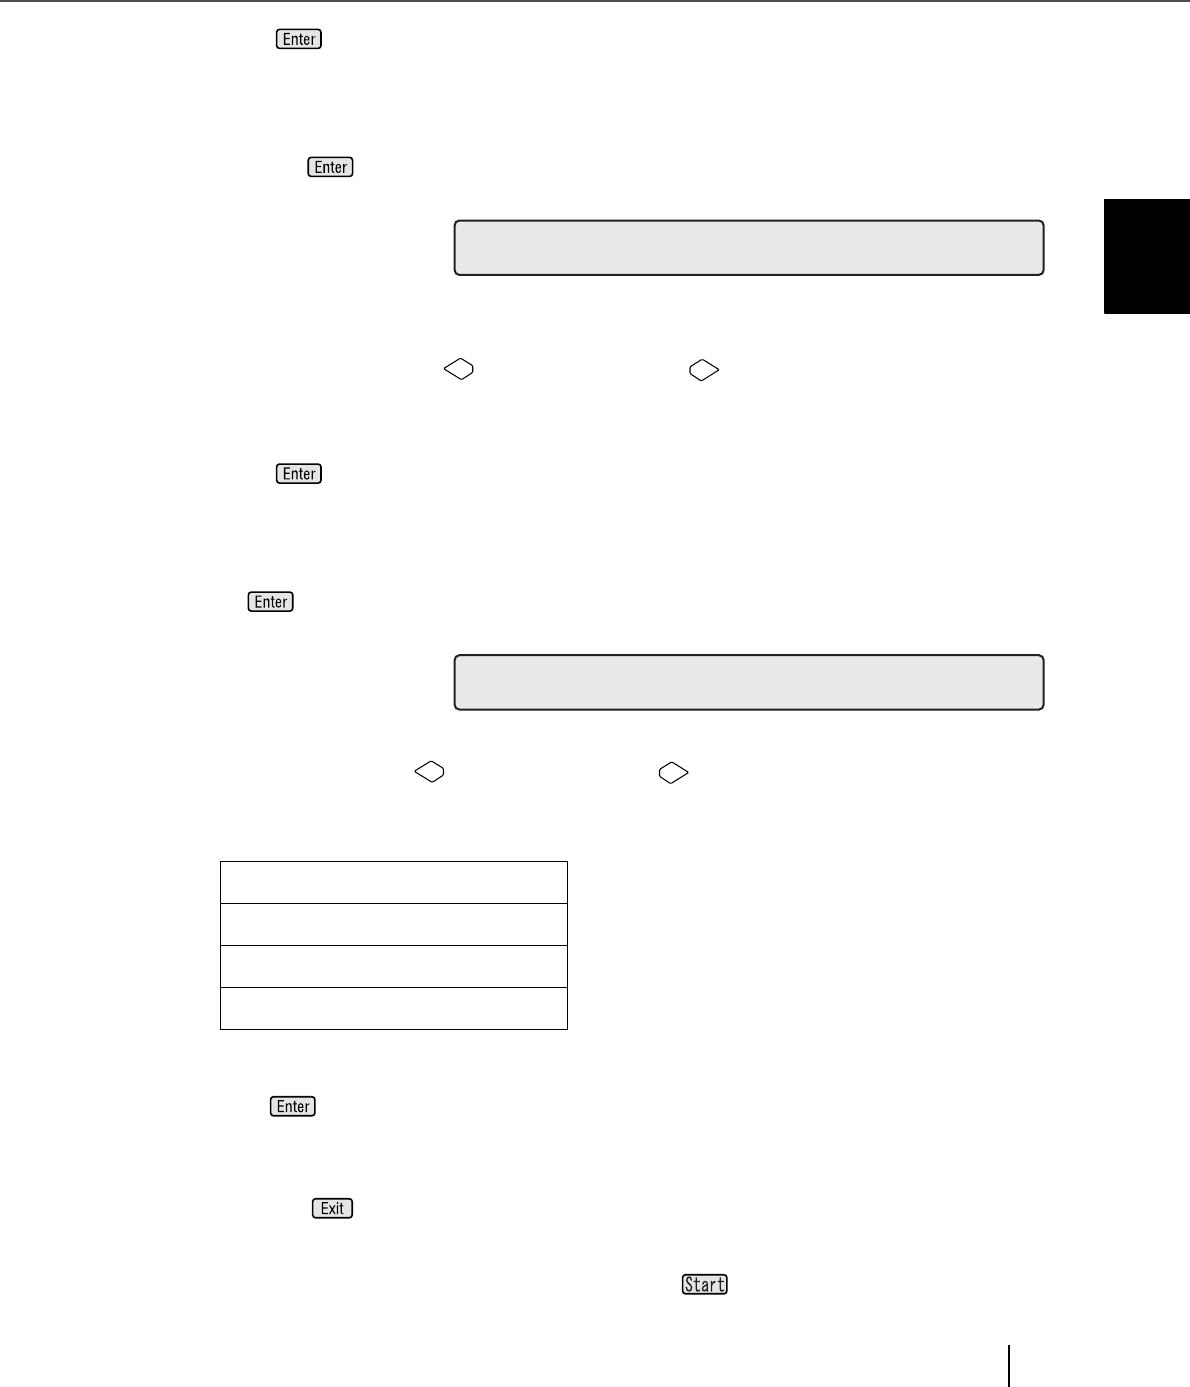
At this screen, press (Left arrow button) or (Right arrow button) and select scan
resolution. Following parameters can be specified.
Press (Enter button) and confirm the setting.Then the display goes back to
<Screen50-2>.
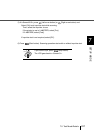
(5) Press (Enter button). Then the display goes back to <Screen50-1>.
At <Screen50-1>, select [START], and press (Start button).
200: Scan at 200 dpi
240: Scan at 240 dpi
300: Scan at 300 dpi
400: Scan at 400 dpi
O
RL
e
da
i
n
o
g
M
d
R
e
O
C
2
0
E
OS
L
U
O
T
I
N
R
0