22
5 Test-Scanning Documents
Using ScandAll PRO, you can test-scan documents to check if they are scanned with the ADF correctly.
For how to scan documents with the flatbed, refer to “Chapter 5 Various Documents” in the Operator’s
Guide.
The following describes how to test-scan a document:
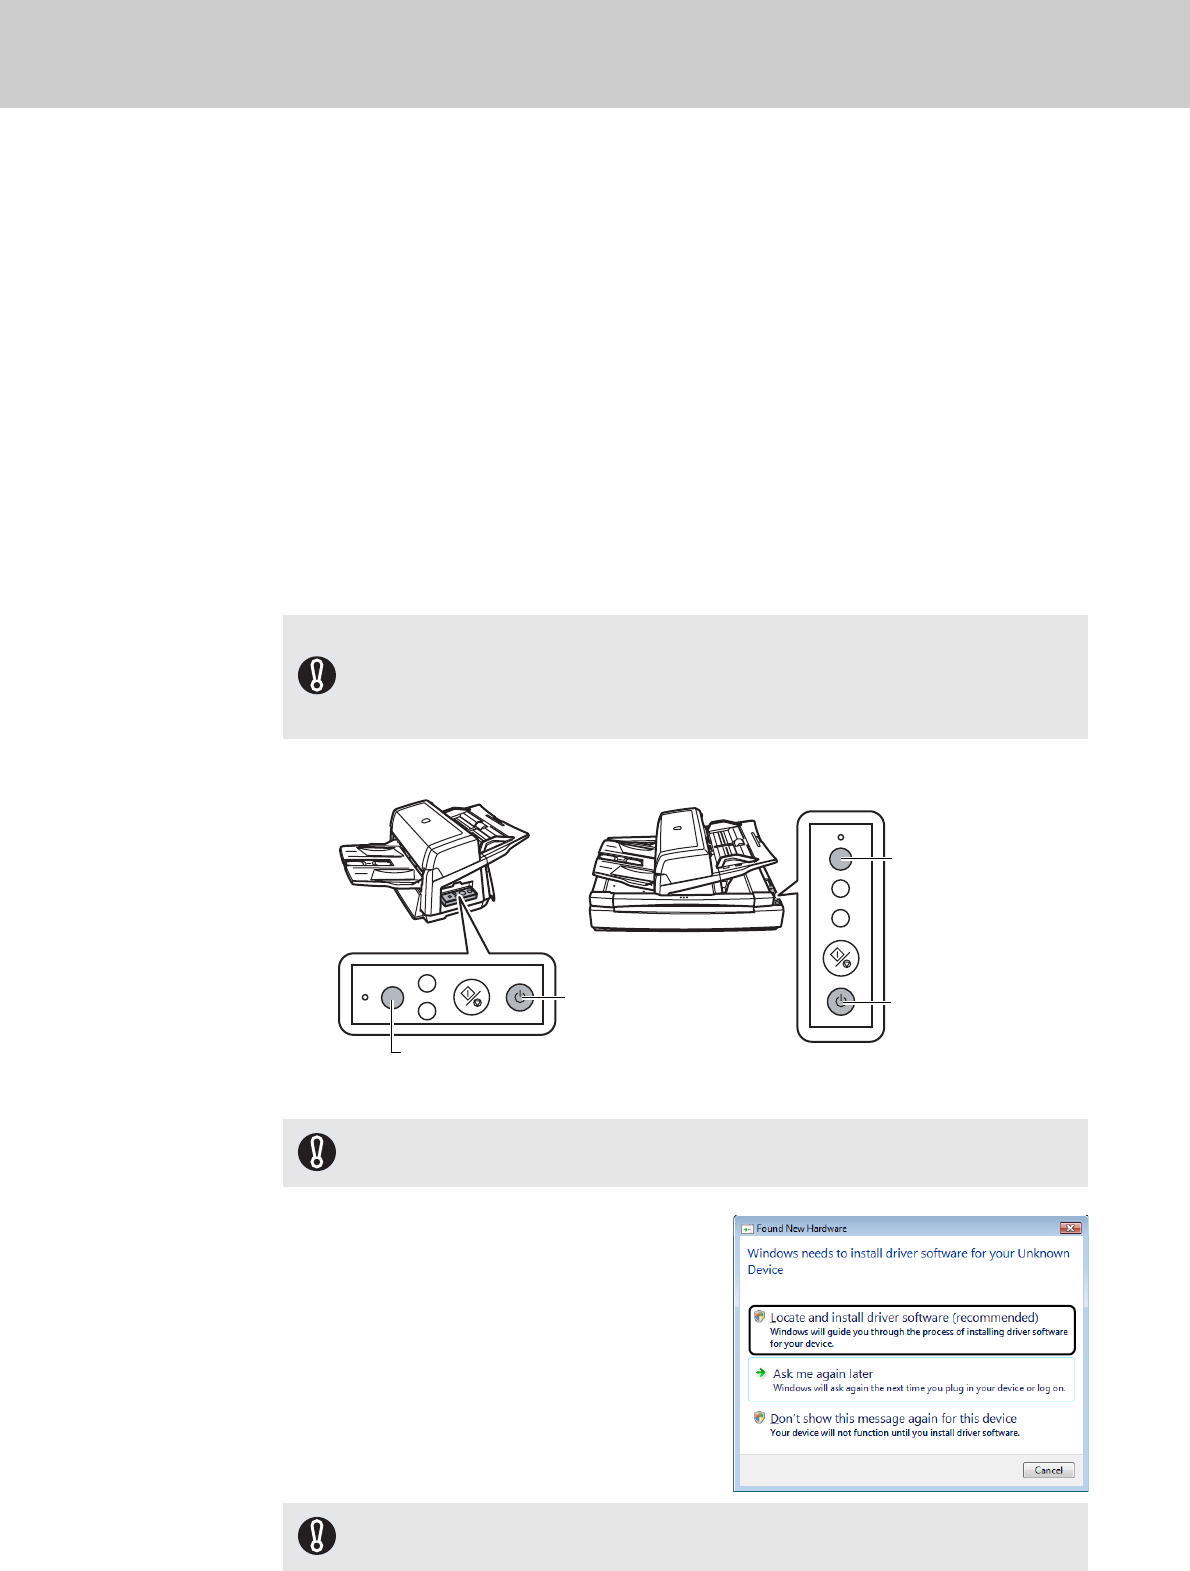
1 Turn on the scanner.
1)
Press the “I” side of the main power switch of the scanner.
2) Press the [Power] button on the Operator Panel.
The scanner is turned ON, and the Power LED on the Operator Panel lights in green.
Note that while the scanner is being initialized, the indication of the Function Number Display
changes as; "8"
D "P" D "1", where "1" means that the Operator Panel is in the Ready Status.
2 Turn on your computer.
3 The scanner is automatically detected, and
the [Found New Hardware] dialog box
appears.
Select [Locate and install driver software
(recommended)] to install the driver,
following the on-screen instructions.
If you see an error indication other than the above on the Function Number Display, refer to “Chapter
8 Troubleshooting” in the Operator’s Guide.
Ex. :If “U” is displayed on the Function Number Display, it means that the Transport Lock remains
locked. In such case, you need to unlock the Transport Lock.
For how to unlock the Transport Lock, refer to “Section 2 Installing the Scanner” (on page 12).
For a SCSI connection, turn on the scanner and confirm that the Function Number Display shows “1.”
Then, turn on your computer.
If the connection is made via SCSI Connector 2, there is no need to install the driver here.
Just select [Don’t show this message again for this device].
Check
Function
Send to
Scan / Stop
Power
Check
Function
Send to
Power
Scan / Stop
Operator Panel
ADF type
Flatbed type
Function Number Display
[Power] button
Operator Panel
[Power] button
Function Number
Display


