9
1.5.4 Installation procedure
1. Clean the transducer face to remove any foreign material. Lightly roughen the
transducer face with #100 sandpaper. Also, roughen the inside of the hull where
the transducer is to be mounted.
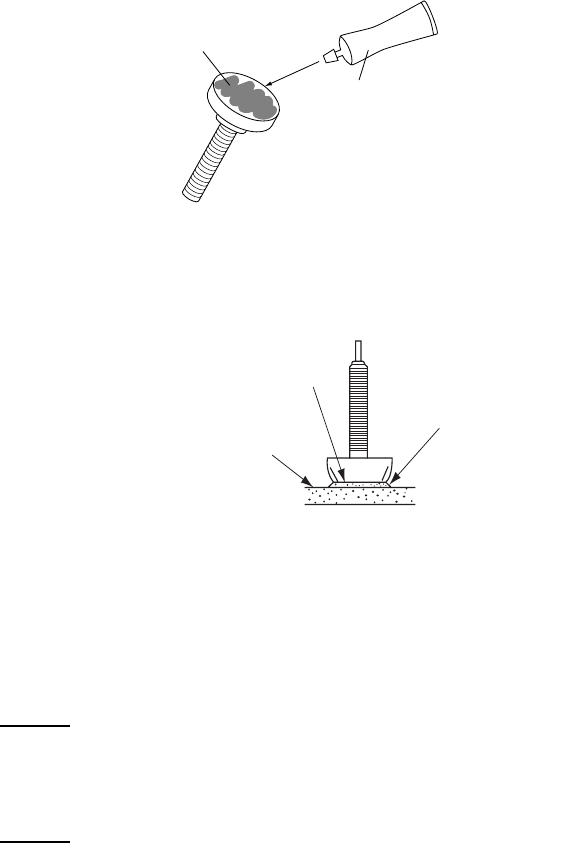
2. Warm the silicone sealant to 40°C before usage to soften it. Coat the transducer
face and mounting location with silicone sealant.
Coating the transducer face with silicone sealant
3. Press the transducer firmly down on the hull and gently twist it back and forth to
remove any air which may be trapped in the silicone sealant.
Attaching transducer to hull with silicone sealant
4. Connect this unit to NavNet equipment and turn on the NavNet equipment.
5. Set up the NavNet equipment to show “single frequency display”.
6. Set the gain to “50”.
7. Set the range to “10”.
Case 1
The installation is proper if the bottom echo is displayed in red and the depth indi-
cation is shown. Go to step 9.
Case 2
The bottom echo is not displayed in red when ultrasound attenuation is great. Re-
locate the transducer as shown in step 8
8. Re-locating the transducer.
1) Turn off the power.
2) Detach the transducer. Insert a knife or wooden stick under transducer to
remove it
3) Repeat steps 1 thru 7.
9. Fix the transducer.
Transducer face
Silicone sealant
Hull
Silicone sealant
Twist to squeeze out air bubbles.


