21
C
C
h
h
o
o
o
o
s
s
i
i
n
n
g
g
a
a
P
P
o
o
r
r
t
t
DDOOMMEE PPOORRTT
#5503..........Wide angle 28mm to 17mm
....................or lens up to 7.6cm (3") in length
#5503.20 ....Nikon 18 & 20mmD lenses
#5503.50 ....Lens 7.6-10.1cm (3-4")
#5503.55 ....Lens 8.9-11.4cm (3.5-4.5")
#5503.80 ....Lens 10.1-12.7cm (4-5")
#5503.85 ....Lens 12.7-15.2cm (5-6")
Some zoom lenses that will not focus to a minimum of 12" will require the
addition of a +4 diopter close-up lens. (Available from camera store).
SSUUPPEERRWWIIDDEE DDOOMMEE PPOORRTT
Superwide lens 110° to 170°.
#5503.15 Lens up to 6.3cm (2.5")
NOTE: Information regarding the Ikelite 8” dome port system and
modular port system is available at www.ikelite.com
• With the lens on the camera extended
to full length, measure from front of
camera to face of lens.
• Select the appropriate port based on the
lens type and length.
• Maximum lens diameter accommodated
is 8.4cm (3.3")
• Maximum lens diameter when using
zoom or focus clamp 7.1cm (2.8").
Standard clamp - 2.8".
#5509.28 - 2.8" to 3"
Measure
22
PPoorrttss CCoonnttiinnuueedd
FFLLAATT PPOORRTT
For standard, macro, and telephoto lenses.
Due to refraction flat ports reduce the angle-of -coverage of a lens
and at the same time enlarge the image. This makes the flat port
i
deal when using standard, macro or zoom lenses to shoot small
subjects. Note that if a port is long enough to accommodate the
full length of a 1:1 macro lens, the lens may vignette when used at
infinity. If access to the lens' full range is desired, then select a
d
ome port instead.
FFLLAATT PPOORRTT
5501 . . . . . . Lens up to 6.3cm (2.5")
5502 . . . . . . Lens 6.3-8.9cm (2.5-3.5")
5502.41. . . . Lens 7.9-10.4cm (3.1-4.125")
5505 . . . . . . Lens 8.9-11.4cm (3.5-4.5")
5505.45. . . . Lens 10.4-13cm (4.1-5.125")
5505.5. . . . . Lens 11.4-14cm (4.5-5.5")
5505.58. . . . Lens 13-15.5cm (5.1-6.125")
FFLLAATT PPOORRTT WWIITTHH FFOOCCUUSS
For long lenses whose focus collar extends beyond the housing
focus. Telephoto lenses longer than 135mm are not recommended.
5506 . . . . . . Lens 8.9-11.4cm (3.5-4.5")
5506.5. . . . . Lens 11.4-14cm (4.5-5.5")
5507 . . . . . . Lens 14-16.5cm (5.5-6.5")
5508 . . . . . . Lens 16.5-19cm (6.5-7.5")
5508.05. . . . Nikor 105mm lens only
23
24
CCoonnttrrooll MMaaiinntteennaannccee
Ikelite controls are designed to provide years of reliable service
with minimal maintenance.
1. Push button controls require no maintenance other than rinsing
in fresh water after saltwater use. If a push button control
becomes difficult to push or if it sticks when depressed, soak the
housing in luke warm fresh water. After a few minutes operate
the push button. If this does not correct the problem, return the
housing to Ikelite for maintenance.
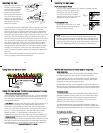
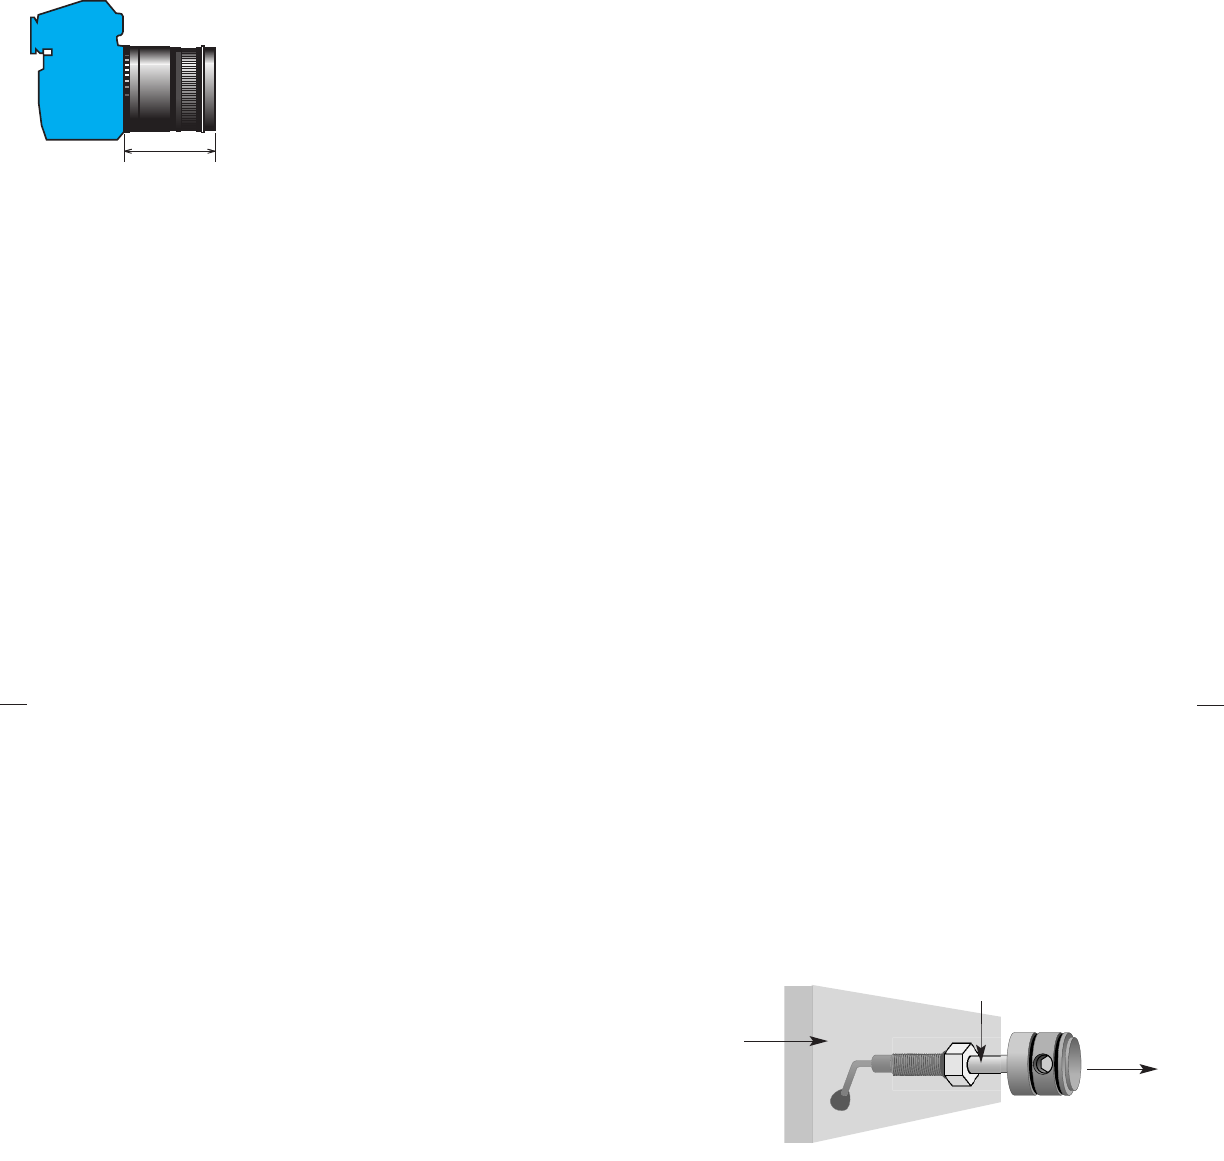
2. Some of the controls have long shafts. These controls can be
pulled out, exposing the shaft (see drawing).
To lubricate the control, gently pull on the knob until the
stainless steel shaft is exposed. Lightly lubricate the shaft, then
move the shaft in and out several times. This will lubricate the
x’ring in the Ikelite control gland. This should be done before
using the housing after a prolonged storage period, or once a
week when the housing is in use.
housing
lubricate shaft
pull out to
expose shaft
MMaaiinntteennaannccee
The Ikelite Housing should be given the same care and attention as
your other photographic equipment. In addition to normal
maintenance we recommend that the housing be returned to
Ikelite periodically to be checked and pressure tested.
1.
DDoo NNoott
leave the camera and housing in direct sunlight for
prolonged periods. Heat may damage the camera.
2.
DDoo NNoott
ship the camera in the housing.
3. Before using the housing, always check the tightness of the
sseett
ssccrreeww
in each control knob.
Check each
ccoonnttrrooll ggllaanndd
penetrating the housing to make sure
they are tight. There is a slight chance that either could vibrate
loose during travel.
4. Keep the back and port o’ring clean and lightly lubricated. To
lubricate, remove the o’ring from the back. Put a small amount
of lkelite lubricant on your fingers. Pull the o’ring through your
fingers to apply a light coating of lubricant. Only apply enough
lubricant to make the o’ring feel slick.
DDoo NNoott ssttrreettcchh tthhee oo’’rriinngg
.
This light coating of lubricant will help to keep the o’ring from
drying out and will help to show a dark sealing line when the
housing back is properly sealed.
5. Keep the area where the o’ring fits and the sealing surface clean.
6. Rinse the housing exterior thoroughly in fresh water after each
salt water use. Depress push buttons several times during rinse.
Dry with a soft cloth. Dry port to eliminate water spotting.
After several uses in salt water soak the housing in a mild soap
solution, rinse and dry.
7. Although not recommended, if it is necessary to remove a
housing push button,
DDoo NNoott
re-use the E-clip. Contact Ikelite
for replacement E-clips (part #0319.12).
CCAAUUTTIIOONN::
N
N
e
e
v
v
e
e
r
r
u
u
s
s
e
e
s
s
p
p
r
r
a
a
y
y
l
l
u
u
b
b
r
r
i
i
c
c
a
a
n
n
t
t
s
s
a
a
s
s
t
t
h
h
e
e
p
p
r
r
o
o
p
p
e
e
l
l
l
l
a
a
n
n
t
t
i
i
n
n
g
g
r
r
e
e
d
d
i
i
e
e
n
n
t
t
c
c
a
a
n
n
c
c
a
a
u
u
s
s
e
e
t
t
h
h
e
e
p
p
l
l
a
a
s
s
t
t
i
i
c
c
h
h
o
o
u
u
s
s
i
i
n
n
g
g
t
t
o
o
c
c
r
r
a
a
c
c
k
k
.
.


