Notes:
z While the camera is connected to your computer, the camera will not allow you to capture images. You will also not be
able to view the images on the camera’s LCD monitor.
z
Please refer to your computer’s instruction manual to ascertain the procedures for copying and shifting of files.
Using the Camera as a USB PC Camera
This camera can also act as a video camera for your PC, allowing you to hold videoconferences over the internet or
corporate intranet.
Before you start, you will have to install the WebCam Driver into your computer, regardless of your PC’s OS version
(Windows 98/98SE/Me/2000/XP).
To install the WebCam Driver:
1. Place the supplied CD-ROM into the CD-ROM drive.
2
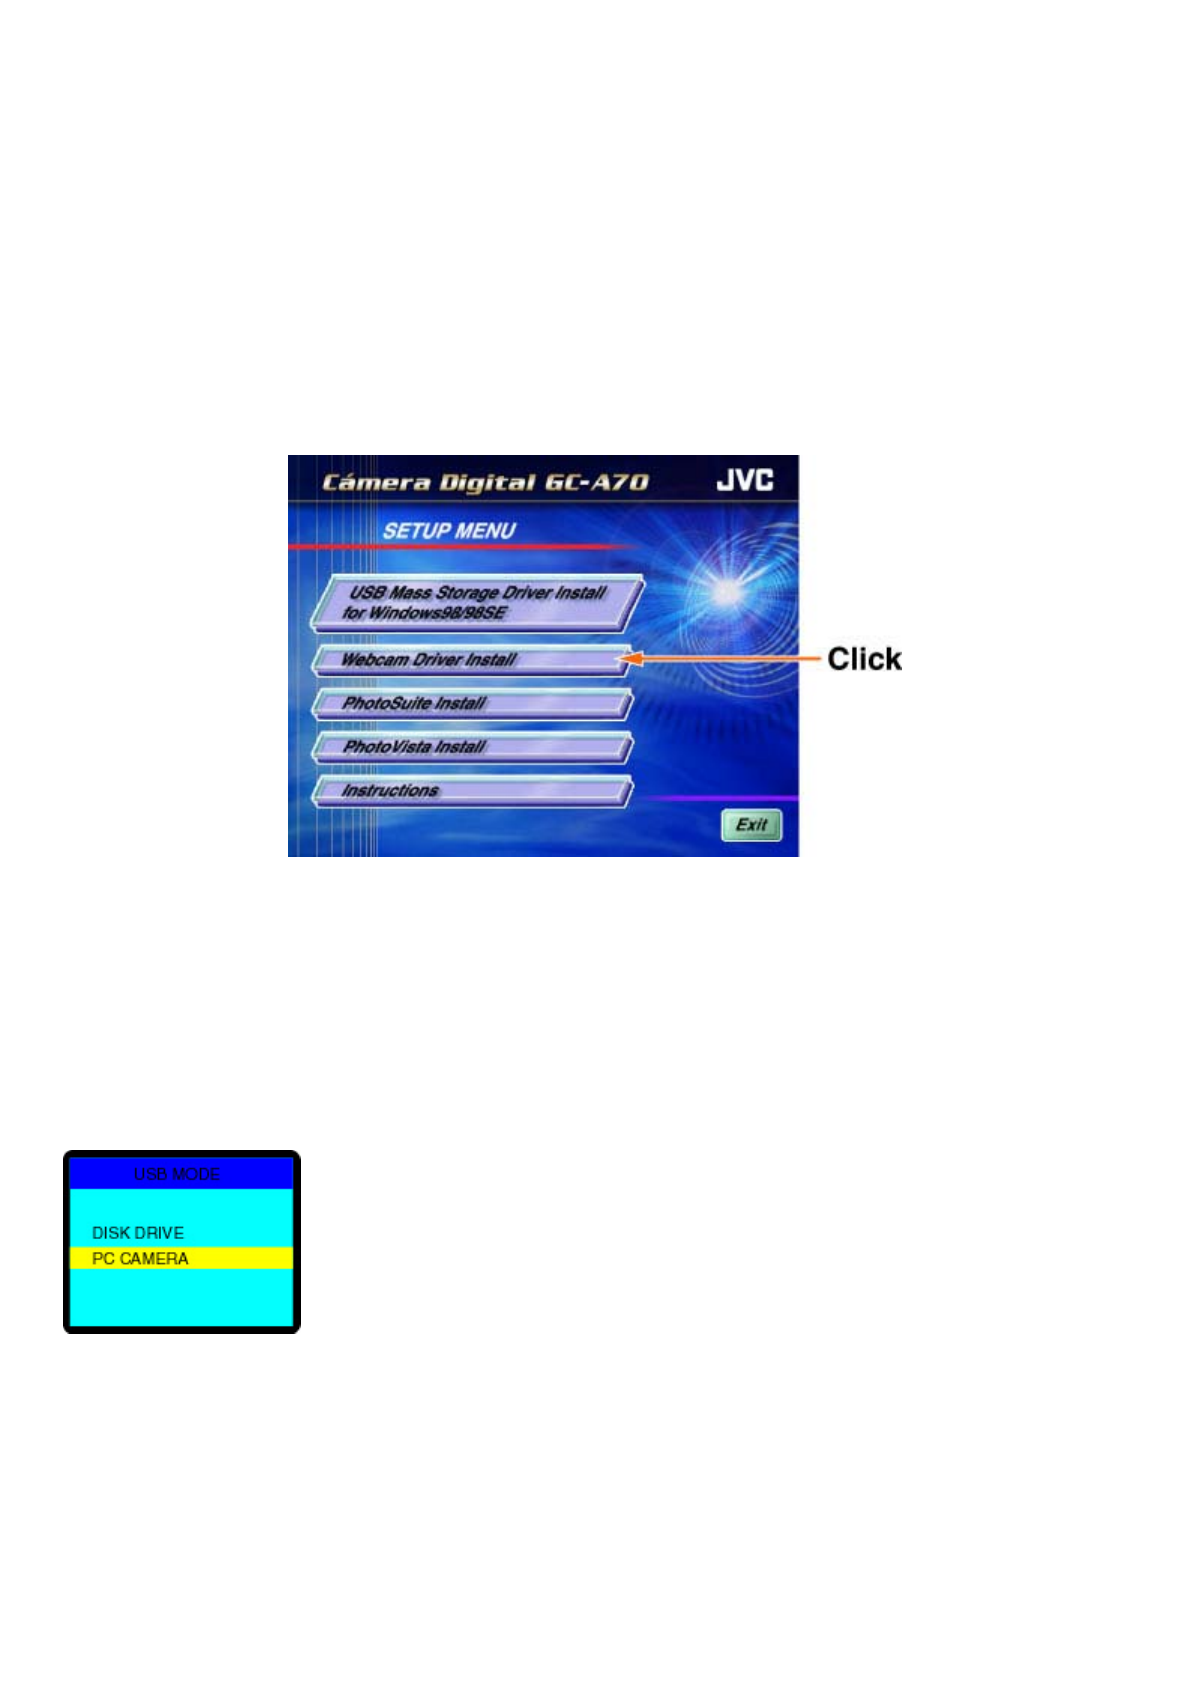
. A Setup Menu screen will appear on the PC monitor as shown below. Click on “Webcam Driver Install”.
3
. Follow the on-screen instructions to complete the installation.
4
. Reboot your computer.
Using your camera as a USB PC camera with Microsoft Netmeeting or Windows Messenger:
1. Make sure you have installed the WebCam Driver.
2
. Make sure that your camera is turned off. Then, connect the USB cable to the camera and your computer’s USB port.
The camera powers ON automatically.
3
. The “USB MODE” screen appears on the LCD monitor as follows:
Select “PC CAMERA” and press the [OK/ZOOM] button.
4
. Your computer will recognize the camera as a newfound hardware and Setup will proceed automatically. This Setup
process is performed only once and will not be necessary for subsequent connections.
Note:
For Windows XP, the computer will display the warning screen as below several times when recognizing the camera.
In this case, please click the “Continue Anyway” button.


