


VIDEO RECORDING
16 EN
MasterPage: Left
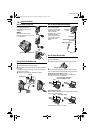
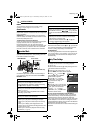
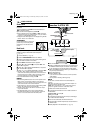
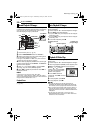
Zooming
Produces the zoom in/out effect, or an instantaneous
change in image magnification.
Zoom In
Slide the Power Zoom Lever towards “T”.
Zoom Out
Slide the Power Zoom Lever towards “W”.
The further you slide the Power Zoom Lever, the quicker the
zoom action.
NOTES:
● Focusing may become unstable during Zooming. In this
case, set the zoom while in Record-Standby, lock the focus
by using the manual focus (੬ pg. 32), then zoom in or out
in Record mode.
● Zooming is possible to a maximum of 500X, or it can be
switched to 10X magnification using the optical zoom.
(੬ pg. 28)
● Zoom magnification of over 10X is done through Digital
image processing, and is therefore called Digital Zoom.
● During Digital zoom, the quality of image may suffer.
●
Macro shooting (as close as approx. 5 cm to the subject) is
possible when the Power Zoom Lever is set all the way to
“W”. Also see “TELE MACRO” in MANUAL Menu on page 28.
● When shooting a subject close to the lens, zoom out first. If
zoomed-in in the auto focus mode, the camcorder may
automatically zoom out depending on the distance between
the camcorder and the subject. This will not occur when
“TELE MACRO” is set to “ON”. (੬ pg. 28)
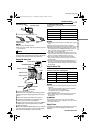
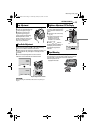
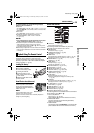
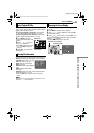
Journalistic Shooting
In some situations,
different shooting
angles may provide
more dramatic results.
Hold the camcorder in
the desired position
and tilt the LCD
monitor in the most
convenient direction. It
can rotate 270° (90°
downward, 180°
upward).
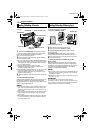
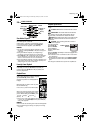
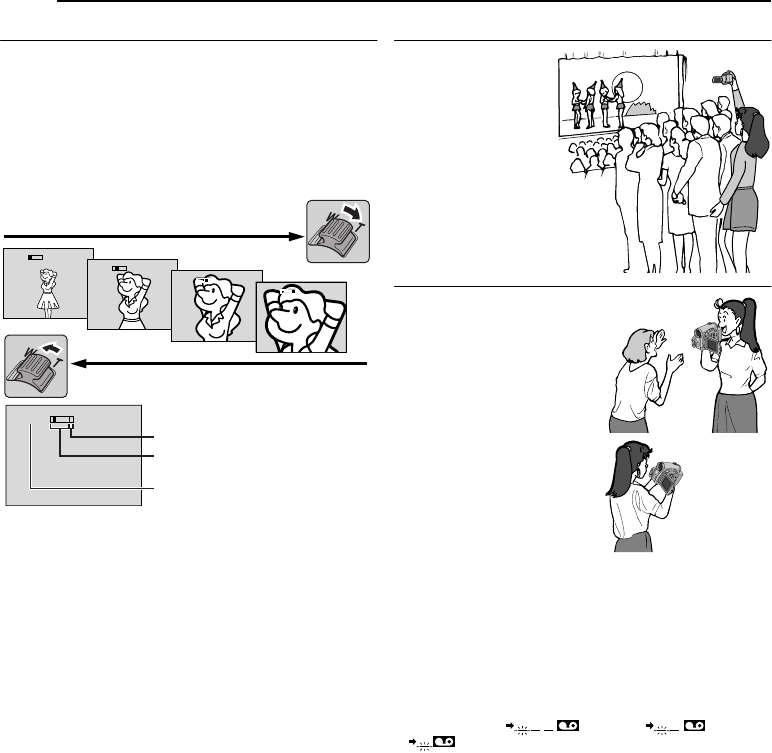
Interface Shooting
The person you shoot can
view himself/herself in the
LCD monitor, and you can
even shoot yourself while
viewing your own image in the
LCD monitor.
1) Open the LCD monitor and
tilt it upward to 180° so that it
faces forward.
2) Point the lens toward the
subject (yourself when self-
recording) and start recording.
● During Interface Shooting, the
monitor image appears
inverted as it would when
viewing a mirror. However, the
actual recorded image does
not appear inverted.
● During Interface Shooting, the “Tape Running” indicator
and warning indications (੬ pg. 47, 48) are the only ones
that are shown; they appear reversed in the display as they
would when viewing a mirror, but are not reversed in the
recording.
● The tape remaining indicator does not appear during
interface shooting. However, when the remaining time
reaches 2 minutes, the indicator appears showing the
remaining time: (blinking) (blinking)
(blinking)
10
x
W
T
1
x
W
T
10
x
W
T
20
x
W
T
40
x
W
T
Digital zoom zone
Zoom in (T: Telephoto)
Zoom out (W: Wide angle)
10X (optical) zoom zone
Approximate zoom ratio
Self
Recording
GR-D231PAL.book Page 16 Thursday, January 22, 2004 2:57 PM