26 EN
Fade/Wipe Effects
These effects let you make pro-style scene
transitions. Use them to spice up the transition
from one scene to the next. You can also vary
transitions from scene to scene.
IMPORTANT:
Some Fade/Wipe Effects cannot be used with
certain modes of Programme AE with special
effects (
੬
pg. 28). If an unusable Fade/Wipe
Effect is selected, its indicator blinks or goes
out.
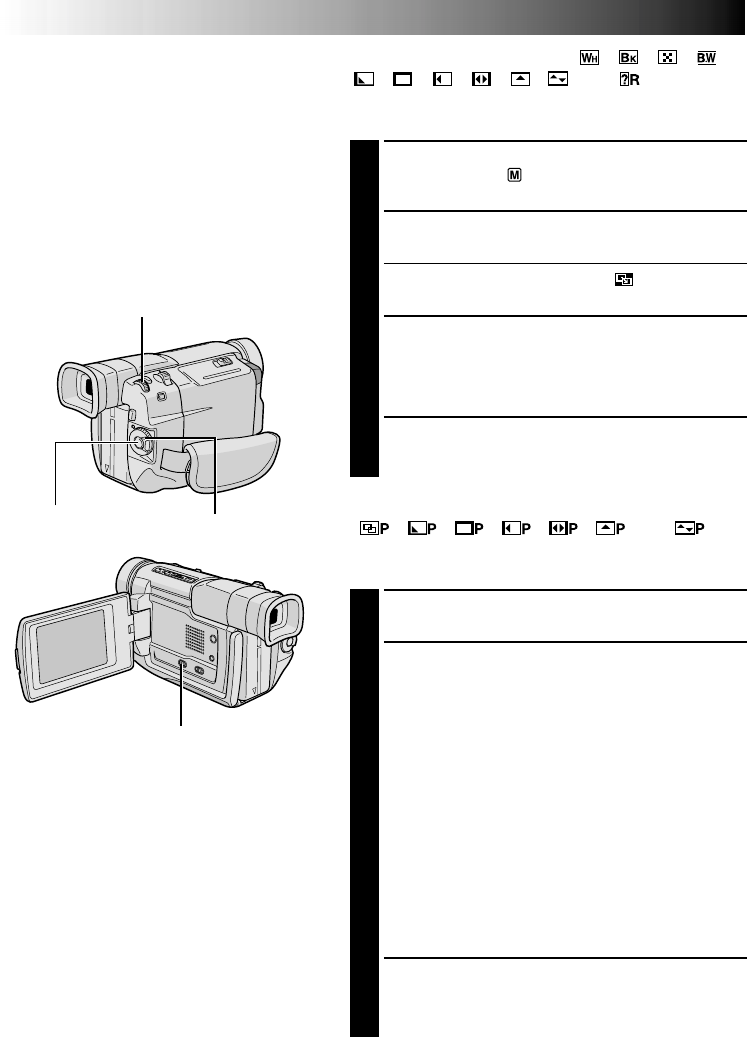
Recording
Start/Stop Button
MENU/BRIGHT Wheel
Power Switch
FADE/WIPE SELECTION ( , , , ,
, , , , , and )
Fade or Wipe works when video recording is started or
when you stop recording.
1
Set the VIDEO/DSC Switch to “VIDEO”, then set the
Power Switch to “ ” while pressing down the Lock
Button located on the switch.
2
Press MENU/BRIGHT. The Menu Screen appears.
3
Rotate MENU/BRIGHT to select “ ”, then press it.
4
Rotate MENU/BRIGHT to select the desired function,
then press it. Selection is complete.
•The FADER/WIPE Menu disappears and the effect is
reserved. The indicator representing the selected
effect appears.
5
Press the Recording Start/Stop Button to activate the
Fade-in/out or Wipe-in/out.
PICTURE WIPE OR DISSOLVE SELECTION
( , , , , , and )
The Picture Wipe or Dissolve works when video recording
is started.
1
Follow steps 1 through 4 above.
2
If you select Picture Wipe/Dissolve during
recording . . .
.... press the Recording Start/Stop Button when one
scene is finished. The point at which the scene
ended is stored in memory.
If you select Picture Wipe/Dissolve during Record-
Standby mode . . .
.... press the Recording Start/Stop Button to start
recording and press it again when one scene is
finished. The point at which the scene ended is
stored in memory.
If you select Picture Wipe/Dissolve during Record-
Standby mode after performing a Picture Wipe/
Dissolve . . .
.... the point at which the scene ended is already
stored in memory.
3
If you start recording a new scene within 5 minutes of
the end of the previous recording (without having
turned the camcorder’s power off), the previous scene
wipes out, revealing the new scene.
To Deactivate The Selected Effect . . .
.... select “OFF” in step 4.
NOTES:
●
You can extend the length of a Fade or Wipe
by pressing and holding the Recording Start/
Stop Button.
●
If the power is turned off after a scene is
finished recording, the stored point is erased,
disabling the Picture Wipe/Dissolve combina-
tion. When this happens, the Picture Wipe/
Dissolve indicator blinks. Also note that
power shuts off automatically if 5 minutes
elapse in the Record-Standby mode.
●
The sound at the end of the last recorded
scene is not stored.
RECORDING
Advanced Features For Video And D.S.C. (cont.)
VIDEO/DSC Switch (Open the
LCD monitor to access this switch.)


