


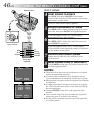

EN49
M 0
:
05
:
20
e
4
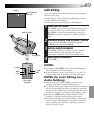
Audio Dubbing
You can record a new soundtrack on a prerecorded tape
(normal audio only).
Perform steps 1, 2 and 3 of the Insert Editing procedure
(੬ pg. 48) before continuing.
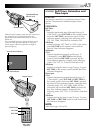
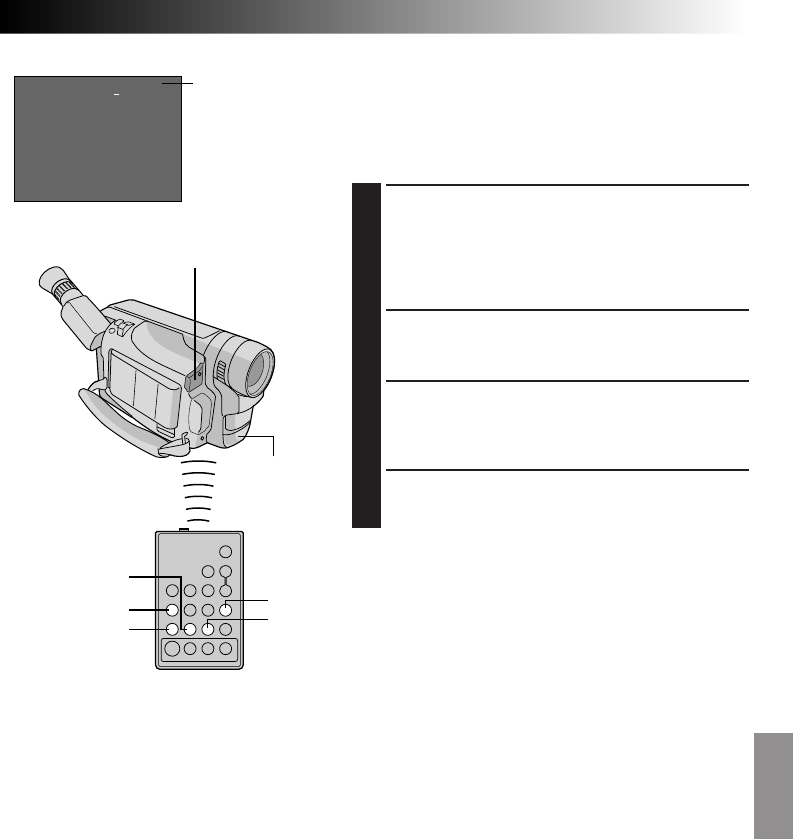
•The sound comes from the built-in microphone.
1
FIND EDIT-IN POINT
Press REW to go a little beyond the beginning of the
scene onto which you want to dub the new audio,
press PLAY to view the recorded tape, then press
PAUSE at exactly the point where dubbing should
start.
2
ENGAGE AUDIO DUB-STANDBY MODE
Press and hold A. DUB, and without releasing
A. DUB, press and release PAUSE.
3
BEGIN AUDIO DUBBING
Press PLAY. When the counter reaches “0:00:00”,
Audio Dubbing stops automatically and the
camcorder enters the Audio Dub-Standby mode.
4
END AUDIO DUBBING
Press STOP.
NOTES:
●
Do not press FF or REW during Audio Dub-Standby, or
the edit points will not be accurate.
●
If the microphone is too close to the TV, or if the TV’s
volume is too high, whistling or howling may occur.
NOTES (for Insert Editing and
Audio Dubbing):
●
Insert Editing and Audio Dubbing may not work
correctly if the tape contains blank segments.
●
To edit/dub onto a tape, make sure the Erase Protection
tab is in the position that allows recording. If not, slide
the tab. Some cassettes have removable tabs. If the tab
has been removed, cover the hole with adhesive tape.
●
Do not press STOP during Insert Editing or Audio
Dubbing, or the edit points will not be accurate.
●
During Insert Editing and Audio Dubbing, when Insert-
Pause or Audio Dub-Standby is engaged, the counter
may go slightly past “0:00:00”. Recording, however,
stops at exactly 0:00:00.
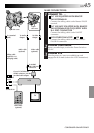
Microphone
Remote sensor
Audio dubbing
indicator
Display
RM-V700U
(optional)
REW
PLAY
PAUSE
A. DUB
STOP