


49
EN
Selecting Files for Backup
Preparation:
•
Select ! or # mode.
•
Select HDD or microSD card.
•
Connect the camcorder to the BD/DVD
burner.
•
When using a BD burner, select [CHANGE
REC. MEDIA] and select the disc type.
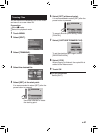
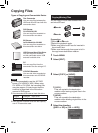
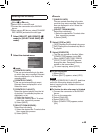
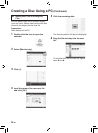
1 Select [SELECT AND CREATE] (!
mode) or [SELECT AND SAVE] (#
mode).
2 Select the desired menu.
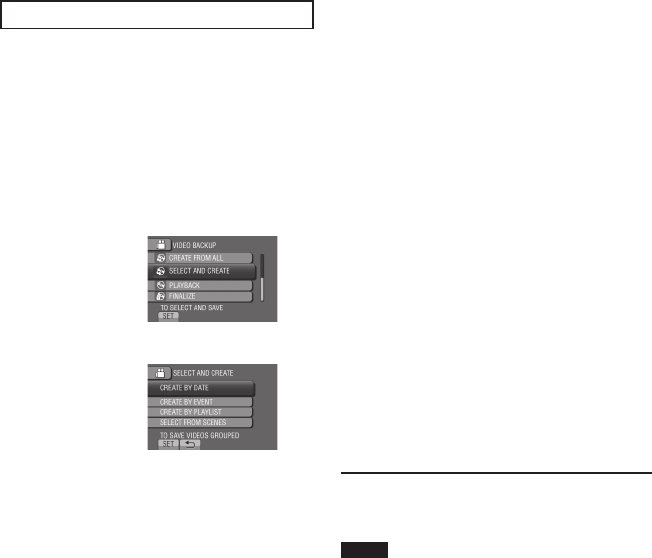
! mode:
•
[CREATE BY DATE]:
Files are sorted according to the date
on which they were recorded. Relevant
files are displayed in a list. Select the
recording date.
•
[CREATE BY EVENT]:
Files are sorted according to event.
Relevant files are displayed in a list.
Select the event.
•
[CREATE BY PLAYLIST]:
Select the desired playlist from the list
of playlists. The selected playlists are
displayed in a list.
1) Select the desired list.
2) Select the insertion point. To select
other lists, repeat this process.
3) Select [SAVE].
•
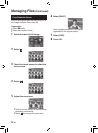
[SELECT FROM SCENES]:
Select files individually.
1) Select the desired file. To select other
files, repeat this process.
2) Select [SAVE].
# mode:
•
[SAVE BY DATE]:
Files are sorted according to the date
on which they were recorded. Relevant
files are displayed in a list. Select the
recording date.
•
[SELECT FROM IMAGES]:
Select files individually.
1) Select the desired file. To select other
files, repeat this process.
2) Select [SAVE].
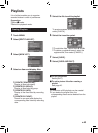
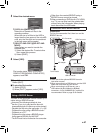
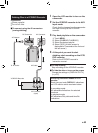
3 Select [YES] or [NO].
•
[YES]: Displays the thumbnails by group.
•
[NO]: Displays the thumbnails by date or
by playlist.
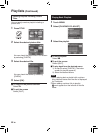
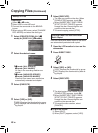
4 Select [EXECUTE].
•
The files are copied on the disc. When
[COMPLETED] appears, touch OK.
•
When [INSERT NEXT DISC PRESS
[STOP] TO EXIT CREATE] appears,
change the disc. Remaining files are
copied on the second disc.
•
To cancel copying, select [STOP].
To quit the screen
1) Select [QUIT].
2) When [QUIT?] appears, select [YES].
NOTE
In case of [CREATE BY PLAYLIST], date/time
on the file information display shows the
date of copying the file, instead of the actual
recording date.
To finalize the disc after copy is finished
1) Connect the camcorder to the BD/DVD
burner.
2) Turn on the camcorder.
3) Select [FINALIZE].
4) Select [EXECUTE].
5) When [COMPLETED] appears, select
[OK].