31
3 Taking Videos
Use Video mode to take videos or to customize video-taking settings.
Before taking a video, make sure your storage location is set the way you want
it (see page 11).
NOTE: Flash is not available in Video mode. Change Optical Zoom before (but
not during) video recording. Sound is captured by the microphone, but
is played back only when the video is transferred to a computer or when
the camera is connected to a television (see page 44).
Taking a Video
1 Turn the Mode dial to Video .
A live image, camera status, and the
recording time available appear on the
camera screen.
2 Use the viewfinder or camera screen to
frame your subject.
3 To begin recording, press the Shutter button
completely down and release within 2
seconds.
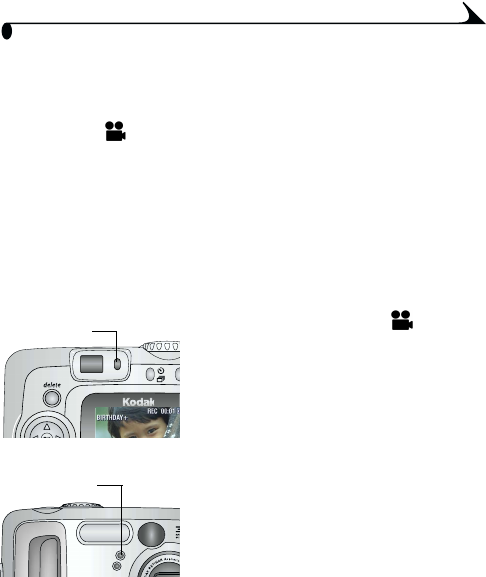
The Ready light blinks green, REC appears
on the camera screen, and the Self
Timer/Video light stays on.
4 To stop recording, press the Shutter button again.
Recording stops if storage is full. See page 95 for storage capacities.
NOTE: If you prefer, press the Shutter button completely down and hold it for
more than 2 seconds to begin recording. To stop recording, release the
Shutter button.
Ready light
Self Timer/
Video light


