User’s Manual
52
Equipment
IP Address/User/Password/Port: Each field is filled in automatically with the information (user ID, password,
and port number) set in Site Information Setting…, or you can enter it manually.
Device No.: Set the device number (1 ~ 32) for each device. If the selected device is a camera, Device No.
changes to Camera No..
DVRNS Use: Select Yes to use DVR Name Service, and the DVRNS field appears. Enter the IP address (or
domain name) and the port number of the DVRNS server, and the name of the DVR registered on the DVRNS
server.
NOTE: You should not select numbers that are not supported for devices on the remote DVR when
selecting Device No. Otherwise, the map cannot detect the device and it displays the device status
as Unplugged. For example, Device No. should be from 1 to 16 when the device is connected to a
16-channel DVR.
NOTE: If you set the IP address and port number of the DVRNS server in Site Information Setting…,
the DVRNS fields are filled with the information automatically.
NOTE: The DVRNS function is supported only with the devices associated with a DVR providing the
DVRNS (DVR Name Service) function.
Go to the Event [Camera/AlarmOut/AlarmIn] tab and set the option for the devices.
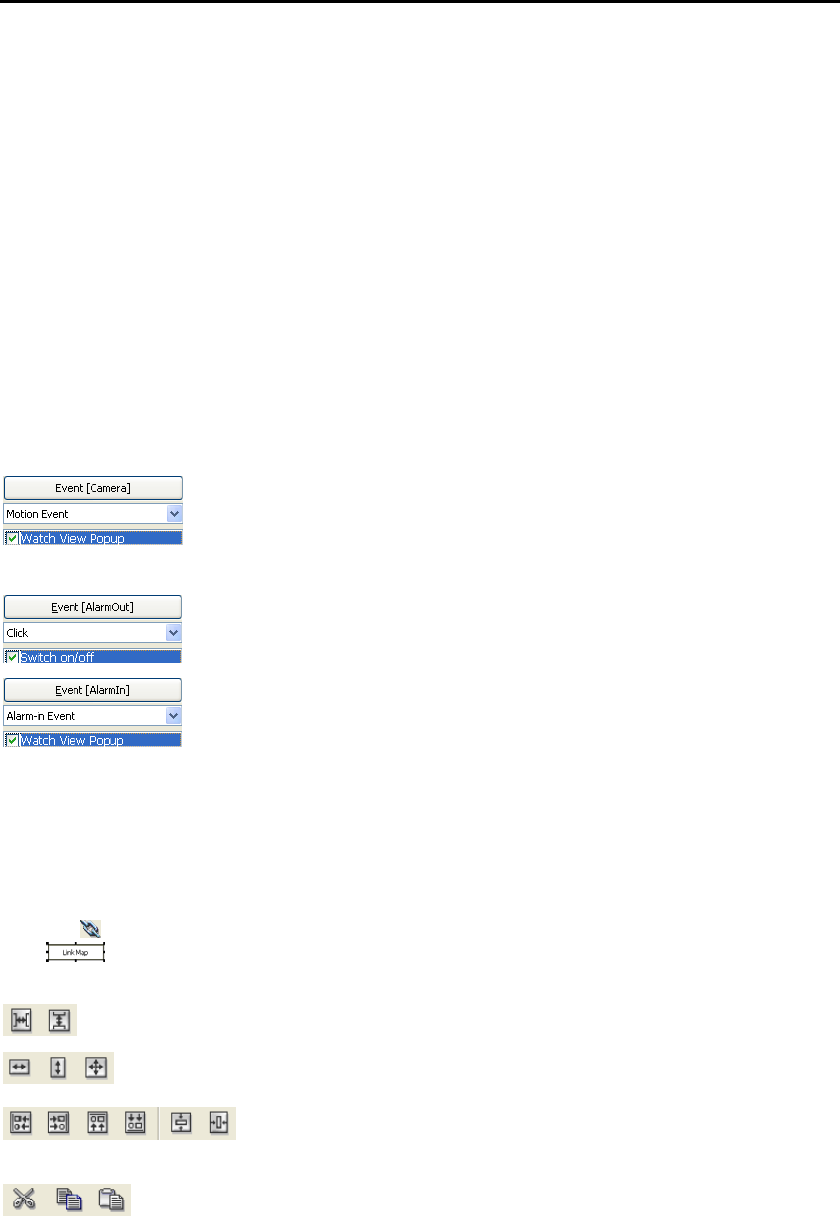
Event [Camera]: Selecting an event from a drop-down list and checking the Watch
View Popup box set the Map panel to pop up another screen when an event occurs.
Selecting Click from a drop-down list and checking the Watch View Popup box
pops up another screen by clicking the mouse button on the camera icon on the Map
panel regardless of event detection.
Event [AlarmOut]: Checking the Switch on/off box controls the alarm-out remotely
by clicking the alarm-out icon on Map panel.
Event [AlarmIn]: Selecting Alarm-in Event from a drop-down list and checking
the Watch View Popup box sets the Map panel to pop up another screen when an
alarm-in event occurs. Selecting Click from a drop-down list and checking the
Watch View Popup box pops up another screen by clicking the mouse button on
the alarm-in icon on the Map panel regardless of event detection.
NOTE: The popup camera should be associated with the alarm in device to use the popup function.
Refer to the Device Setting – General, Popup camera section for the popup camera association.
Link Setting
Click the
(Link) button on the toolbar and place it on the screen linked with a sub-map. Then the Link
Map
box appears. Select the individual link boxes by using the Ctrl key on the keyboard, and then
adjust the size and position of the link box using a mouse, a keyboard or the icons shown below.
Interval adjustment: Equalizes the distance between three or more selected boxes.
Size adjustment: Equalizes the size of two or more selected boxes. Clicking the arrow keys
while holding the Shift key on the keyboard changes the size of the selected boxes.
Position adjustment: Arranges two or more selected boxes towards one direction
or towards the center. Clicking the arrow keys while holding the Ctrl key on
a keyboard changes the position of selected boxes.
Cut, Copy, Paste: Cuts, copies or pastes the link box.
