142
i
Take photographs automatically at preset intervals.
1
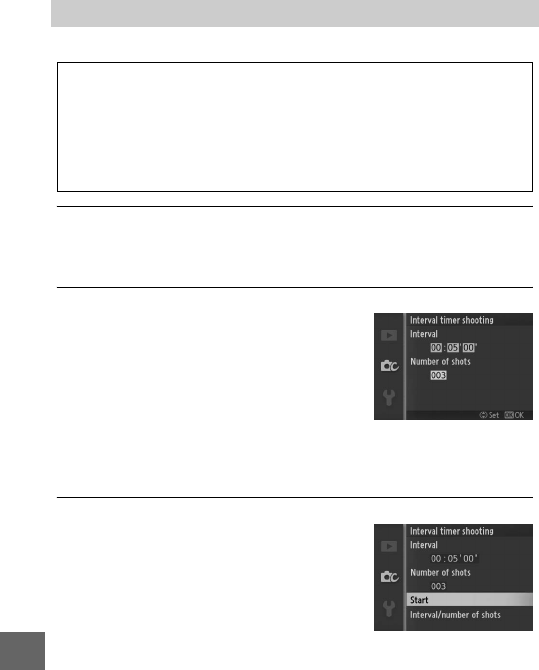
Select Interval/Number of shots.
Highlight Interval/Number of shots and press 2 to display
interval timer options.
2
Adjust settings.
Press 4 or 2 to highlight hours, min-
utes, or seconds and press 1 or 3 to
choose an interval longer than the
slowest anticipated shutter speed
(minimum five seconds), then high-
light the number of intervals and
press 1 or 3 to change. Press J to return to the interval
timer shooting menu when settings are complete.
3
Start shooting.
Highlight Start and press J. Shoot-
ing will start after about 3 s, and con-
tinue at the selected interval until all
the shots have been taken (one shot is
taken at each interval). Note that the
pause following the recording of each
shot varies with shutter speed and the time needed to record
the image, with the result that photographs may not be
recorded at the selected interval. Photos may also not be
recorded if the shutter can not be released (for example,
because the camera is unable to focus).
Interval Timer Shooting
D
Before Shooting
Before proceeding, check that the clock is set correctly (
0
18, 162) and
then take a test shot at current settings and view the results in the monitor.
Use of a tripod is recommended. To ensure that shooting is not inter-
rupted, be sure the battery is fully charged or use an optional EH-5b AC
adapter and EP-5C power connector.


