


26
Basic Steps for Shooting and Playback
Step
3
Frame a Picture
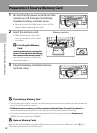
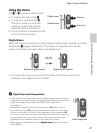
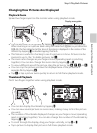
1 Hold the camera steadily in both hands.
• Keep fingers and other objects away from the lens,
flash, AF-assist illuminator, and microphone.
• When taking pictures in portrait (“tall”) orientation,
turn the camera so that the built-in flash is above the
lens.
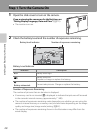
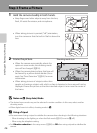
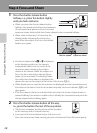
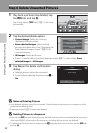
2 Frame the picture.
• When the camera automatically selects the
optimum scene mode, the shooting mode
icon will be changed (A 36).
• When the camera detects a face, that face will
be framed by a yellow double border (focus
area). See “Face Detection” (A 65) for more
information.
• When taking pictures of subjects other than
people, or framing a subject with which no face is detected, a focus area will not be
displayed. Frame the picture so that the intended subject is at or near the center of
the frame.
B Notes on G (Easy Auto) Mode
• The desired scene mode may not be selected in certain condition. In this case, select another
shooting mode.
• When digital zoom is in effect, shooting mode is G.
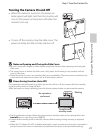
C Using a Tripod
• We recommend using a tripod to stabilize the camera when shooting in the following situations:
- When shooting in dim lighting or when the flash mode (A 55) is set to c (off).
- When using the telephoto setting.
• Set Vibration reduction in the setup menu (A 88) to Off when using a tripod to stabilize the
camera.
1290
1290
Shooting mode icon