Using OLYMPUS Master
EN 41
Note
• Mac versions earlier than OS X 10.3 are not supported.
• Operations are not guaranteed when using an added USB or IEEE 1394 (FireWire)
port.
• To install the software, you must log on as a user with administrators’ privileges.
• Be sure to remove the media (drag & drop onto the trash icon) before performing the
following operations. Failure to do so could result in unstable computer operation and
the need to reboot.
• Disconnect the cable connecting the camera to the computer
• Turn off the camera
• Open the camera’s battery/card compartment cover
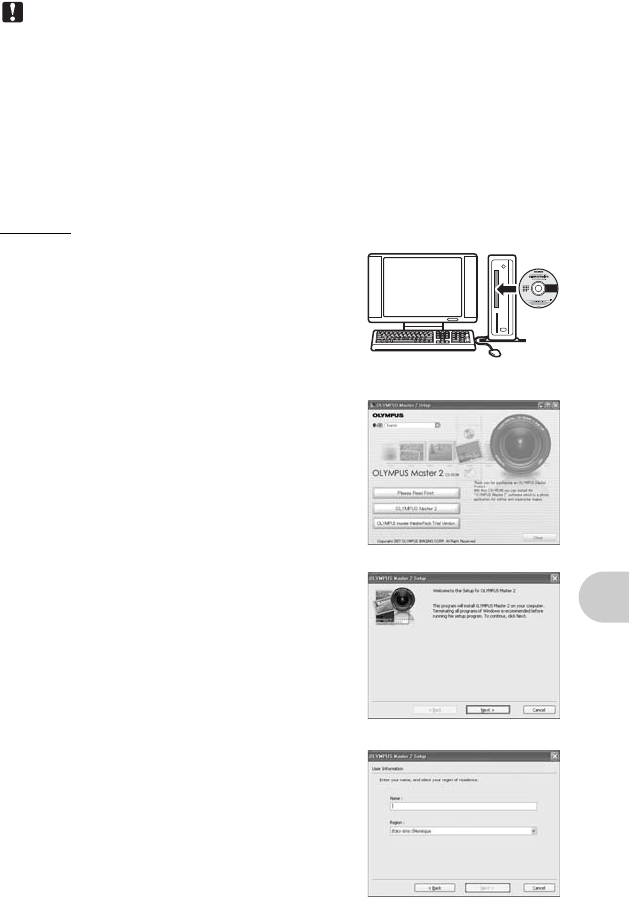
Windows
1 Insert the CD-ROM into the CD-ROM
drive.
• The OLYMPUS Master setup screen is
displayed.
• If the screen is not displayed, double-click the
“My Computer” icon and click the CD-ROM
icon.
2 Select the display language and click the
“OLYMPUS Master 2” button.
• When the component installation screen is
displayed, click “OK”.
3 Click “Next” and follow the on-screen
instructions.
• When the OLYMPUS Master licensing
agreement is displayed, read the agreement
and click “Yes” to proceed with the installation.
4 When the user information screen is
displayed, enter your “Name”, select
your “Region” and click “Next”.


