


60
ADVANCED SHOOTING FEATURES
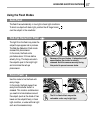
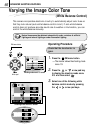
Shooting a Close Subject (Macro Shooting)
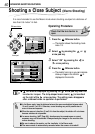
1/3
AUTO
OFF
OFF
OFF
END
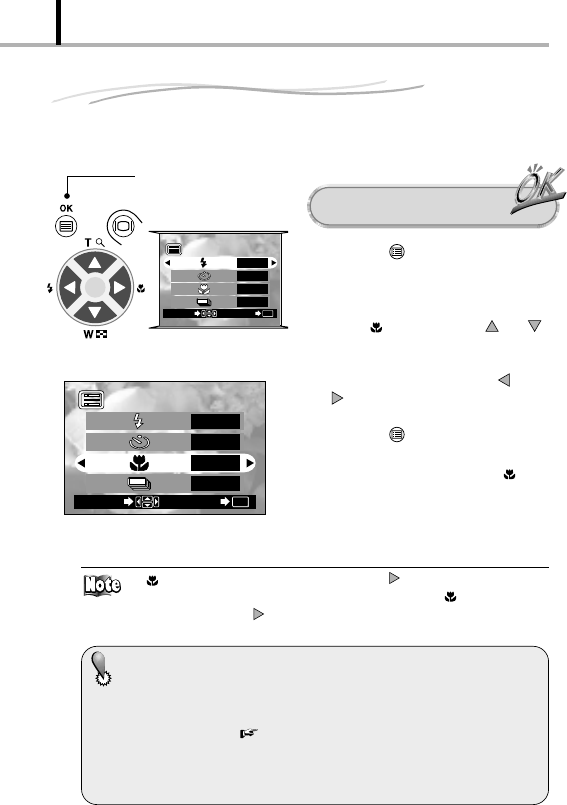
OK
SELECT
OK/menu button
Arrow pad
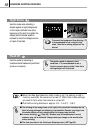
1/3
AUTO
OFF
OFF
OFF
END
OK
SELECT
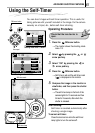
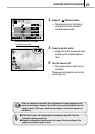
Check that the lens barrier is
open.
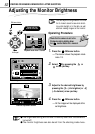
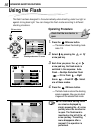
1. Press the OK/menu button.
[The monitor shows the shooting mode
menu 1/3.
2. Select by pressing the or
arrow pad key.
3. Select “ON” by pressing the or
arrow pad key.
4. Press the OK/menu button.
[The monitor turns on so you can compose
close-up images in the monitor. is
displayed on the monitor.
Operating Procedure
It is recommended to use the Macro mode when shooting a subject at a distance of
less than 0.5 meter/1.6 feet.
ⅷ
In the Macro mode, keep the distance between the camera and subject between about
10 cm/4 in and 0.5 m/1.6 ft. Otherwise, correct shooting may not be possible due to
errors in focus and exposure.
ⅷ
When the camera is less than 10 cm/0.4 in from the subject, the shutter will not release
because autofocus is not possible.
ⅷ In macro shooting ( Page 60), shadows may be conspicuous or correct
exposure may not be achieved. Always check your image on the monitor after
macro shooting
.
ⅷ
Be sure to observe the monitor, not the viewfinder, in the Macro mode.
ⅷ The macro mode is automaticaly canceled when the camera is tured off.
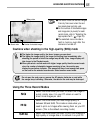
ⅷ can also be displayed by pressing the arrow pad key when the
lens barrier is open. The tulip-shaped macro mark (
)
is inscribed
on the right of the arrow pad key. The setting menu disappears
after a moment when no operation is performed.
Shooting mode menu 1/3 screen
Shooting mode menu 1/3 screen