23
Step 1 Turn the Camera On and Select A (Auto) Mode
Basic Photography and Playback : Auto Mode
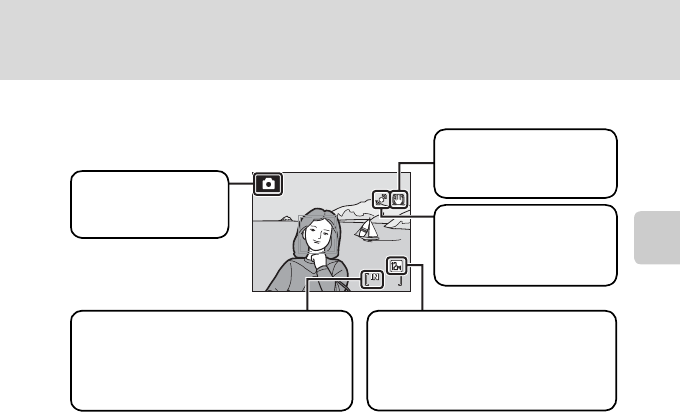
Indicators Displayed in A (Auto) Mode
The indicators and photo info displayed during shooting and playback will turn off
after a few seconds (A128).
If the monitor is turned off in standby mode to save power, press the power switch
or the shutter-release button to reactivate it (A134).
D Functions Available in A (Auto) Mode
In A (auto) mode, macro mode (A33) and exposure compensation (A34) can be applied and
pictures can be taken using the flash mode (A30) and self-timer (A32). Pressing the d button
in A (auto) mode allows you to specify settings for all shooting menu options (A99).
D Vibration Reduction
When On (default setting) is chosen for Vibration reduction (A131), the camera effectively
reduces camera shake that commonly occurs when shooting with zoom applied or at slow shutter
speeds.
Set Vibration reduction to Off when using a tripod to stabilize the camera during shooting.
D Motion Detection
When Auto (default setting) is chosen for Motion detection option (A132) in the setup menu and
the camera detects camera shake and subject movement, the camera increases shutter speed to
reduce blurring.
When the camera detects camera shake or subject movement and increases shutter speed, the
motion detection icon will glow green.
15
15
15
Shooting mode
A displayed in A
(auto) mode.
Image mode
The combination of image size and
image quality (compression) is
displayed. The default setting is L
Normal (4,000×3,000).
Motion detection icon
Reduces the effects of
subject movement and
camera shake.
Internal memory indicator
Pictures will be recorded to internal memory.
When a memory card is inserted,
C
is not
displayed and pictures will be recorded to the
memory card.
Vibration reduction icon
Reduces the effects of
camera shake.


