


d. The card and the data may be damaged if the SD card is inserted or
removed while the camera is still on.
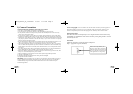
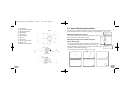
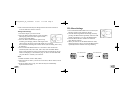
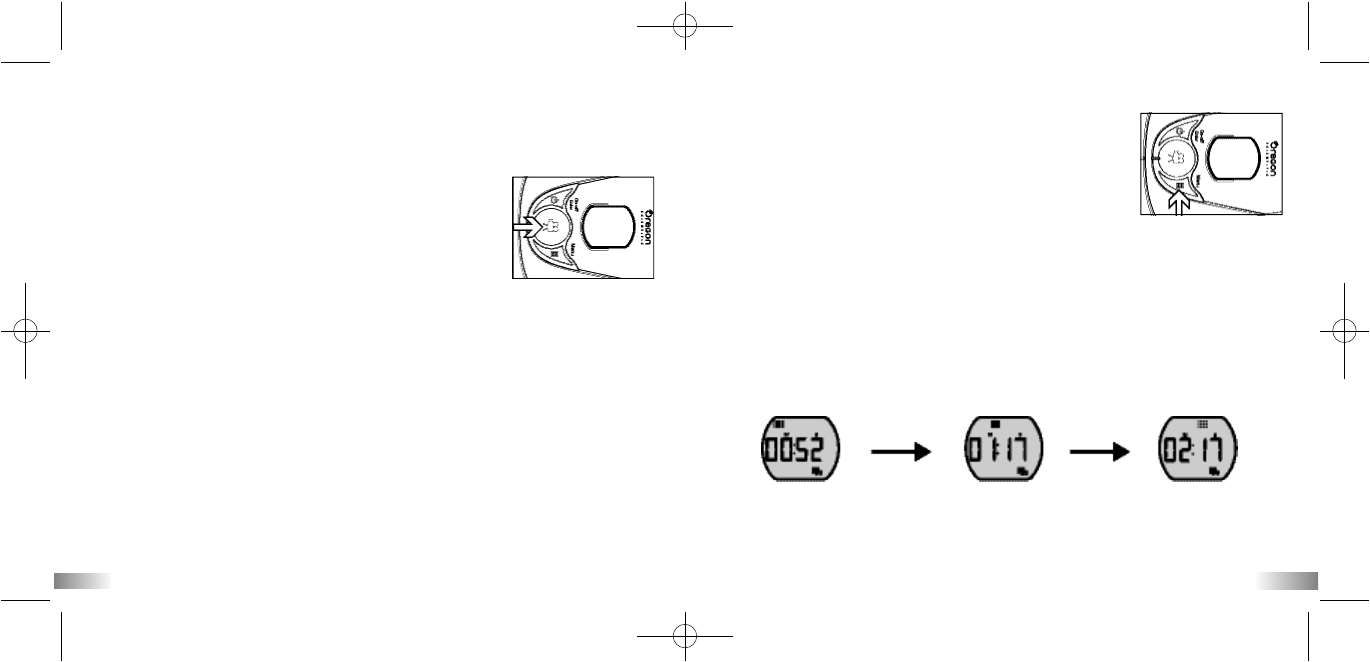
Taking Video Footage
1. Aim at the subject you want to shoot.
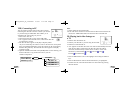
2. Press the 'Movie shutter button' to start recording
(one beeping sound). The time elapsed will be
shown on the LCD display.
3. Press the 'Movie shutter button' again to stop
recording (two beeping sounds). The length of the
video footage will show on the LCD display for 3 seconds,
after which the remaining time will be shown (The remaining time is only
an estimate).
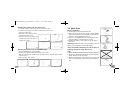
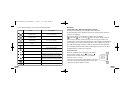
4. Press and hold the Menu button for 2 seconds to select the desired
resolution (640 x 480, 320 x 240, 160 x 120). Press the Menu button
again to shift through the icons representing these resolutions (at the top
of the LCD display), as described on page 15. The icons will flash until
you press Enter to confirm your selection.
Note:
1. Default resolution is 640 x 480 (VGA).
2. When the time is shown, you will see 'H' for hour, 'M' for minute, and 'S'
for second.
3. If the recording time is long, the video file may be automatically
separated into two files.
1413
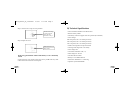
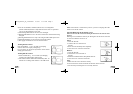
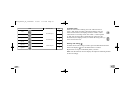
VII) Menu Settings
1. Press and hold the Menu button for 2 seconds (one
beeping sound) to start selecting options.
2. You can shift through different shooting modes by
pressing the Menu button repeatedly. The LCD will
display each mode as you press the Menu button.
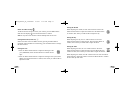
3. Press the Enter button to confirm the selection
(Two beeping sounds).
4. When you want to exit the Menu Selection mode,
shift through the icons by pressing the Menu button
repeatedly until the selected icon stops flashing.
Press Menu button Press Menu button
AT18_manual_UK_31Jan2007 2/2/07 6:14 PM Page 8