


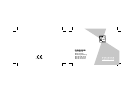
.........................................................................................................................
.........................................................................................................................
.........................................................................................................................
.........................................................................................................................
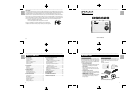
English
Português
Français
Deutsch
Italiano
Español
English
Português
Français
Deutsch
Italiano
Español
English
Português
Français
Deutsch
Italiano
Español
English
Português
Français
Deutsch
Italiano
Español
12 13
14 15
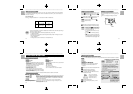
• If an SD card is installed, the number of available shots will differ from the above table, depending on
the memory capacity of the card.
• Try using the guidelines below to select the appropriate setting for your shot.
- B (1280 x 1024 pixels):
For images to be used in business documents (printed relatively small). For images to be used in
files used for presentations.
- C(640 x 480 pixels):
For images to be used via the Internet as an e-mail attachment, etc.
You can select the appropriate image size for your shots. The number of available shots varies depending
on the selected image size setting, and the number of available shots shown by the counter increases or
decreases accordingly.
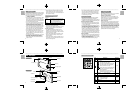
About the Image Size
Select “B” for higher resolution and “C” to increase the number of available shots.
NOTE
Resolution Setting
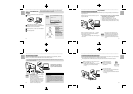
You cannot check images as you delete them, but you
can use to delete the last image you shot, or
to delete all the images or to format the memory.
Holding down the e button for roughly 1 second
sets the delete mode to /Delete frame.
Press the e button again to select
(delete all frames).
Each time you press the shutter button, images
are deleted sequentially from the newest image.
• When you select “ ”, the newest frame
(frame 5 if you have taken 5 shots) is deleted.
Pressing the shutter button again deletes
frame 4, then frame 3, etc.
• You can delete all the frames at once by
selecting “ ”.
• You can format the memory by selecting
“ ”
• If you leave the camera in e delete mode
for 3 seconds without using the camera at all,
it automatically reverts to photography mode.
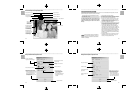
You can select whether or not the beep tone sounds.
You can turn the beep tone on and off by pressing the
l button.
*
When “l” is displayed, the beep tone sounds.
Delete Images
1
2
Beep Tone
NOTE
NOTE
Because this camera uses USB bus power to charge the battery, the software
must be installed beforehand.
■ Pre-installation Checklist
Windows Macintosh
• Compatible PCs :
IBM PC/AT or compatible (models with USB support as standard)
• Operating system :
Windows 98 (including the second edition), Windows Millennium
Edition (Windows Me), Windows 2000 Professional*, Windows
XP Professional*, Windows XP Home Edition*
• CPU : 200 MHz Pentium or better
• RAM : 32MB minimum
• Hard disk space: 200MB minimum
• Other : A CD-ROM for driver and software installation
* Users of Windows 2000 Professional, Windows XP Professional,
Windows XP Home Edition should log on under an Administrator
account (e.g. “Administrator”).
• Compatible Macs :
Power Macintosh G3 200 MHz minimum (models with USB
support as standard)
• Operating system :
Mac OS 9.x or above
• RAM : 32MB minimum
• Hard disk space : 200MB minimum
• Other : A CD-ROM for driver and software installation
■ Oregon Scientific Photo Album
Software for tasks such as downloading images you have shot on the camera, checking and
deleting the downloaded images, and modifying the camera settings. This software is also
used when a TWAIN-compatible application downloads images directly from the camera.
• When you install “Oregon Scientific Photo Album”, the camera driver and TWAIN driver
are also installed automatically.
* This software is needed to connect the camera to your PC using the USB cable.
■ PhotoImpression3.0
Software to make it easy for you to download camera images and modify them, create
calendars or postcards.
* This software is TWAIN-compatible.
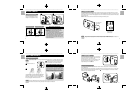
The enclosed CD-ROM contains the software shown below.
Do not connect the camera to your PC using the USB cable until the software installation is completed.
*
In Windows, you can install “Oregon Scientific
Photo Album” and “PhotoImpression3.0” in
succession.
For Windows
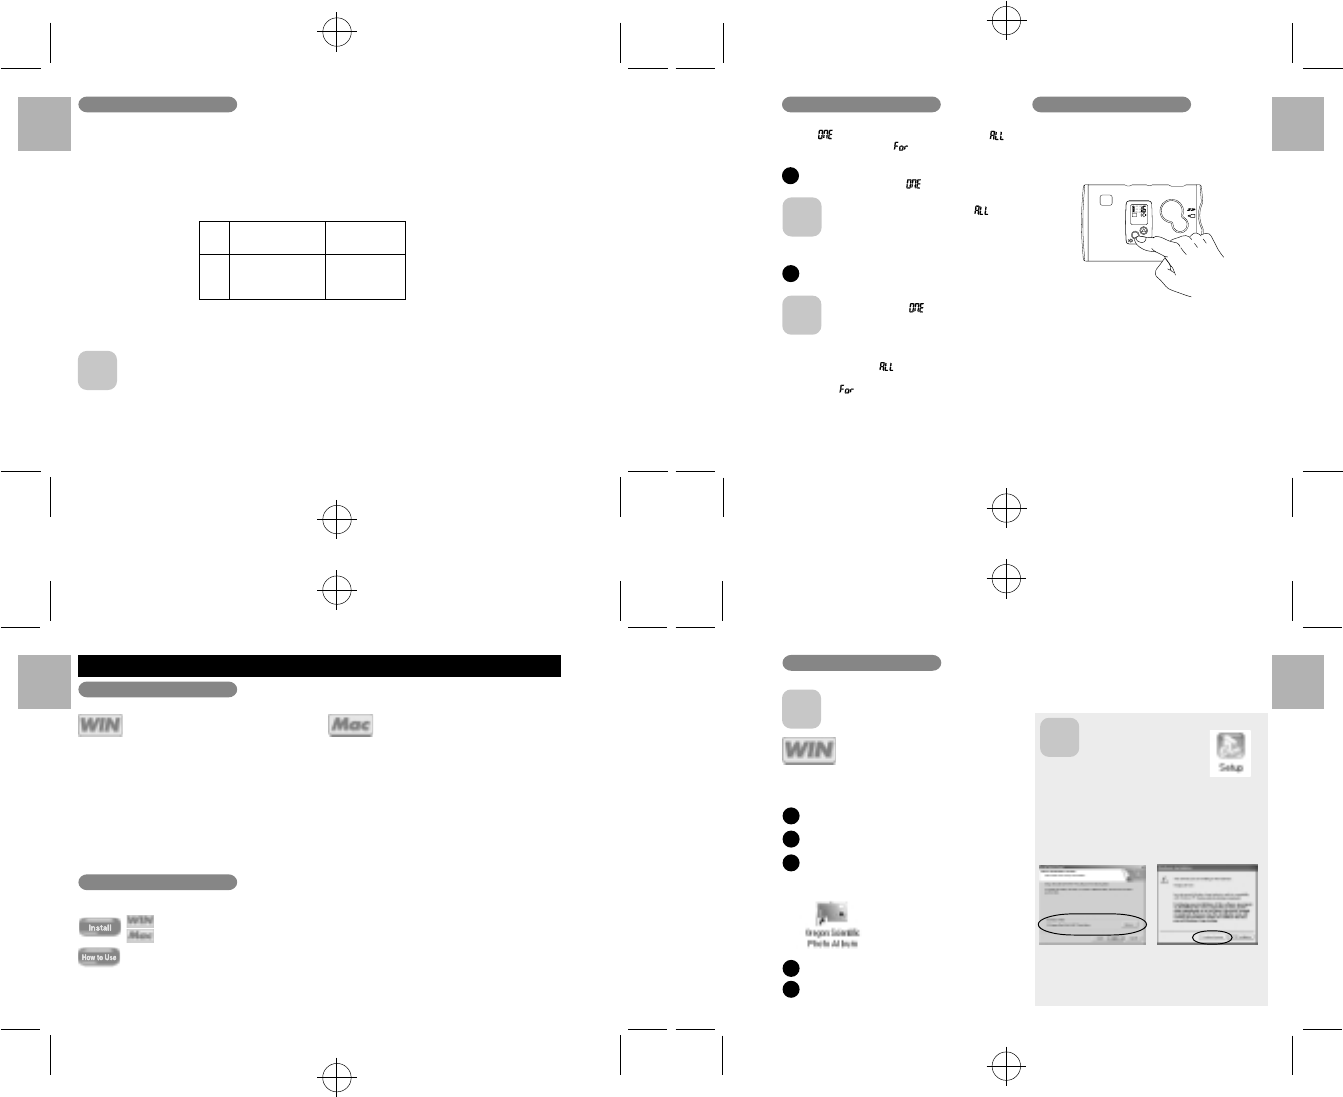
Switch on your PC and load the enclosed CD-ROM.
The installer starts up automatically.
Install Oregon Scientific Photo Album.
*
The camera driver and TWAIN driver are also
installed automatically.
Install PhotoImpression3.0.
When you click the [Finish] button, your PC is
restarted.
1
2
3
4
When you have finished the
installation, [Oregon Scientific
Photo Album]’s short cut is
displayed on the desk top.
5
NOTE
■ Starting up the installer manually
Double-click [SETUP]
or [SETUP.exe] in the
CD-ROM window.
*
The way file names are displayed differs as described
below depending on your computer settings.
• File extensions (3-letter suffers indicating the file type)
may be shown or hidden (e.g. Setup.exe or Setup)
• Text may be shown normally or all in uppercase (e.g.
Setup or SETUP).
You can select the softwares you want to install.
*
Deselected software is not installed.
You can change the
installation destination
folder.
The screen on the left appears
in Windows 2000 and Windows
XP, but it has been confirmed
that installation can continue
without problems. Just click the
[Continue Anyway] button.
System Requirements
Guide to Software
■ INSTALLING Oregon Scientific Photo Album
Installing Software
NOTE
LCD File size
Number of
available shots
B 1280 x 1024 pixels 21 shots
C 640 x 480 pixels 84 shots
PC SOFTWARE INSTRUCTIONS