


-30-
■ SETTING
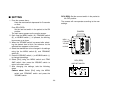
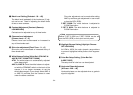
1. From the camera alone:
Keep the menu switch depressed for 5 seconds
or more.
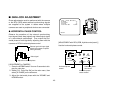
From RCU (RCB):
Set the user set switch in the pocket to the ON
position.
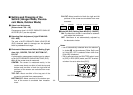
The main menu appears on the monitor screen.
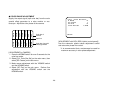
2. Each time the MENU switch (M), ITEM/AWC switch
(<), or NO/BAR switch (−) is pressed, the blinking
item moves up or down.
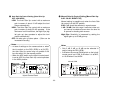
3. When the YES/AWC switch is pressed after select-
ing the desired item to blink, the submenu for the
selected item appears on the screen.
4. Select the desired item to be changed in its settings
using the the MENU switch (M) and ITEM/AWC
switch (<).
5. Press the YES/ABC switch (+) or NO/BAR switch (–)
to change the settings.
6. Select [End] using the MENU switch and ITEM/
AWC switch, then press the YES/ABC switch to
return to the main menu.
7. After changing the settings, take the following
steps.
Camera alone: Select [End] using the MENU
switch and ITEM/AWC switch and press the
YES/ABC switch.
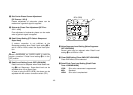
–
+
MENU
ITEM/AWC
YES/ABC
NO/BAR
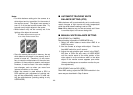
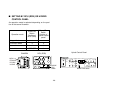
OPTION CARD
VIDEO OUT
I/F REMOTE
G/L IN
IRIS
DC12V IN
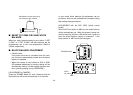
MENU
ITEM/AWC
YES/ABC
NO/BAR
PAGE ITEM UP DOWN
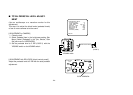
COARSE FINE
SC PHASE
270°
180°90°
0°
H.PHASE
USER SET
OFFENC
VF ON
USER SET SWITCH
RCU (RCB): Set the user set switch in the pocket to
the OFF position.
The camera will now operate according to the new
settings.
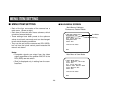
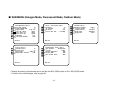
CAMERA
RCU (RCB)