Operating Instructions
[For assistance, please call: 1-800-272-7033] 119
7.3 Setting an IP Address on Your PC
Your PC's IP address can be assigned by following the procedures below.
1. Display the TCP/IP Properties window.
• The steps are different depending on your OS.
• When using Windows XP and Windows 2000, log in as an administrator
to access the TCP/IP Properties window.
2. Enter the IP address and subnet mask.
3. Click [OK].
• In Windows Me or Windows 98SE, the PC needs to be restarted to enable
the settings.
Local IP Address
A local IP address is a network ID that is not used on the Internet. Local IP
Addresses are classified into Class A, Class B and Class C, as shown below. Set
an IP address within the range specified in the class corresponding to your local
network.
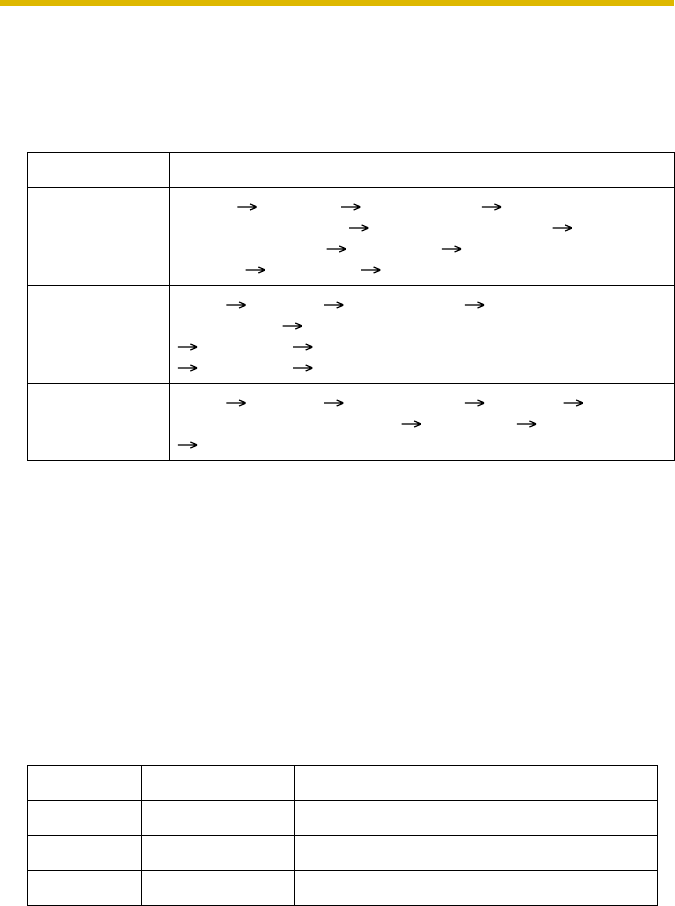
OS Steps
Windows XP [Start] ( [Settings]) [Control Panel] [Network and
Internet Connections] [Network Connections] [Local Area
Connection] in use [Properties] Select Internet Protocol
[TCP/IP] [Properties] [Use the following IP address]
Windows 2000 [Start] [Settings] [Control Panel] [Network and Dial-up
Connections] [Local Area Connection] in use
[Properties] Select Internet Protocol [TCP/IP]
[Properties] [Use the following IP address]
Windows Me,
Windows 98SE
[Start] [Settings] [Control Panel] [Network] Select
[TCP/IP] with adaptor in use [Properties] [IP Address]
[Specify an IP address]
Class Subnet Mask Local IP Address
Class A 255. 0. 0. 0 10. 0. 0. 1 — 10. 255. 255. 254
Class B 255. 255. 0. 0 172. 16. 0. 1 — 172. 31. 255. 254
Class C 255. 255. 255. 0 192. 168. 0. 1 — 192. 168. 0. 254


