


Playback (advanced)
103
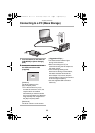
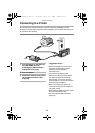
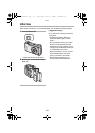
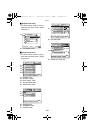
Preparation
• Connect the camera to a printer. (P99)
• Set the DPOF print with this camera in advance. (P78)
• Set the paper size and print quality. (Read the printer operating instructions.)
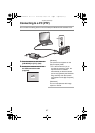
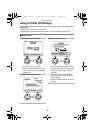
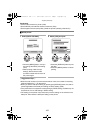
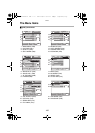
ª DPOF picture
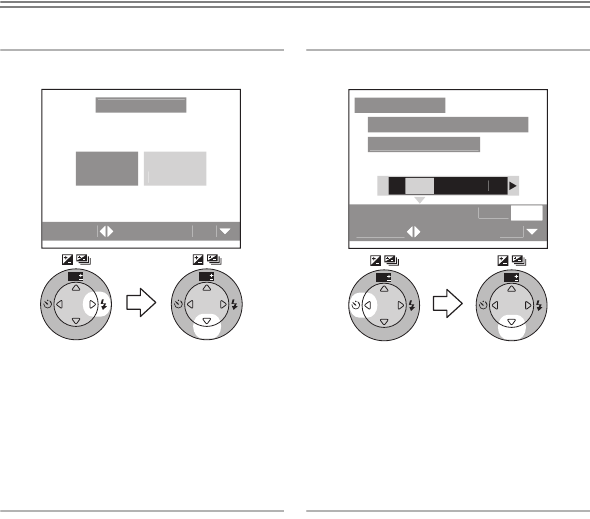
1 Select [DPOF PICTURE].
• Press the [MENU] button, and you
can change the DPOF print setting.
(P78)
• When printing under the new
settings, disconnect the USB
connection cable and connect it to
the printer again.
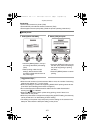
2 Select [YES] and print.
• Press the [DISPLAY] button to print
the date.
• Press the [MENU] button to cancel
printing.
¬
Suggestions/Tips
¬
• When the total number of prints becomes 255 or more, the number of remaining
pictures appears as [---] on the screen.
• When you set the date print setting by pressing the [DISPLAY] button, the date is
printed regardless of the date print setting on DPOF setting. (P82)
• If the printer does not support the date printing by DPOF setting, the date may not
be printed as it is on date setting in DPOF setting.
• The setting on the printer may have priority over the setting on the camera in the
date print. Also check the date print setting on the printer.
S
E
T
S
ELE
CT
DIRE
C
T PRIN
T
S
IN
G
L
E
PI
C
T
U
R
E
DP
OF
PI
C
T
U
R
E
SET
R
E
V
I
E
W
WB
SET
R
E
V
I
E
W
WB
PL
S
C
HE
C
K THE PRINTE
R
S
TART PRINTIN
G?
DATE
DI
S
PLA
Y
S
ELE
CT
S
E
T
YE
S
N
O
DIRE
C
T PRIN
T
SET
R
E
V
I
E
W
WB
SET
R
E
V
I
E
W
WB
FX5_FX1-PP.book 103 ページ 2003年12月15日 月曜日 午後1時27分