92 VQT1P79 VQT1P79 93
How do I get the date printed?
Make date printing settings before printing.
• In shop: Make DPOF settings (P.78), and request printing ‘with dates’.
• With printer: Make DPOF settings, and use a
printer compatible with date printing.
• With supplied software: Select ‘with dates’ within
print settings.
Use ‘TEXT STAMP’ before printing (P.73).
FAQ
Pictures appear dark or have poor coloring
Adjust the exposure (P.43).
Use WHITE BALANCE to adjust the coloring.
(e.g. Use ‘AWB’ for fluorescent lighting and for
incandescent lighting.)
If this is still insufficient, try ‘Setting white balance manually
’ (P.58).
How can I easily send pictures to
my computer?
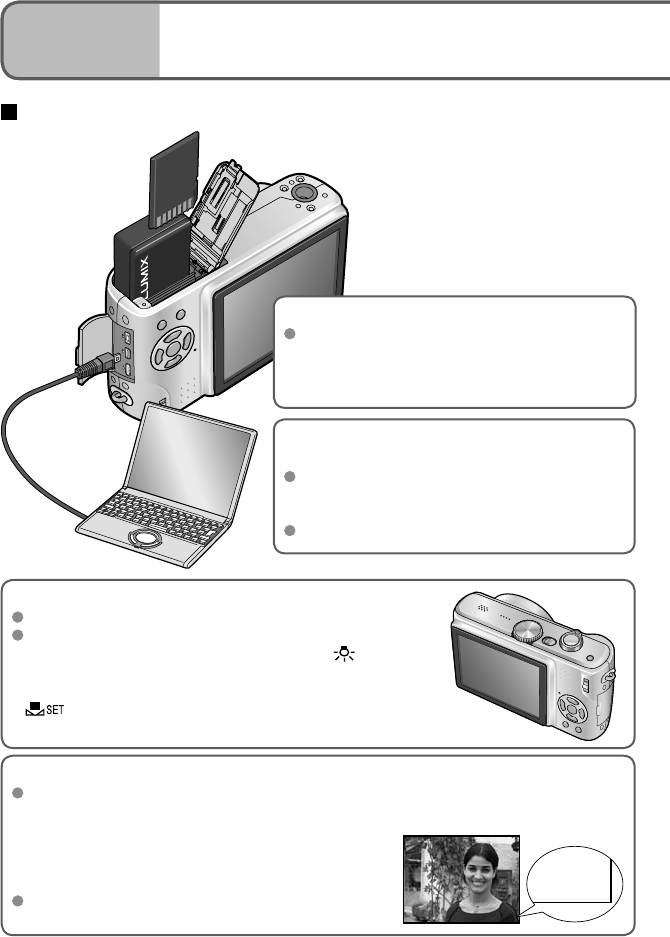
Connect the camera to your computer using the
supplied USB connection cable (P.81) to copy (drag
& drop) picture files to your computer hard disk.
Use a USB reader-writer.
Which cards can I use?
Using Panasonic cards is recommended.
• SD memory card (8 MB – 2 GB)
• SDHC memory card (4 GB – 16 GB)
For more details (P.18, 104)
MAR/15/2008
MAR/15/2008
Others
3
Q&A Troubleshooting
Try checking these items (P.93-97) first.
(Restoring menu settings to default values may solve certain problems.
Try using ‘RESET’ in SETUP menu in recording mode (P.25).)
Battery, power
Camera does not work even if power is turned on.
Battery is not inserted correctly (P.17), or needs recharging (P.16).
LCD monitor shuts off even if power is turned on.
Camera is set to ‘POWER SAVE’ or ‘AUTO LCD OFF’ (P.24).
→ Press shutter button halfway to release.
Battery needs recharging.
Camera switches off as soon as power is turned on.
Battery needs recharging.
Camera is set to ‘POWER SAVE’. (P.24)
→ Press shutter button halfway to release.
Recording
Cannot record pictures.
REC/PLAY switch is not set to (record).
Built-in memory/card is full. → Free space by deleting unwanted pictures (P.36).
Recording capacity is low.
Battery needs recharging .
→ Use a fully charged battery (not sold pre-charged). (P.16)
→ If you leave the camera on, the battery will be exhausted. Turn the camera off
frequently by using ‘POWER SAVE’ or ‘AUTO LCD OFF’ (P.24) etc.
Please check the recording picture capacity for cards and built-in memory. (P.100)
Recorded pictures look white.
Lens is dirty (fingerprints, etc.).
→ Turn on power to extract lens barrel, and clean lens surface with a soft, dry cloth.
Lens is foggy (P.12).
Recorded pictures are too bright/too dark.
Pictures taken in dark locations, or bright subjects (snow, bright conditions, etc.)
occupy most of the screen. (Brightness of LCD monitor may differ from that of actual
picture) → Adjust the exposure (P.43).
‘MIN. SHTR SPEED’ is set to fast speeds, e.g. ‘1/200’ (P.63).
2-3 pictures are taken when I press the shutter button just once.
Camera set to use ‘AUTO BRACKET’, ‘BURST’, or the ‘HI-SPEED BURST’ or ‘MULTI
ASPECT (DMC-TZ5 only)’ scene modes. (P.43, 49, 51, 61)
Focus not aligned correctly.
Not set to mode appropriate for distance to subject. (Focus range varies according to recording mode.)
Subject outside of focus range.
Caused by jitter or subject movement (P.56, 62).
Recorded pictures are blurred. Optical image stabilizer ineffective.
Shutter speed is slower in dark locations and Optical image stabilizer is less effective.
→ Hold camera firmly with both hands, keeping arms close to body.
Use a tripod and the self-timer (P.42) when using ‘MIN. SHTR SPEED’.
Cannot use ‘AUTO BRACKET’ or ‘MULTI ASPECT’ (DMC-TZ5 only).
Only enough memory for 2 pictures or fewer.


