8 Pelco Manual C416M-C (1/98)
3.0 INSTALLATION
Proceed with the installation of the dome drive after you have installed the back
box.
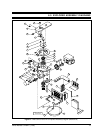
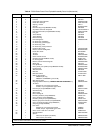
1. Refer to Figure 6 and remove the shipping bracket (item 37).
2. Refer to the manual for the receiver/driver and set the jumpers and switches
as required for your application.
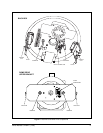
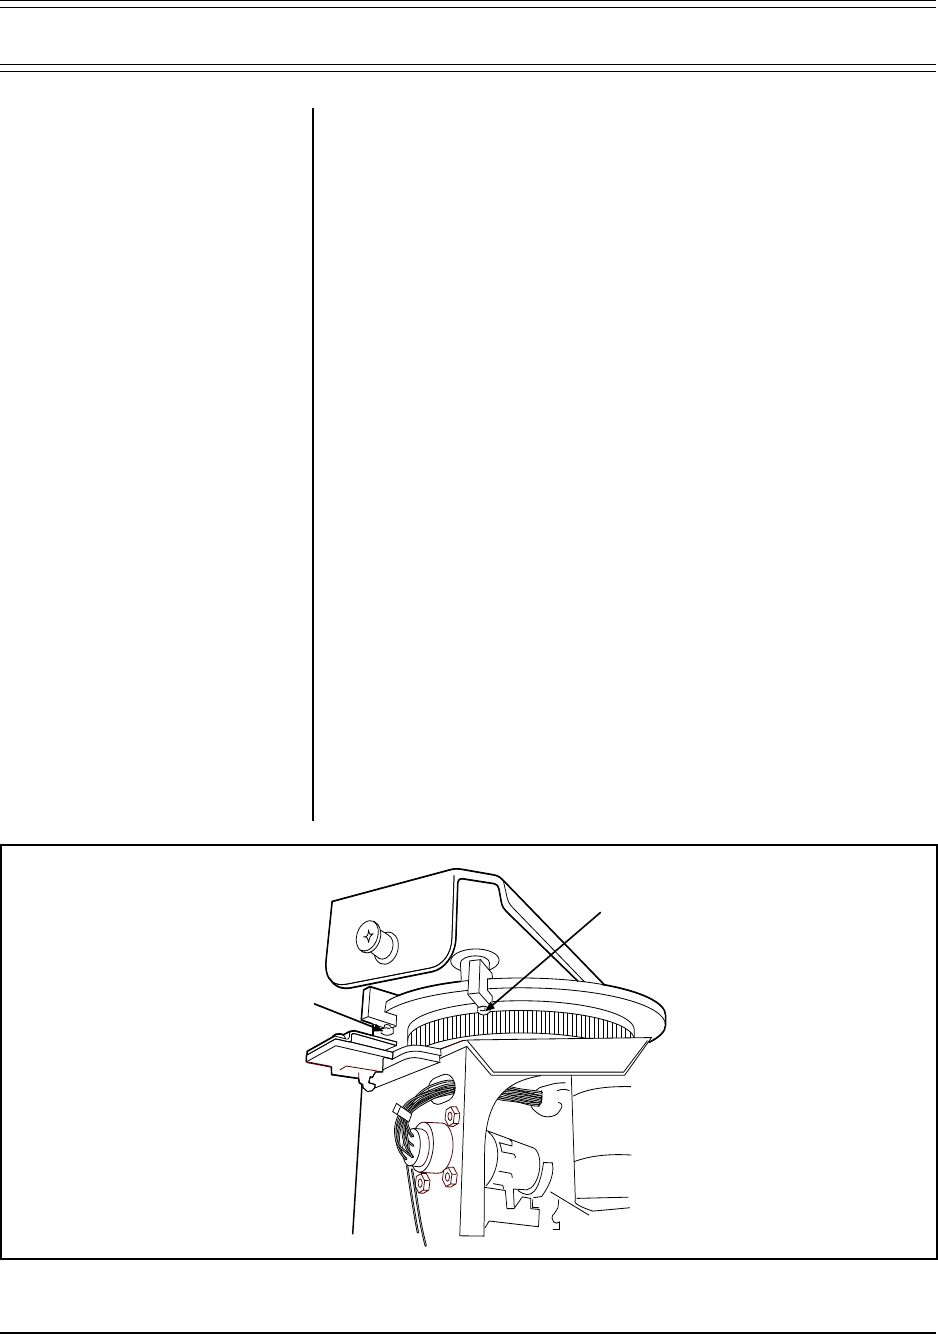
3. DD08C2L and DD08E2L Models Only - The dome drives are capable of
360° rotation. However, pan limit stops have been installed at the factory on
the pan gear that limit the rotation to 355°. If you prefer 360° rotation, re-
move three the pan limit stops (refer to Figure 1) using a 5/64" Allen wrench
and 1/4" wrench. If you prefer to use the pan limit stops, you will adjust them
later in this procedure.
4. Make sure the power switch inside the back box is off.
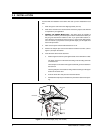
5. Remove the hairpin clips from the two latches inside the back box (refer to
Figure 2) and open the latches.
6. Insert the dome drive into the back box:
a. Refer to Figure 2 and line up the upper bracket on the dome drive so that:
The 25-pin connector on the dome drive will go into its mating connector
on the back box.
The latch pins on the sides of the upper bracket will go into the latches in
the back box.
The two guide pins on the back box will go into the bushings on the upper
bracket of the dome drive.
b. Push the dome drive into place and close the latches.
c. Reinstall the hairpin clips in the latches to prevent the latches from open-
ing.
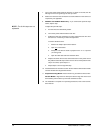
LIMIT STOP
LIMIT STOP
Figure 1. Pan Limits Stops (Only Two Shown)


