C3453M-C (5/09) 7
Installation
INSTALLING THE OPTIONAL SECURITY KIT
The optional security kit (EH-SKIT) contains three tamper-resistant screws and a 1/8-inch hollow screwdriver bit. To install the security kit:
1. Use a 5-mm Allen wrench (not sup
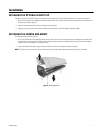
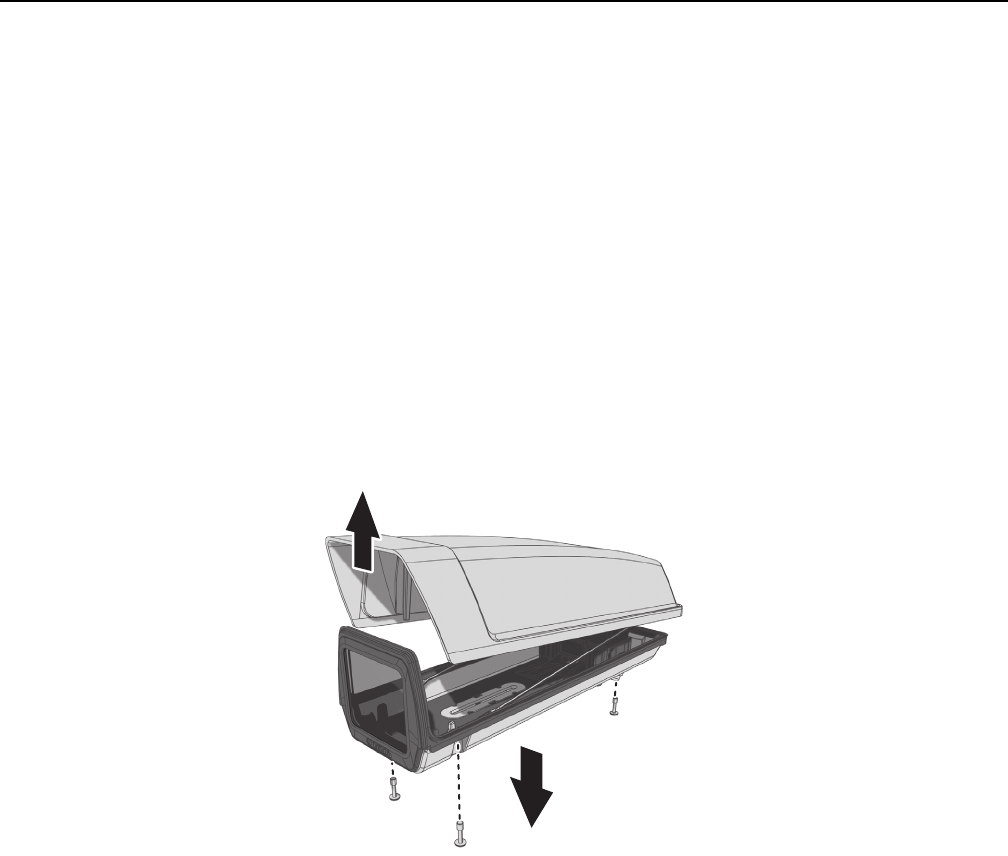
plied) to remove the three 10-24 x 0.75-inch hex head screws (factory installed) that are located on the
enclosure base. (Refer to Figure 2.)
2. Insert the three tamper-resistant screws i
n the bottom of the enclosure.
3. Tighten the screws using the 1/8-inch hollow screwdriver bit (s
upplied). Ensure that the gasket is properly sealed.
INSTALLING THE CAMERA AND MOUNT
To install the enclosure, camera, and lens:
1. Use a 5-mm Allen wrench (not supplied) to loosen the three 10-24 x 0.75-inch hex head screws (factory installed) that are loca
ted on the
enclosure base. If the security kit is installed, use the 1/8-inch hollow screwdriver bit (supplied with the kit) to loosen the three tamper-
resistant screws that are located on the enclosure base.
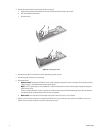
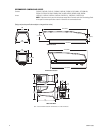
2. Lift up and remove the lid (refer to Figure 2). Hang the lid from the front of the enclosure base by the lanyards.
Figure 2. Removing the Lid
NOTE: The gasket can come loose when the lid is removed. Be sure to properly reseat the gasket when closing the lid, if necessary.


