12 Pelco Manual C535M-B (8/98)
Enter whatever number you desire or need and press the “PRESET SET” key. The
keyboard display will show:
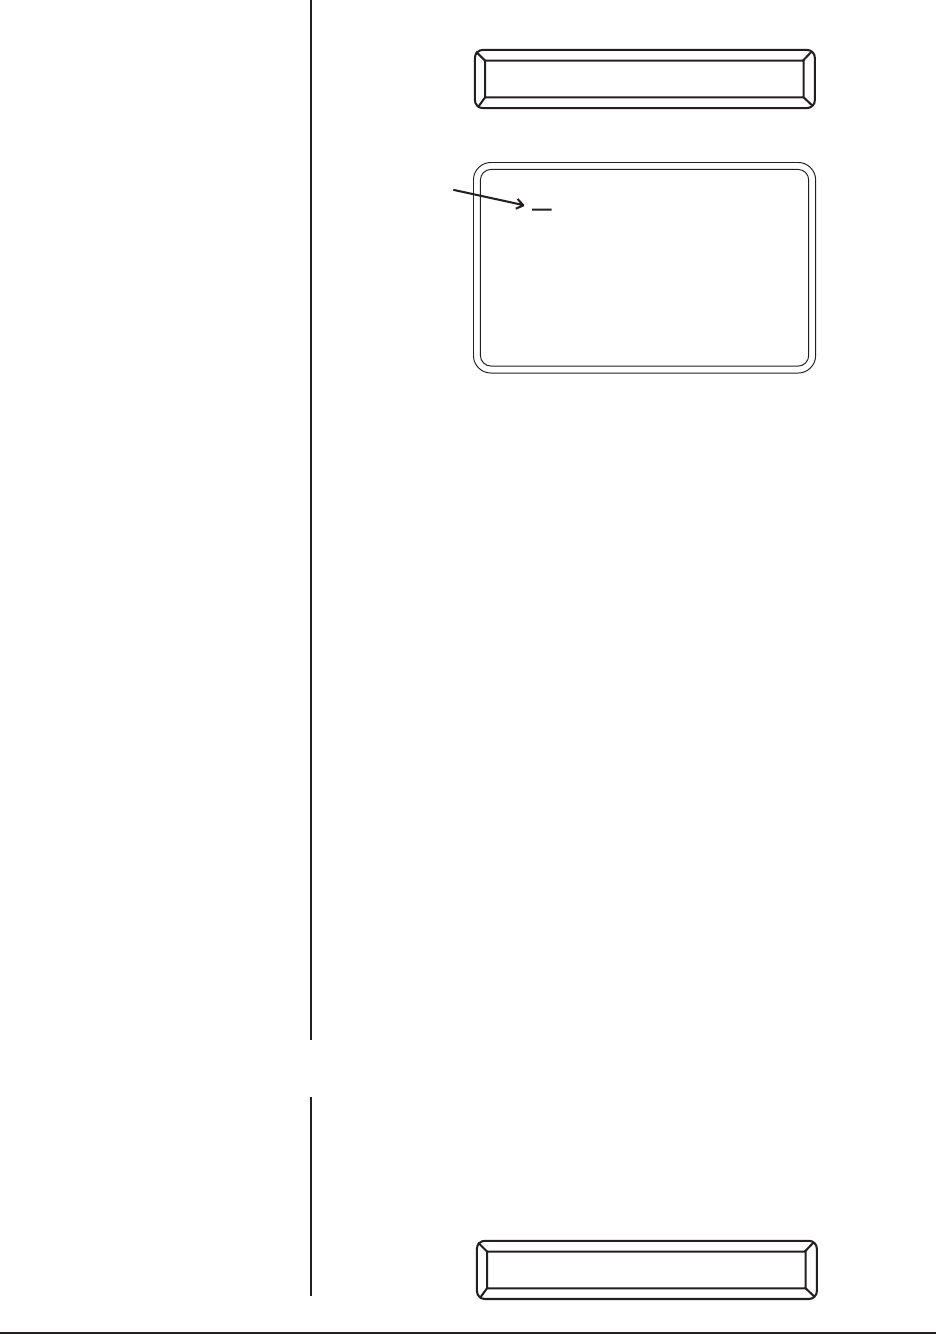
and the following screen will pop up on the monitor:
giving you the programming information you need to create a preset label on the
monitor.
At the flashing cursor position, you may cycle through the available characters ei-
ther continuously or one at a time by appropriate use of the joystick up/down con-
trols. Moving the joystick left or right changes the next label character placement
position. Holding the joystick up/down or left/right with the joystick turbo button de-
pressed (see Figure 7) causes the characters to change, or the cursor to move
more rapidly. The receiver will accept labels up to 20 characters in length. After the
label is completed, press the F2 key to send the label to the receiver.
4.3.1.1 Sending a Preset Only
In the event that a preset label is not needed or desired for this preset position, then
just press the F2 key immediately; your preset will be sent but no label will be
associated with it.
4.3.1.2 Exiting Preset and Label Edit Mode
On the other hand, if you have changed your mind about creating either a preset or
a label, or if you had pressed the PRESET SET key accidentally and wish to exit,
then simply press the CLEAR button on the keypad.
4.3.1.3 Additional Presets and/or Labels
After a label and/or preset is created and sent to the receiver, the preset/label process
is complete. Additional presets and/or labels may be created by continuing to the next
preset position and repeating the appropriate portions of Sections 4.3.1 and 4.3.1.1.
4.3.1.4 Returning to a Preset
To return to a specific preset, enter the number of the preset and press the PRE-
SET GO key. The pan/tilt should return to the correct preset and display the as-
signed label.
4.3.2 Presets In Standard Coaxitron
®
Mode
4.3.2.1 Setting a Preset
In STANDARD COAXITRON
®
mode, no preset labels are available, so proceed in
the normal way. First, move the pan/tilt to the desired location and then enter the
desired number for the preset (1-32). Press the PRESET SET key. The keyboard
display will then display SET PRST X, where X is the preset address you just picked.
Let’s say you picked address 4. The keyboard display would be as follows:
PGM LABEL
→
→
→
→
EDIT PRESET LABEL
CLEAR TO EXIT
USE JOYSTICK
UP DOWN CHAR SET
CHAR POSITION
F2 TO SEND LABEL
SET PRST 4
Flashing
Cursor
