


171
5
Editing and Printing Images
Printing Using PictBridge
By connecting the camera to a printer that supports PictBridge using the
USB cable (I-USB7) provided, you can print images directly from the camera
without using a computer. Connect the camera to the printer and select the
images you want to print and the number of copies on the camera.
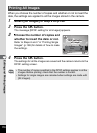
Set the device to which the camera is connected with the USB cable.
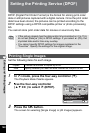
1
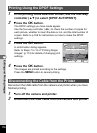
Press the 3 button in Q mode.
The [W Setting] menu appears.
When you press the 3 button in A mode, press the four-way
controller (5) once.
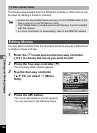
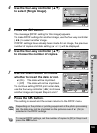
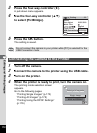
2
Use the four-way controller (23) to select [USB
Connection].
• It is recommended to use the optional AC adapter kit K-AC88 when the
camera is connected to the printer (p.33). The printer may not work
properly or the image data may be lost if the battery runs out of power
while the camera is connected to the printer.
• Do not disconnect the USB cable during data transfer.
• If the image already has the date and/or time imprinted on it (p.116),
do not set [Date] O (On) in PictBridge setting. If you select O (On),
the imprinted date and/or time may overlap.
• Depending on the model of printer, not all the settings made on the
camera (such as print settings and DPOF settings) may be valid.
• A printing error may occur if the selected number of copies exceeds
500.
•
Printing the index of the images (printing multiple images on a single
sheet) cannot be performed directly from the camera. Make the settings
on a printer supporting index printing function or use a computer.
• You cannot use PictBridge to print images registered in the
“Favorites”. Print the original images.
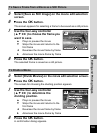
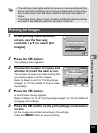
Changing the USB Connection Mode
Make sure to set the USB Connection mode before connecting your
camera to the printer. You cannot perform the following setting if your
camera is connected to the printer with the USB/AV cable.