Setting Preferences
16
Adjusting focus
Manual adjustment of focus allows you
to determine where the camera’s lens
will concentrate. While you can allow
the camera to focus automatically,
specific distances can also be set.
To chose between Auto, 2.0, 0.5, or 0.1
meters (m), bring the Main Menu screen
up in REC mode and use the up (+/ )
or down (–/ ) button to move the
highlight arrow to FOCUS. Press the
ENTER/MACRO
button to change options.
Use the up (+/ ) or down (–/ ) button
again to select between the various
settings.
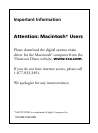
MAIN MENU
CAPTURE: SINGLE
PRE FLASH: OFF
WHITE BAL.: AUTO
EXPOSURE:
0.0
FOCUS: AUTO
SHARPNESS: NORMAL
COLOR: NORMAL
DATE DISP.: OFF
When the right value is selected, press
the
ENTER/MACRO
button to activate the
setting.
You can go on to change other settings
or exit the Main Menu to take pictures.
Setting image sharpness
The sharpness of an image directly
relates to how much memory the image
takes up. The sharper an image, the
more pixels (or picture elements) are
used. The more pixels used in images,
the fewer files can be stored on a
CompactFlash memory card.
In other words, you can set the
sharpness to maximum for all pictures
taken, but it will significantly reduce the
number of images you can store.
To chose between NORMAL, SHARP,
or SOFT image sharpness:
Bring the Main Menu up in Record
mode by pressing the MENU button.
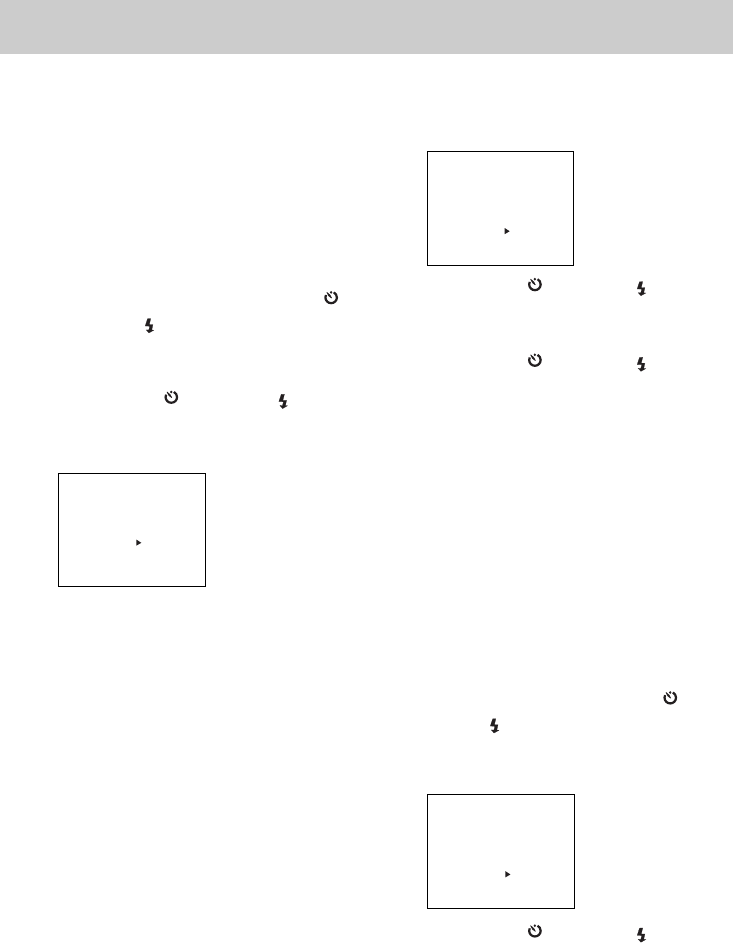
MAIN MENU
CAPTURE: SINGLE
PRE FLASH: OFF
WHITE BAL.: AUTO
EXPOSURE:
0.0
FOCUS: AUTO
SHARPNESS: NORMAL
COLOR: NORMAL
DATE DISP.: OFF
Use the up (+/ ) or down (–/ ) button to
highlight SHARPNESS. Press the
ENTER/
MACRO
button to activate the choice.
Use the up (+/ ) or down (–/ ) button to
change between NORMAL, SHARP, or
SOFT modes. Press
ENTER/MACRO
to
activate your selection.
Adjusting color
You can alter color depth settings, or the
amount of colors absorbed in images,
which affects the number of images you
can store.
The more colors your camera is set to
capture, the larger the file of the picture
will be on the CompactFlash storage card.
Better quality means fewer pictures.
In the Main Menu, use the up (+/ ) or
down (–/ ) button to highlight COLOR.
Press the
ENTER/MACRO
button to change
settings.
MAIN MENU
CAPTURE: SINGLE
PRE FLASH: OFF
WHITE BAL.: AUTO
EXPOSURE:
0.0
FOCUS: AUTO
SHARPNESS: NORMAL
COLOR: NORMAL
DATE DISP.: OFF
Use the up (+/ ) or down (–/ ) button to
select from Normal (suitable for print),
Light (suitable for web viewing), Deep
(suitable for magazine work), Black and
white, or Sepia (a reddish-brown tint).
Press the
ENTER/MACRO
button to activate
settings.