2
29
Getting Started
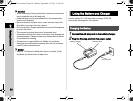
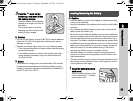
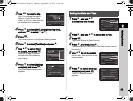
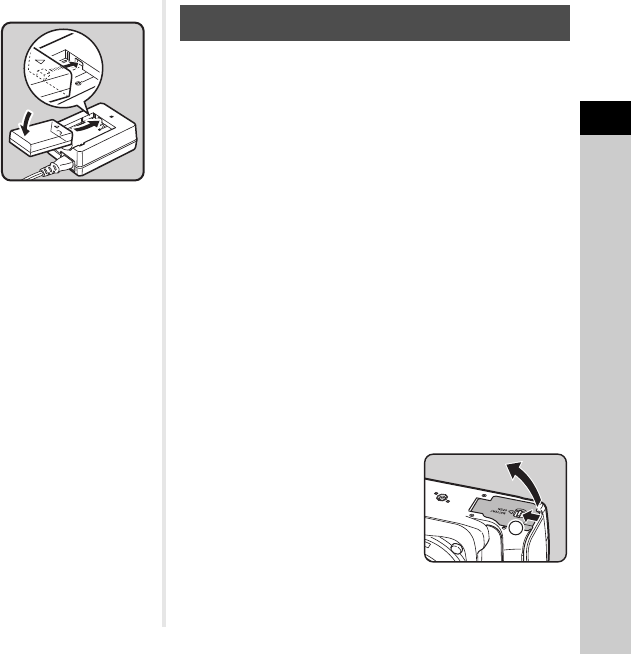
3 Face the A mark on the
battery up, and insert it into
the battery charger.
Insert the battery into the battery
charger at an angle, and then fit
into place.
The indicator lamp is lit while
charging and turns off when the
battery is fully charged.
u Caution
• Do not use the battery charger D-BC109 to charge batteries
other than D-LI109. Charging other batteries may cause
damage or heating.
• Replace the battery with a new one in the following cases:
• If the indicator lamp blinks or does not light after the battery
is inserted correctly
• If the battery starts to run down more quickly even after
being charged (the battery may have reached the end
of its service life)
t Memo
• The maximum charging time is approximately 240 minutes
(it depends on temperature and remaining battery power).
Charge in a location where the temperature is between 0°C
and 40°C (32°F and 104°F).
u Caution
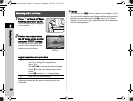
• Insert the battery correctly. If the battery is inserted incorrectly,
it may not be removed.
• Wipe the electrodes of the battery with a soft dry cloth before
inserting.
• Do not open the battery/memory card cover or remove the
battery while the power is on.
• Be careful as the camera or battery may become hot after the
camera has been used continuously for a long period of time.
• Remove the battery when you will not use the camera for a
long time. The battery may leak and damage the camera if left
installed during prolonged periods of non-use. If the removed
battery will not be used for six months or longer, charge the
battery for about 30 minutes before storing it. Be sure to
recharge the battery every six to twelve months.
• Store the battery in a location where the temperature will
remain at or below room temperature. Avoid locations with
high temperatures.
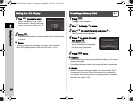
• The date and time may be reset if you leave the battery out of
the camera for long periods of time. If this happens, set the
current date and time again.
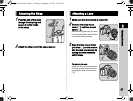
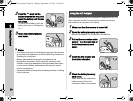
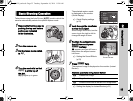
1 Open the battery/memory
card cover.
Slide the battery/memory card
cover unlock lever (1) before
opening the cover.
Inserting/Removing the Battery
1
e_kb558_om.book Page 29 Tuesday, September 16, 2014 11:59 AM


