3
55
Shooting
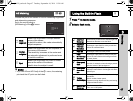
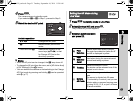
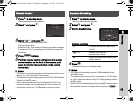
1 Press D in standby mode.
The Drive Mode screen appears.
2 Select Q and press B.
3 Select Q or R and press E.
The camera returns to standby mode.
The grip lamps blink.
When set to R, the number of blinking grip lamps changes
in order from 3 to 0, according to the number of seconds
remaining.
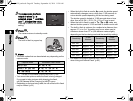
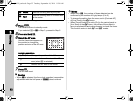
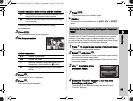
4 Press 0 halfway.
5 Point the remote control unit towards the remote
control receiver on the front of the camera, and
press the shutter release button on the remote
control unit.
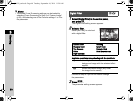
t Memo
• The maximum operating distance of the remote control unit is
approx. 4 m from the front of the camera.
• To adjust focus with remote control, set in [19 AF with Remote
Control] of the E3 menu.
• When using the Remote Control Waterproof O-RC1, the
autofocus system can be operated with the q button on
the remote control unit. The r button cannot be used.
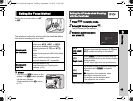
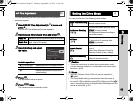
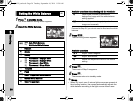
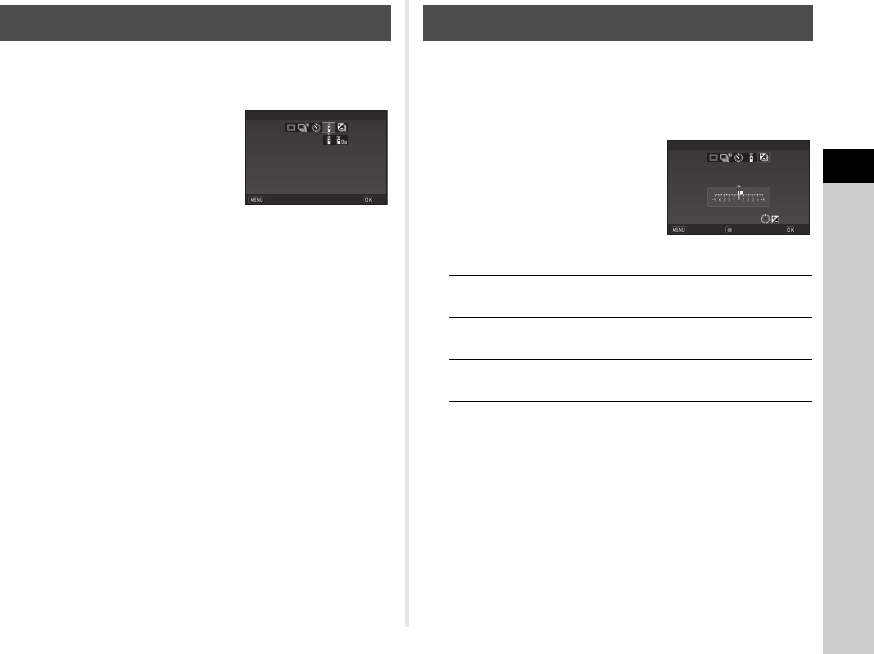
1 Press D in standby mode.
The Drive Mode screen appears.
2 Select T and press B.
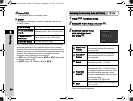
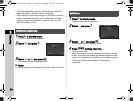
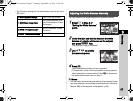
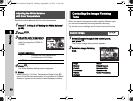
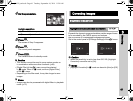
3 Set the bracket value.
Available operations
4 Press E.
The camera returns to standby mode.
t Memo
• You can set the bracketing order in [8 Bracketing Order]
of the E2 menu.
• The bracket value can be set in increments of 1/3 EV steps
or 1/2 EV steps according to the [1 EV Steps] setting made in
the E1 menu.
• Set [9 One-Push Bracketing] to [On] in the E2 menu to shoot
the specified number of images with one press of 0.
Remote Control
Remote ControlRemote Control
CancelCancel
OKOK
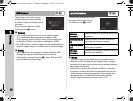
Exposure Bracketing
V
Changes the bracket value (up to
±3 EV)
J→V
Adjusts the exposure
compensation value.
M
Resets the adjustment value to the
default setting.
±0EV
±0EV
±0.3EV
±0.3EV
Exposure Bracketing
Exposure Bracketing
Cancel
Cancel
OK
OK
e_kb558_om.book Page 55 Tuesday, September 16, 2014 11:59 AM


