103
6
Playback Menu
Skew Correction
Create copies that have been processed to reduce the effects of
perspective on rectangular objects, such as message boards or
business cards.
Caution ---------------------------------------------------------------------------------
• You can only use skew correction for still images shot with this camera.
• You cannot use skew correction for movies or MP files.
Note -------------------------------------------------------------------------------------
• If the camera is able to detect an object that can be used to correct perspective,
a message will be displayed with the object shown by an orange frame. The
camera can detect up to five objects.
• If the target area cannot be detected, an error message appears. The original
image remains unchanged.
• To select another correction area, move the orange frame to the target area by
pushing the ADJ./OK button F.
• To cancel skew correction, push the ADJ./OK button !. Even if you cancel skew
correction, the original image remains unchanged.
• The image size does not change for skew corrected images.
• The time for skew correction increases with image size. To reduce the time
required, perform skew correction on small copies created with the [Resize]
option (GP.94).
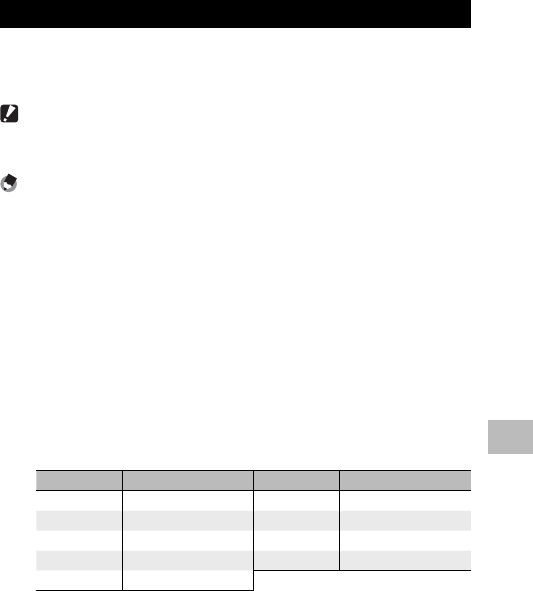
• The following table shows the approximate time required for skew correction.
Image Size Correction time Image Size Correction time
j 4 : 3 F
Approx. 23 seconds
e 4 : 3 F
Approx. 12 seconds
j 4 : 3 N
Approx. 22 seconds
c 4 : 3 F
Approx. 8 seconds
i 3 : 2 F
Approx. 17 seconds
a 4 : 3 F
Approx. 3 seconds
g 1 : 1 F
Approx. 13 seconds
z 4 : 3 F
Approx. 1 seconds
g 16 : 9 F
Approx. 13 seconds
• When scene mode is set to [Skew Correct Mode], you can shoot an image and
then immediately correct any skew in the image (GP.63).


