English 92
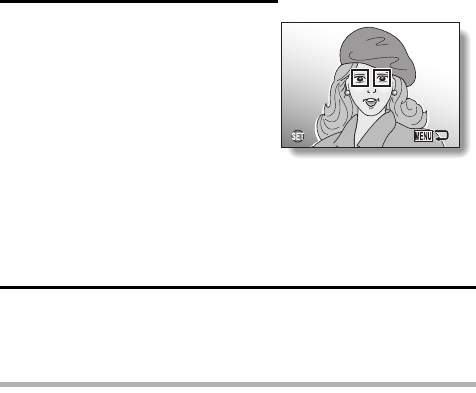
4 If the modified image is satisfactory,
press the SET button.
h The screen to save the corrected
image appears.
h To discontinue the procedure, press
the MENU button. The modified
image is discarded, and you are
returned to the Red-eye Correction
Screen.
SAVE AS NEW:
The modified image is saved as a
separate image, and the original
image is preserved.
OVERWRITE:
The original file is deleted, and only
the modified image is saved.
5 Select the desired method to save the modified image, and press the
SET button.
h The modified image is saved, and you are returned to the Red-eye
Correction Screen.
HINT
If the “Red-eye correction not successful” message appears...
iThe camera was not able to successfully correct the red-eye effect.
iThe red-eye correction function works to automatically edit the red-eye
effect that the camera detects in captured images. In some cases, the
camera may fail to correctly detect the red-eye effect, or it may incorrectly
identify the red-eye effect where it does not exist.
Concerning the date and time information for the modified image
iThe date display that is shown when an edited image is played back is the
date that the image was saved after it was modified.
NEXT
NEXT
NEXT


