ENGLISH
42
Advanced Recording
Setting and Recording the DATE/TIME
✤ Setting and recording the date/time feature works in the CAMERAmode only.
✤ You can record the date/time on your tapes, so you will know when it was made. The date and time are recorded whenever they are
displayed on the viewfinder or LCD.
Setting a DATE/TIME
✤ Setting the DATE/TIME is possible in STANDBY of CAMERA mode only.
1. Make sure that you have installed the LITHIUM BATTERY. (see page 17)
The LITHIUM BATTERY is needed to maintain the clock.
2. Set the power switch to CAMERA mode. (see page 18)
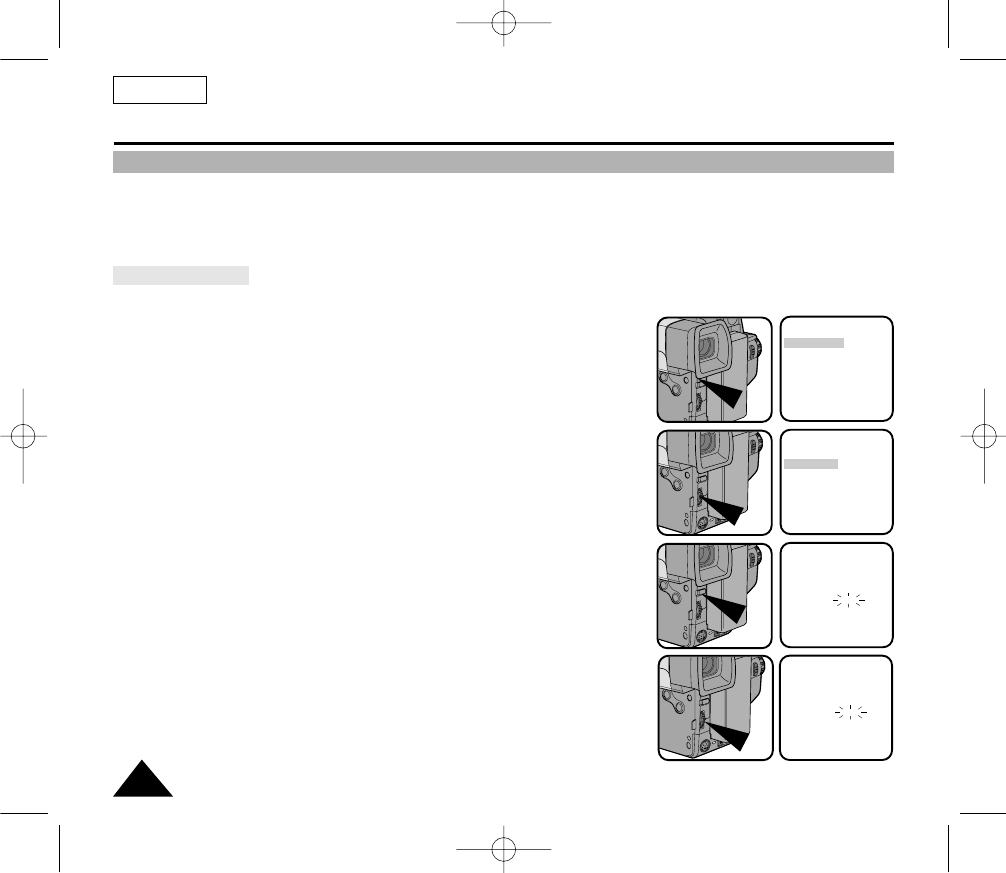
3. Press the MENU ON/OFF button, then the MENU list will appear.
4. Turn the UP/DOWN dial until CLOCK SET is highlighted.
5. Press ENTER.
■ CLOCK SETTING is possible when the DATE and TIME appear.
■ BLINKING indicates the possible changes for the setting.
The year will be the first to blink.
6. Turn the UP/DOWN dial to set the desired year.
CLOCK SETTING
12:00 AM
JAN. 1, 2004
EXIT: MENU
CLOCK SETTING
12:00 AM
JAN. 1, 2005
EXIT: MENU
MENU
LCD ADJUST
DIS........................OFF
D.ZOOM ..............OFF
WHITE BAL..........AUTO
DISPLAY ..............ON
LANGUAGE..........
ENGLISH
WL REMOCON ....ON
NEXT: MENU
MENU
CUSTOM SET
CLOCK SET
TITLE SET
TITLE....................OFF
D/TITLE COLOR..WHITE
C.RESET..............0:00:00
DEMO ..................OFF
NEXT: MENU
00732M SCL901 SEA (20-45) 12/26/03 10:45 AM Page 42


