


10
Preparation
Inserting and Removing
a Cassette
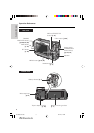
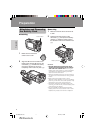
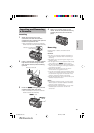
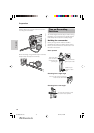
Inserting
1 Attach the power source to the
camcorder, then slide the cassette
compartment door release and open the
cassette compartment door.
• After confirmation sound, the cassette
holder extends and opens automatically.
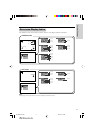
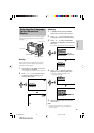
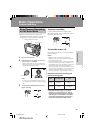
2 Insert a commercially available cassette
fully with the window facing outwards,
and with the erasure protect tab facing
upwards.
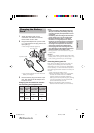
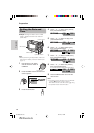
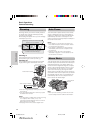
3 Press the W mark gently until the
cassette holder clicks into place.
• After confirmation sound, the cassette
holder retracts automatically.
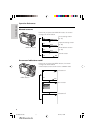
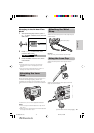
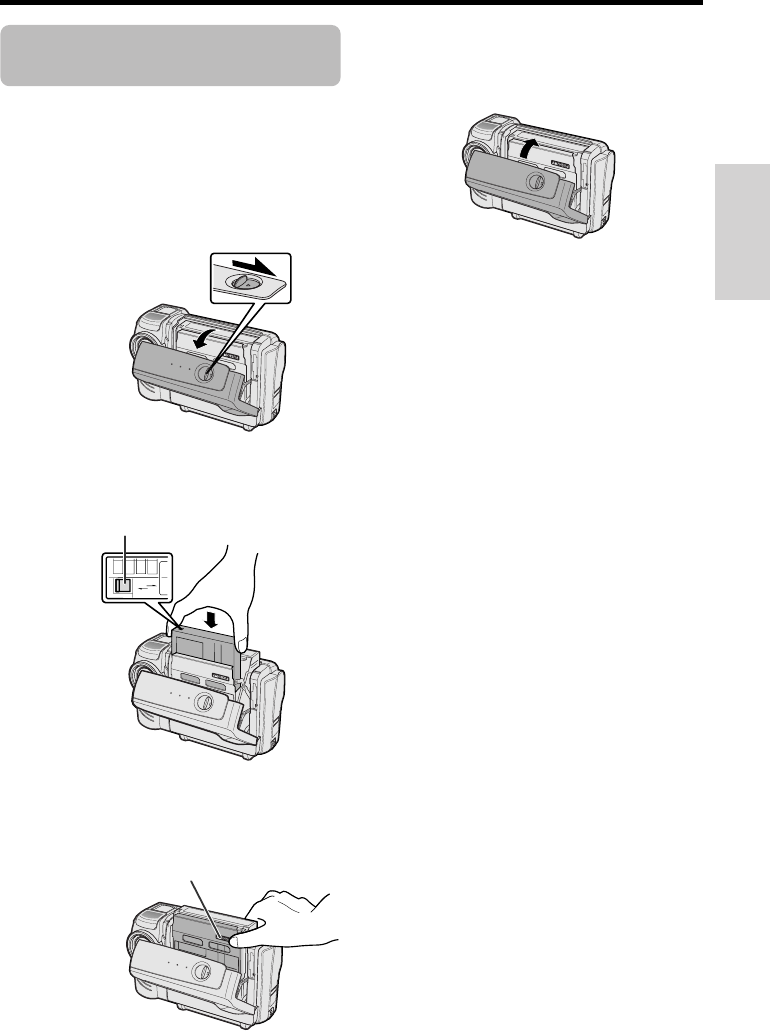
4 Wait for the cassette holder to fully
retract. Close the compartment door by
pressing the center until it clicks into
place.
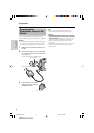
Removing
Perform step 1 above, then take out the
cassette.
Cautions:
• Do not try to close the cassette compartment
door while the cassette holder is extending or
retracting.
• Be careful not to get your fingers caught in the
cassette holder.
• Do not apply force to the cassette holder except
when pressing the W mark to close it.
• Do not tilt the camcorder or hold it upside down
when you are inserting or removing a cassette. It
may damage the tape.
• Remove the cassette if you will not use the
camcorder for a long period of time.
• If you do not correctly close the cassette holder
in step 3, the cassette protection mechanism of
the camcorder might eject the cassette. If this
happens, repeat the insertion procedure.
• Do not attempt to pick up the camcorder by the
cassette compartment door.
Notes:
• If the battery power is too low, you may not be
able to eject the cassette. Replace the battery
pack with a fully charged one.
• See page 52 for more information on the video
cassette tapes intended for use with this
camcorder.
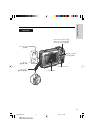
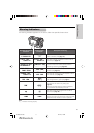
SAVE
REC
Cassette compartment
door release
“W” mark
Erasure protect tab
VL-NZ50U-007-015 02.2.12, 5:19 PM10