


144
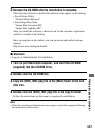
Stage 2: Connecting the camera to the printer
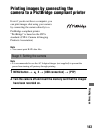
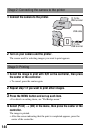
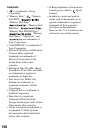
1 Connect the camera to the printer.
2 Turn on your camera and the printer.
The screen used for selecting images you want to print appears.
Stage 3: Printing
1 Select the image to print with b/B on the controller, then press
the center of the controller.
• To cancel, press the center again.
2 Repeat step 1 if you want to print other images.
3 Press the MENU button and set up each item.
• For details on setting items, see “PictBridge menu.”
4 Select [Print] t [OK] in the menu, then press the center of the
controller.
The image is printed.
• After the screen indicating that the print is completed appears, press the
center of the controller.
2 To the
USB terminal
USB cable
1 To the
USB terminal