


78 Chapter 3 Shooting
Chapter 3 Shooting
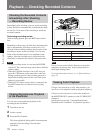
ClipLink Shooting
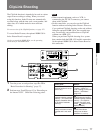
CLIP and
IP
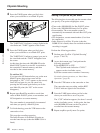
appear in the display window.
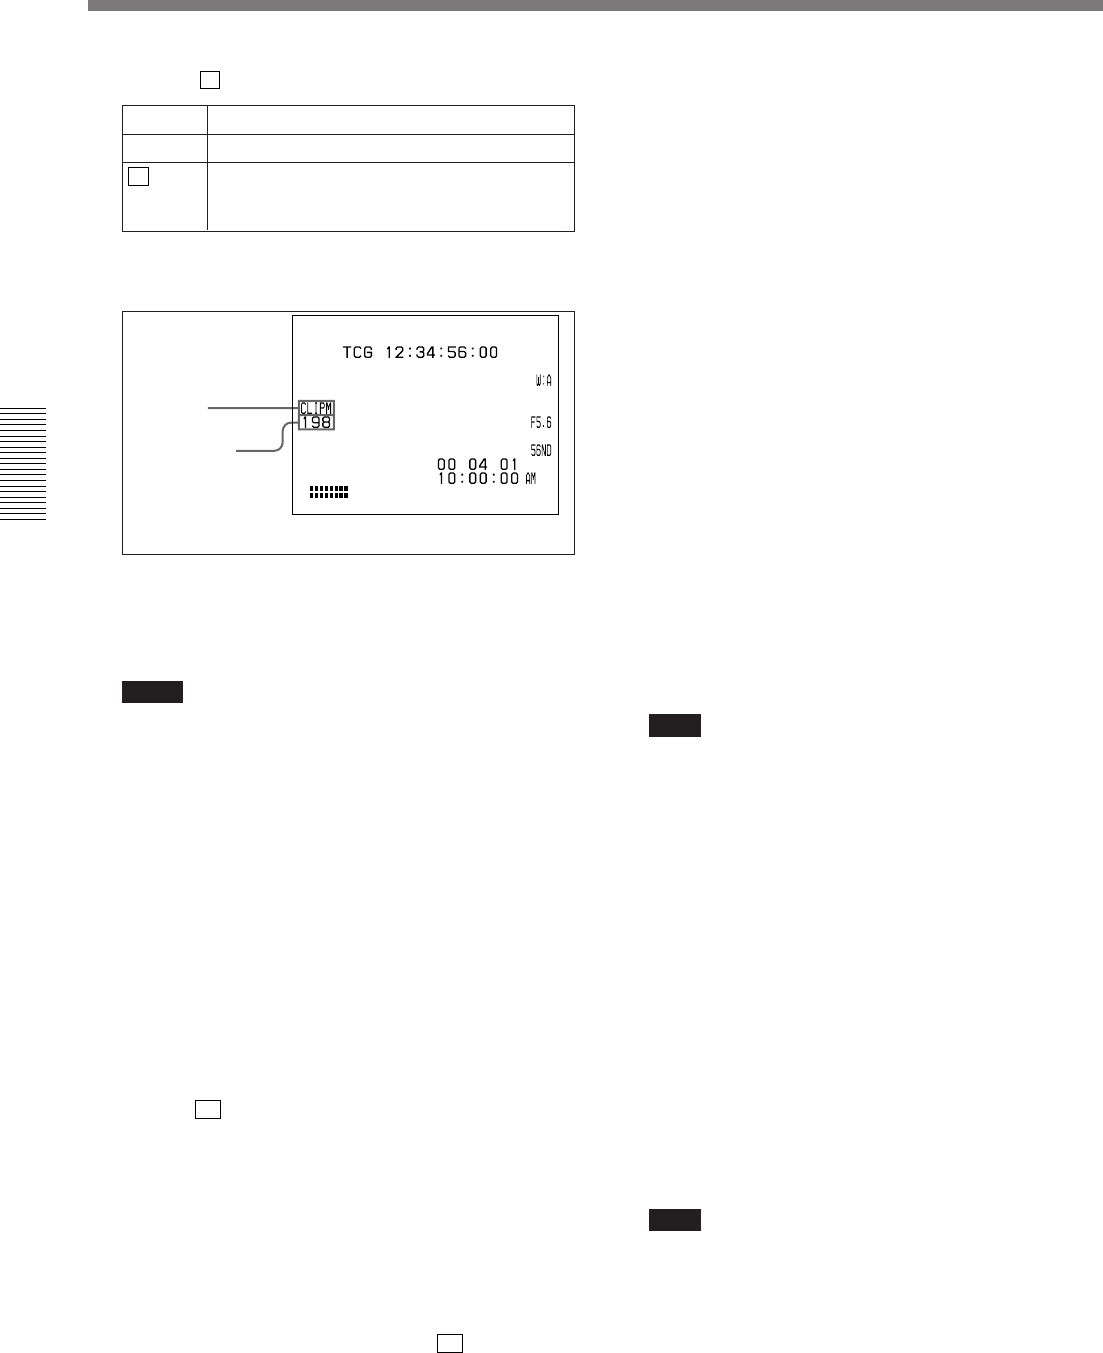
The following display appears on the viewfinder
screen.
To record the cassette name/number
Access basic menu page 7 to specify a name or
number for the inserted cassette (see page 95).
Notes
• If you use a cassette that contains data recorded
via a different VCR when you enter a cassette
name/number in the cassette memory, you may
lose any data that was previously written to the
cassette memory. Also, if you use a cassette that
contains data recorded in ClipLink mode on the
camcorder for recording on a different VCR, you
may lose any data that was previously written to
the cassette memory.
• When you power the camcorder or insert a
cassette, black squares (x) blink in the place of
the clip remaining indication in the display
window (during this, the cassette memory data is
being checked). Start recording after the blinking
ends, or the ClipLink function will be disabled.
• When
CL
appears in the display window, it
means that data has already been recorded into
the cassette memory. If you record under this
condition whether the ClipLink function is
available or not, the existing cassette memory
data will be overwritten. To avoid this, you can
either insert a new cassette or follow the
procedure for appending cassette memory data, as
described in the section “Resuming Recording in
ClipLink Mode” (page 81). If the
CL
is flashing,
it means abnormality of the cassette memory. In
this case, it is impossible to continue recording
from that data on ClipLink mode.
• The number of recordable clips varies with
cassette memory capacity. Up to 45 clips (Index
Pictures) can be recorded in a 4-Kbit cassette
memory and up to 198 clips (Index Pictures) can
be recorded in a 16-Kbit cassette memory.
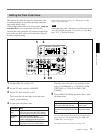
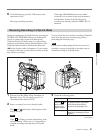
3 Set the AUDIO SELECT (CH-1/CH-2) switch to
AUTO or MAN (see page 23).
4 Press the VTR button on the camcorder or the lens.
Recording begins when the TALLY indicator stays
lit after blinking for a moment.
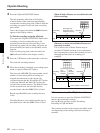
The camcorder enters ClipLink continue mode (in
which back space editing is possible using
ClipLink function) and indication
CONT appears in
the display window.
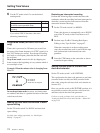
During recording, the time code (HH:MM:SS
format) at the recording start (Rec IN) point is
recorded into the camcorder’s internal memory.
Index Pictures are also recorded if you use the
DSBK-301A.
Note
When CONT appears, regardless of the setting of the
TC mode switch 1, the time code generator
automatically enters REGEN mode. Consequently,
you cannot freely specify a time code nor can you
use the external synchronization (genlock)
function.
5 To stop recording, press the VTR button on the
camcorder or the lens.
This sets recording pause mode.
The time codes (HH:MM:SS) for the current clip
(contents between the Rec IN and Rec OUT
points) are recorded along with the scene number
(as scene 001) in the cassette memory. The last
Index Picture in the recorded scene is also recorded
when the DSBK-301A is fitted.
Note
While data is being recorded in the cassette
memory, cutting the power supply or opening the
cassette holder is disallowed. If you turn the
POWER switch off or press the EJECT button,
black squares (x) blink in the place of the clip
remaining indication in the display window. When
the data has been recorded, the power supply is cut
or the cassette is ejected.
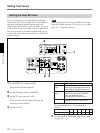
a) For details, see “Basic menu page 7” (page 95).
ClipLink mode
indication: CLIP
M or C
a)
Clip remaining
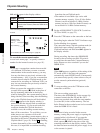
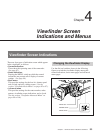
Display Meaning
CLIP The camcorder is in ClipLink mode.
IP
The camcorder is in ClipLink mode and can
record Index Pictures (when the DSBK-301A
is fitted).